Cork Engraving
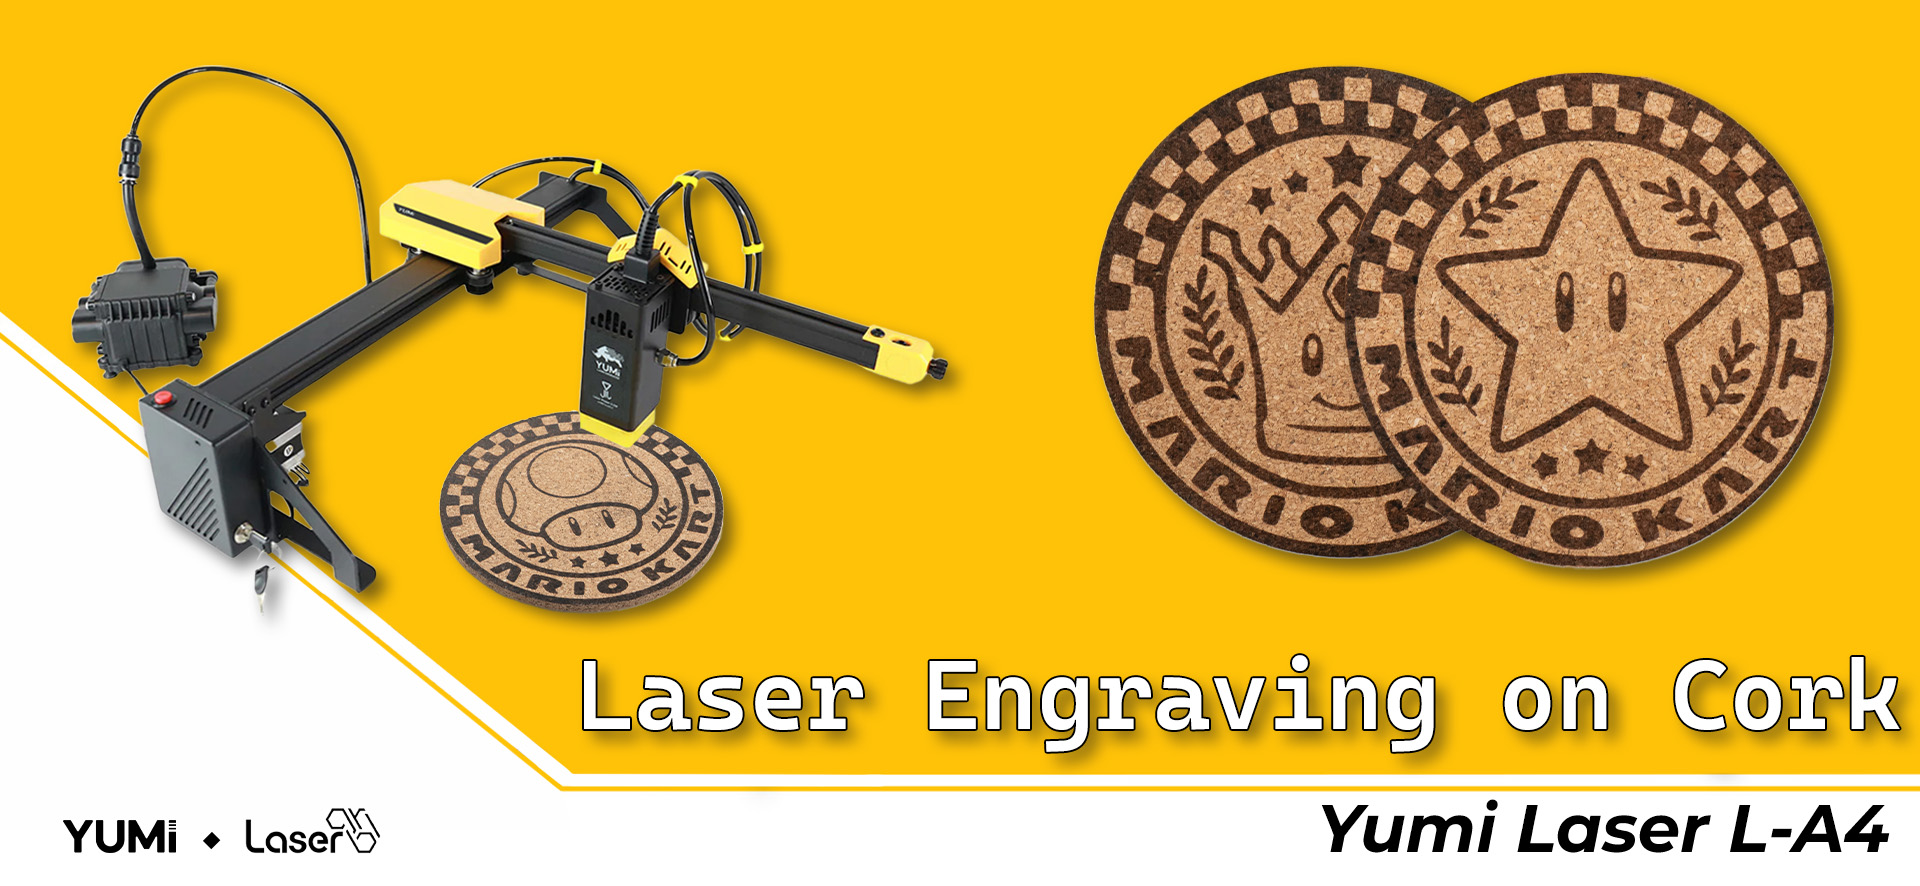
Personalized coasters, engraved trivets, custom logos, or unique decorations — laser engraving on cork is becoming increasingly popular among creators and hobbyists. With the Yumi L-A4 laser engraver and LaserGRBL software, you can achieve precise, elegant results — even as a beginner.
1. Prepare Your File in LaserGRBL
-
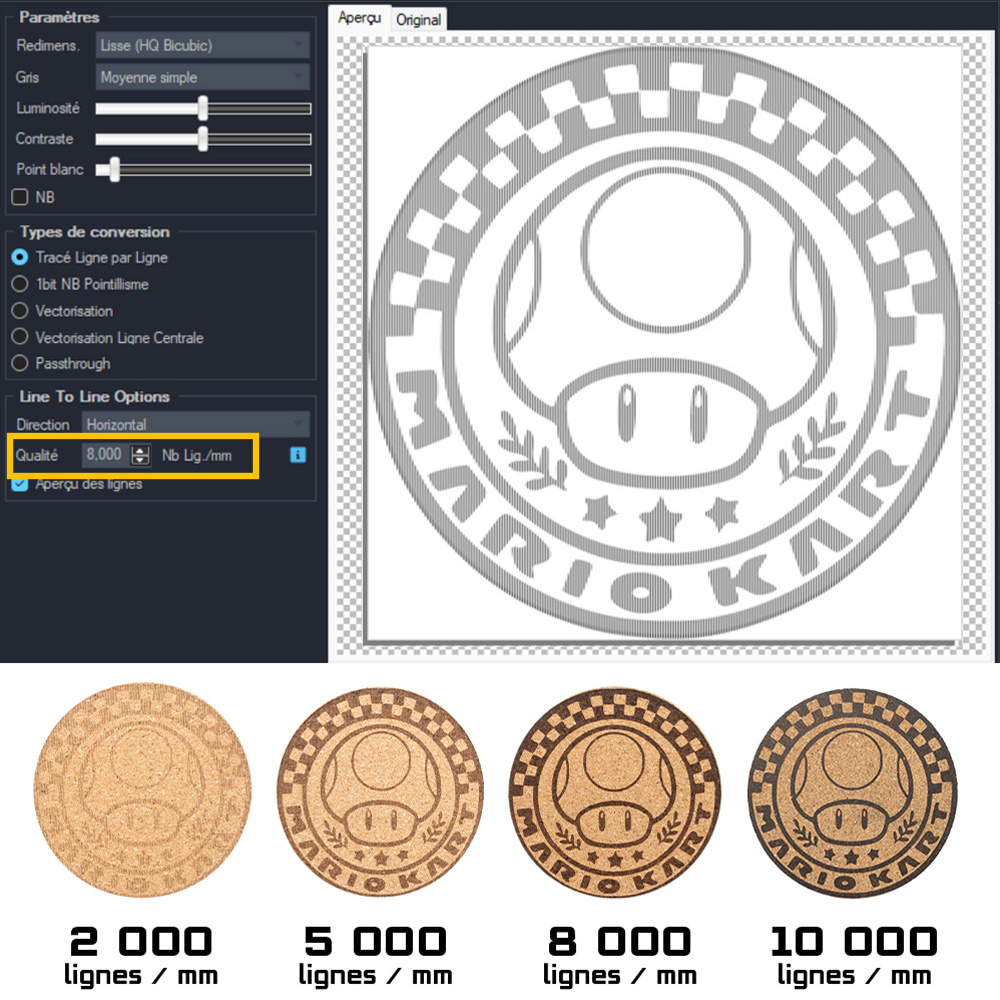
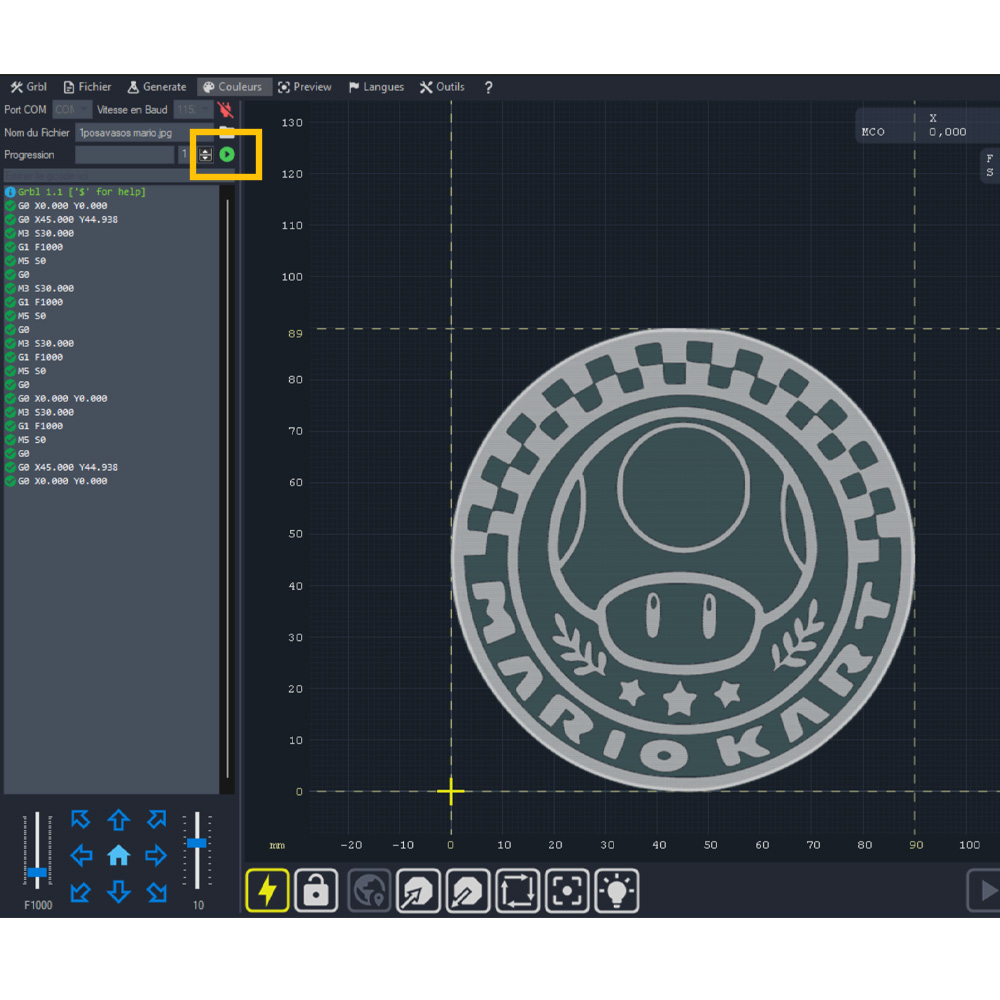
Open your engraving file and check the lines per mm setting — it directly affects the final quality (adjust according to your material).
-
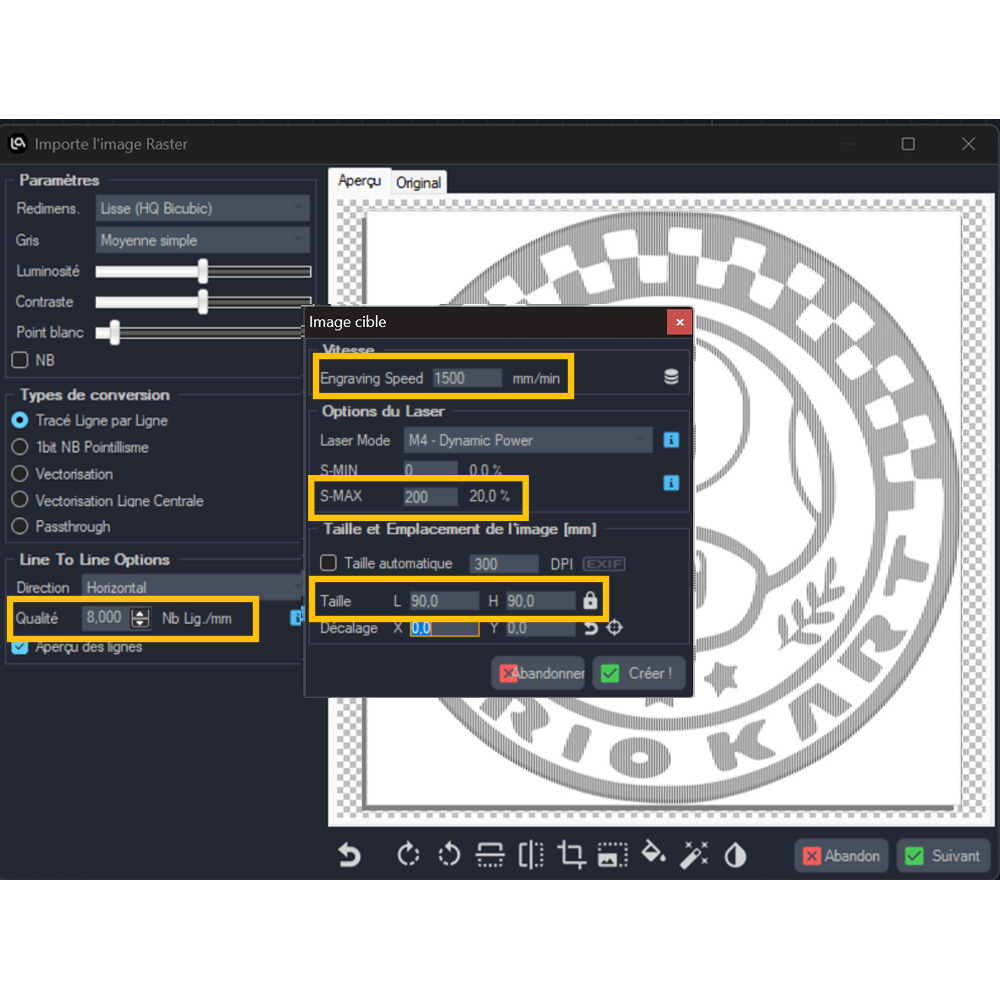
Enter your optimized settings and engraving dimensions.
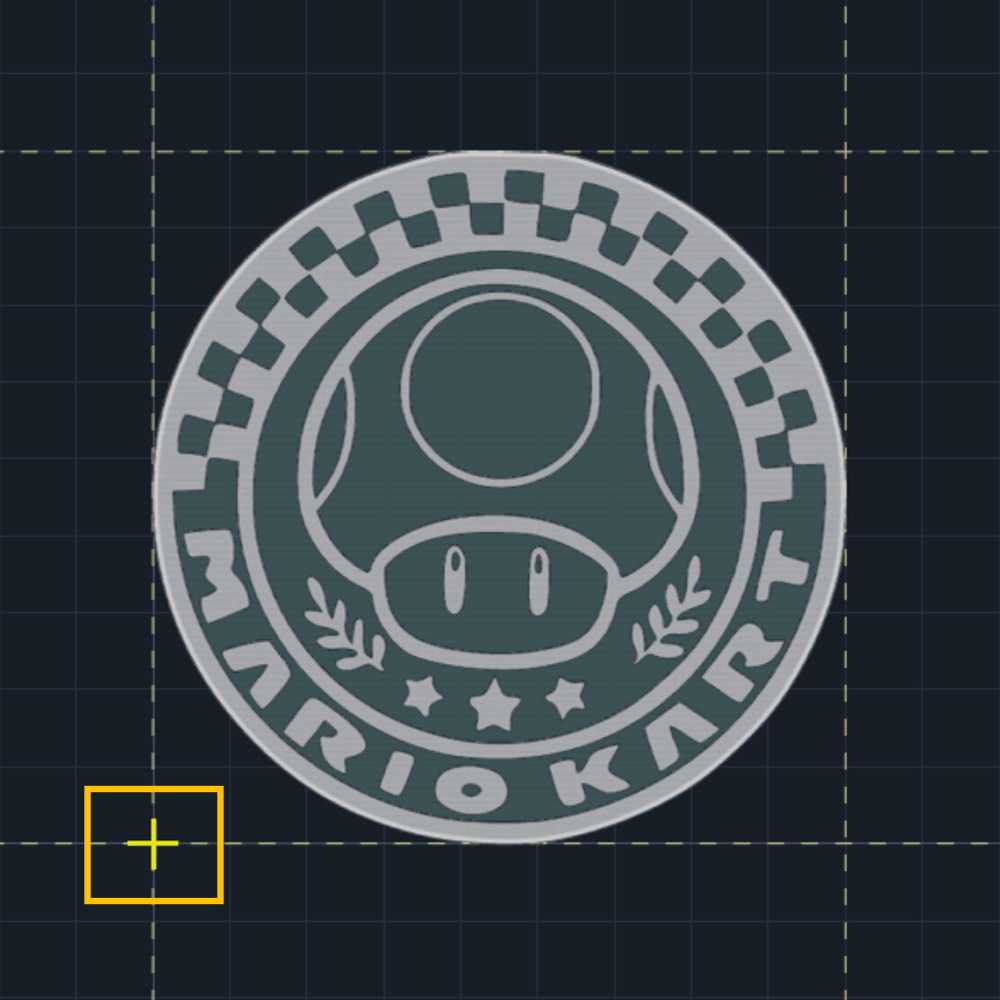
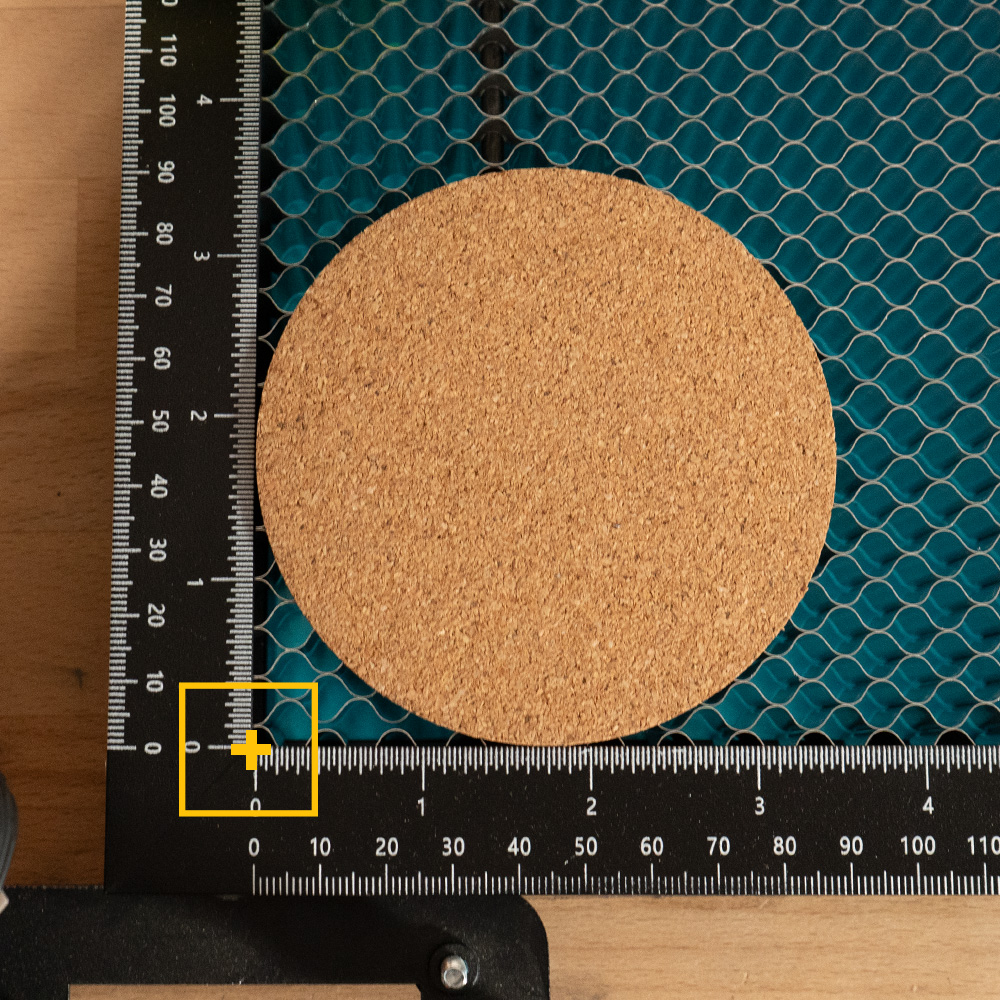
Origin point
The origin point, where the laser head starts moving, is represented by a yellow cross. Manually move the laser head to position it exactly where you want the engraving to begin.
2. Position the Material
-
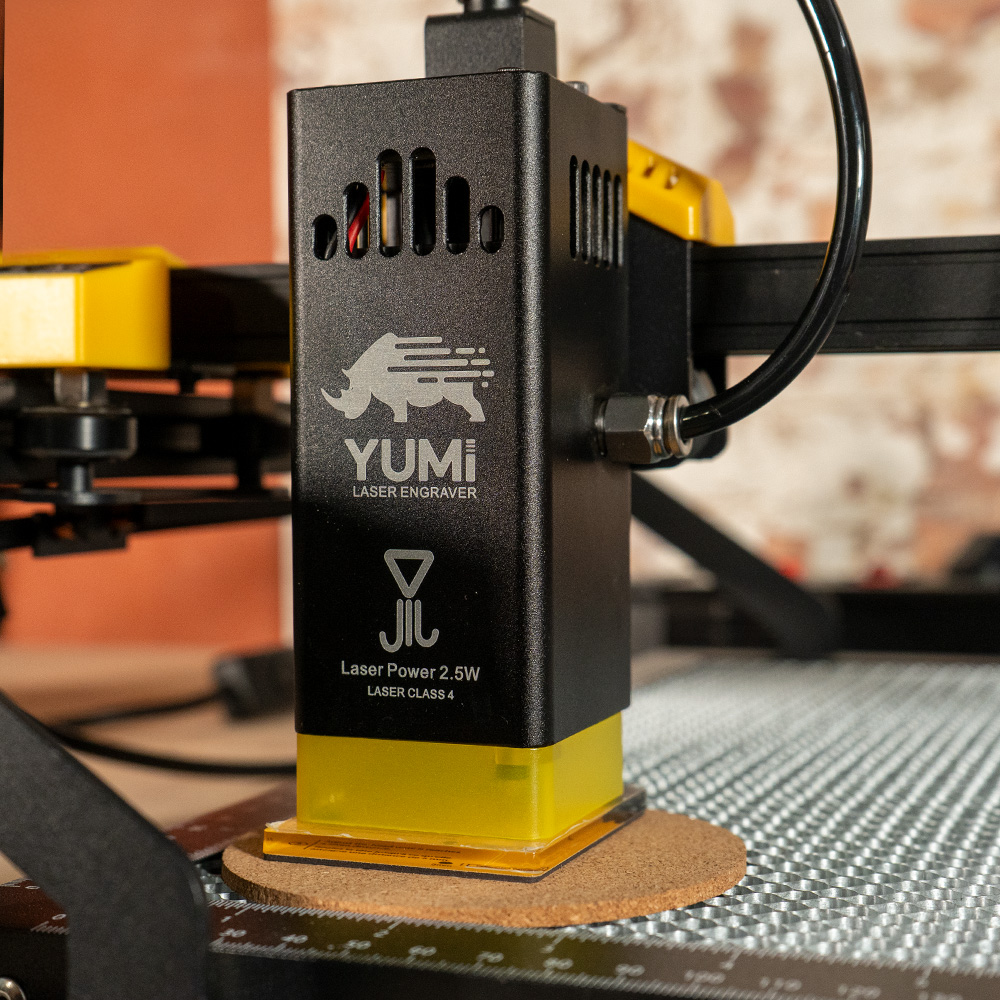
Place the cork disc on the edge of the honeycomb grid, and adjust the height using the guide.
-
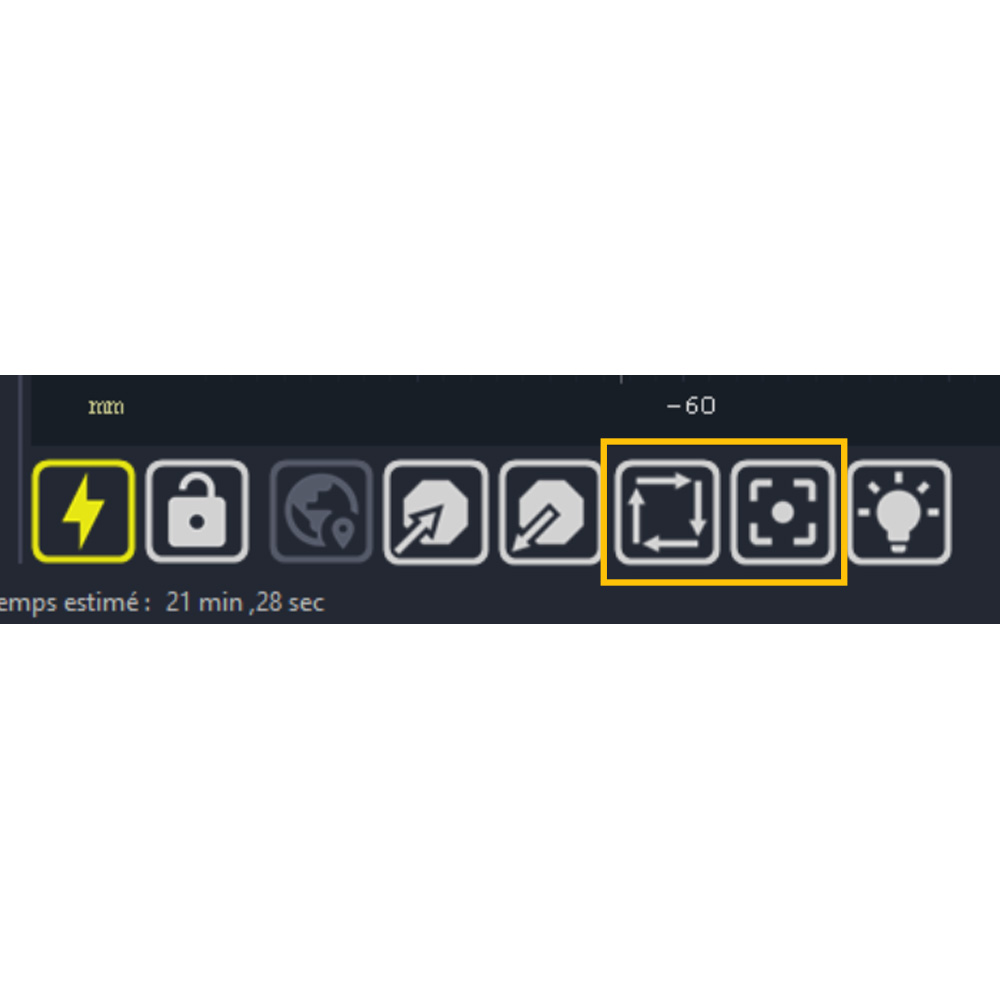
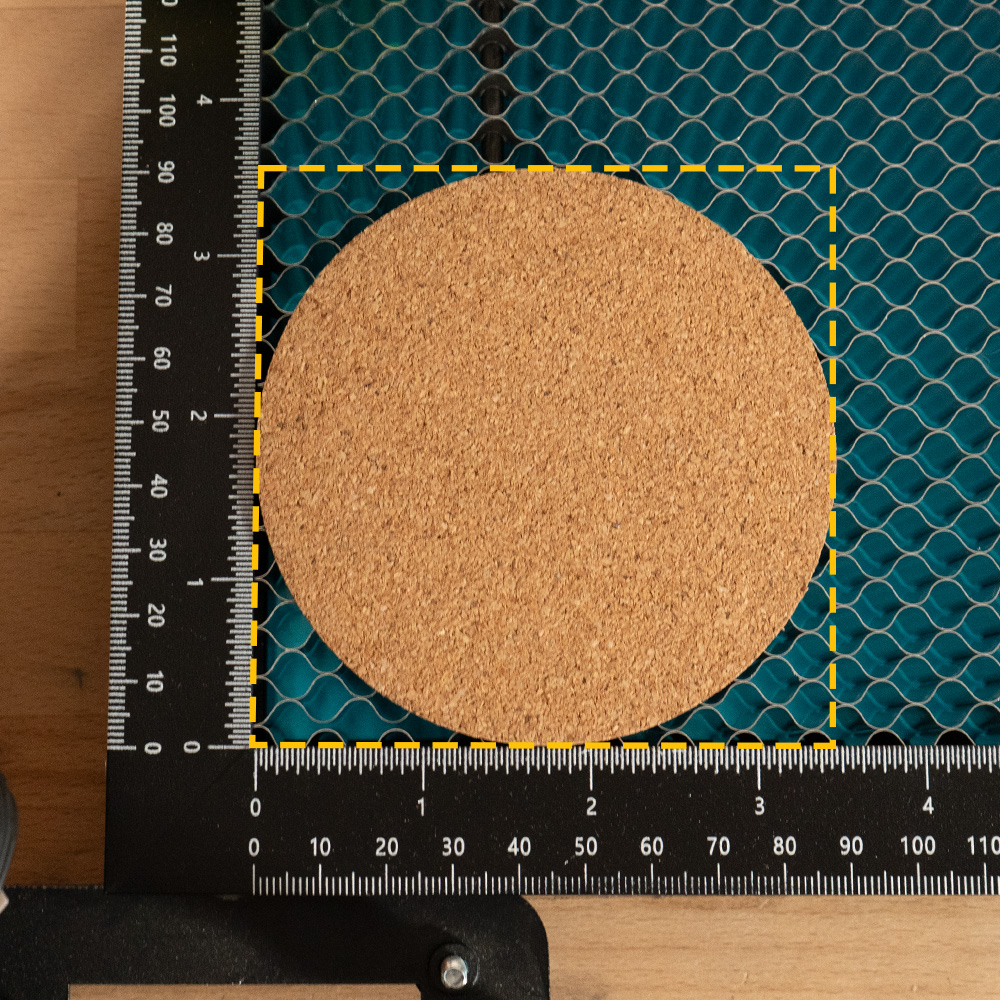
LaserGRBL can display the rectangular boundary of the engraving area, ensuring your design fits within the desired zone. This feature helps center your coaster perfectly. You can also turn on the laser at 3% power for fine positioning.
-
Activate the laser beam and position it at the base of the honeycomb. If you don't have one, use the button on the right of the planet icon and roughly center the laser head over the disc.
-
Run a perimeter test to verify the alignment — the beam should skim the coaster's outer edge without going beyond it. If necessary, adjust the laser head until the alignment is perfect.
-
Start the engraving.
3. Result: A Unique Cork Coaster
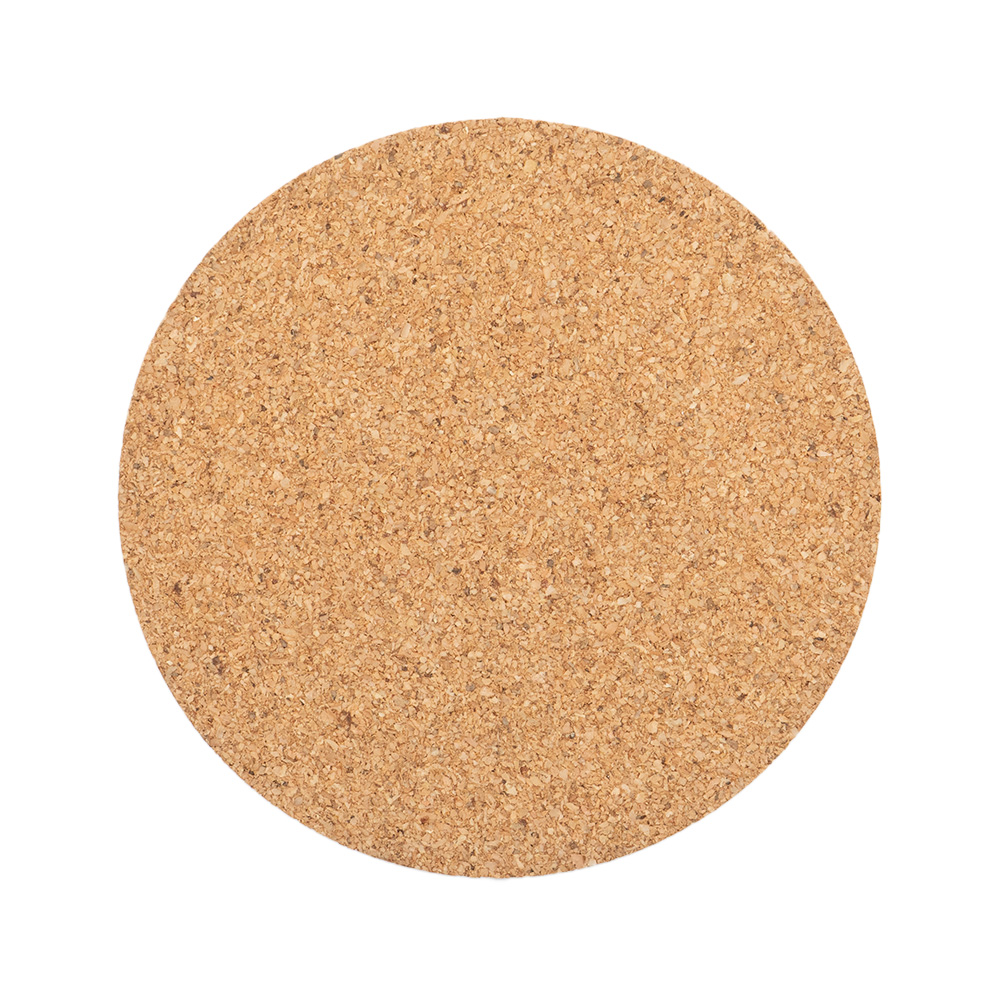
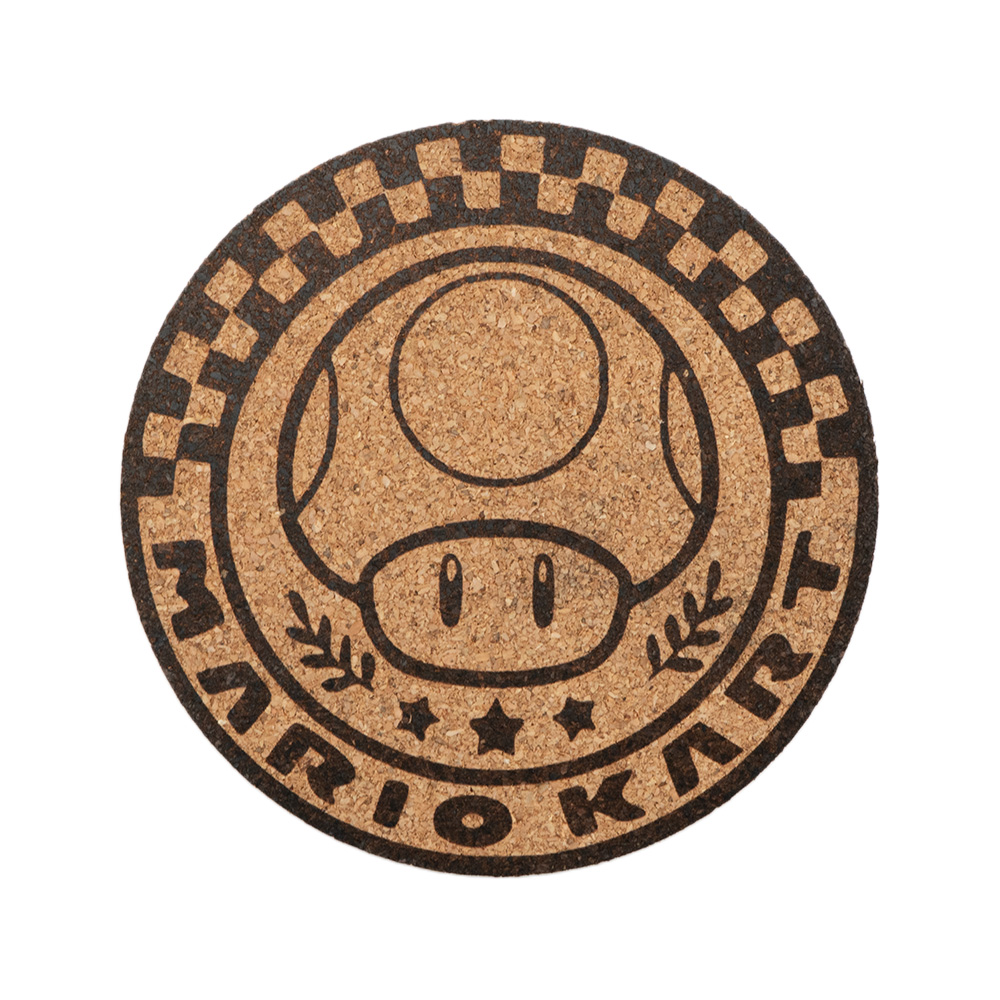
In just a few minutes, you'll have your own personalized cork coaster — natural, elegant, and truly one of a kind. Laser engraving on cork is a fantastic way to bring your creative ideas to life, offering professional-quality results that are accessible to everyone.