OpenBurn Laser Setup and First Engraving
OpenBurn Laser is a free laser engraving and cutting software for Windows, developed by M3D-FORMATION.
It is a free alternative to LightBurn with a similar, intuitive interface, and works with all GRBL-based machines such as the YUMI Laser (L-A4 / L-A3 / L-A2).

Main features:
- Compatible with GRBL / Arduino-based laser machines
- JPEG / PNG image import and resizing
- Vector drawing tools: rectangles, circles, lines, hexagons, and text
- Multiple machine profiles
- Frame function to preview the engraving area before starting
- Automatic updates
1. - Install OpenBurn Laser
- Download OpenBurn Laser for free from the official website: https://www.m3d-formation.com/openburn/
- Run the installer (
OpenBurn_Laser_Setup.exe) on your Windows computer (OpenBurn Laser is Windows-only). - The software checks automatically for new versions at startup.
2. - Connect Your YUMI Laser
- Power on your YUMI Laser.
- Connect it to your computer via USB cable.
- Wait for Windows to recognize the device.
- In OpenBurn Laser, select the correct COM port and connect (baud rate:
115200).
3. - Create a Machine Profile for Your Model
OpenBurn Laser supports multiple machine profiles, so you can save one profile per machine or laser module.
- Create a new profile and enter the work area dimensions for your model:
| Model | Width (mm) | Height (mm) |
|---|---|---|
| L-A4 | 210 | 297 |
| L-A3 | 420 | 297 |
| L-A2 | 420 | 594 |
- Give the profile a clear name, e.g.
YUMI-LA4-2.5W.
4. - Import or Create a Design
- Import a JPEG or PNG image to engrave, and resize it as needed.
- Or create a design directly with the built-in drawing tools: rectangles, circles, lines, hexagons, and text.
- Place the design inside the workspace area.
5. - Set Laser Power
- Laser power is expressed as a percentage of the maximum PWM value.
- Recommended starting values:
- 2.5W → 10–40%
- 5.5W → 20–70%
- 10W → 30–90%
- 20W → 50–100%
Always start low and increase gradually to avoid burning materials.
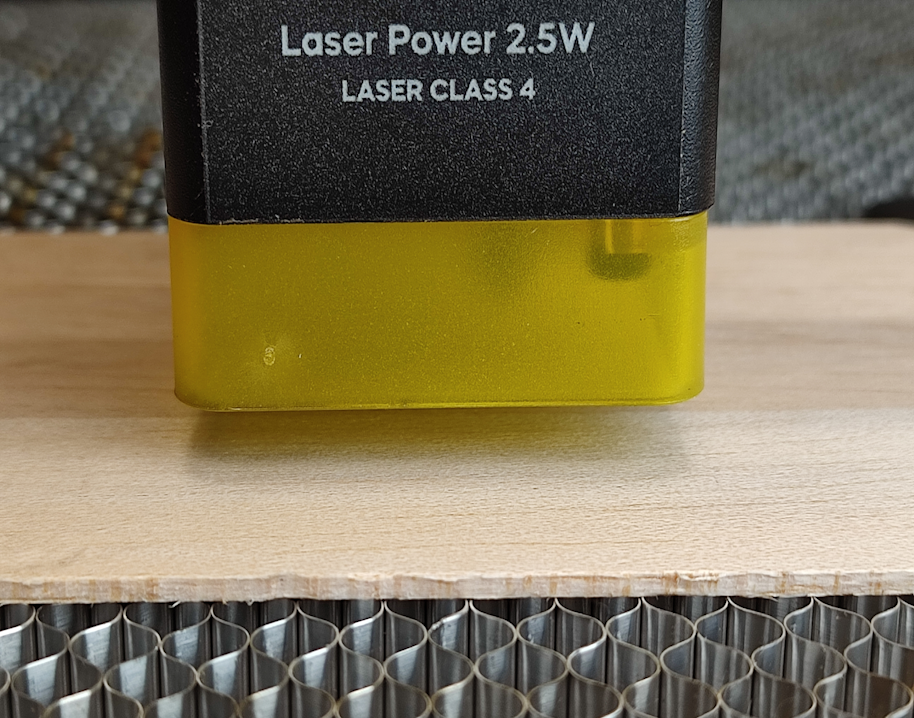
6. - Position & Focus the Laser
- Move the laser head manually over the workpiece.
- Place the 5 mm spacer on the surface.
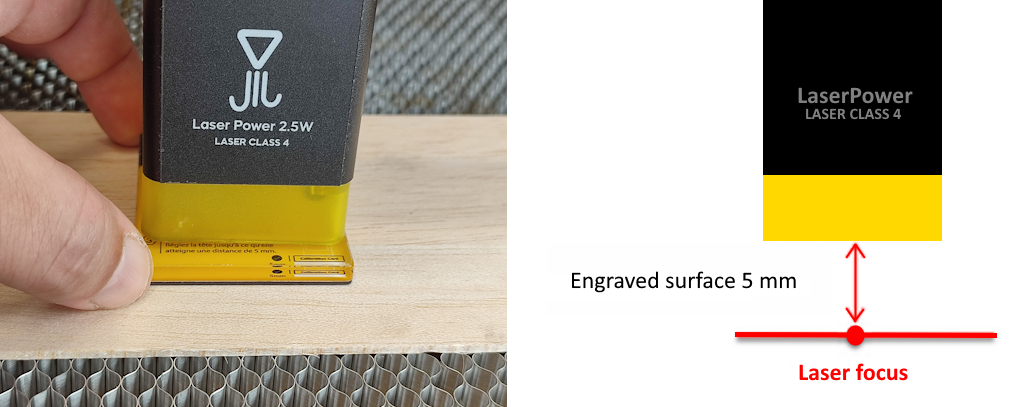
- Loosen the fixing screws of the laser module.
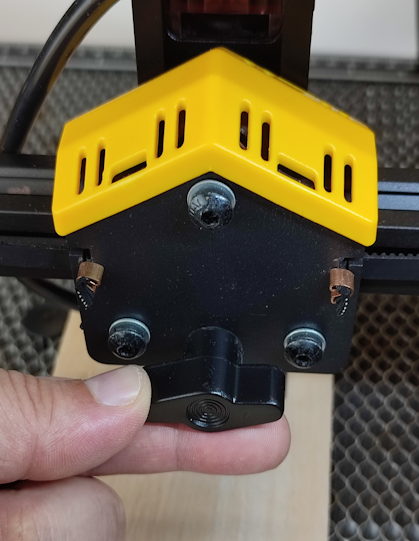
- Slide the laser down until it touches the spacer.
- Remove the spacer and tighten the screws.
7. - Frame the Engraving Area
- Use the Frame function: the laser head traces the outline of your design at low power, so you can check the positioning without marking the material.
- Adjust the material position and repeat the frame until the alignment is correct.
8. - Start Engraving
- Verify speed, power, and focus.
- Click Start to begin engraving.
- Stay near the machine and monitor the process for safety.