Home Assistant

Two installation methods are available on the Smart Pi One:
- Flash the prebuilt SD card image (section 1) — the quickest option.
- Install Home Assistant Supervised on an existing Smart Pi Linux server (section 2).
1. Flash the prebuilt image
Download Balena Etcher: https://etcher.balena.io/#download-etcher
Download the Home Assistant image and unzip it: https://github.com/Maxime3d77/smartpad-home-assistant/releases
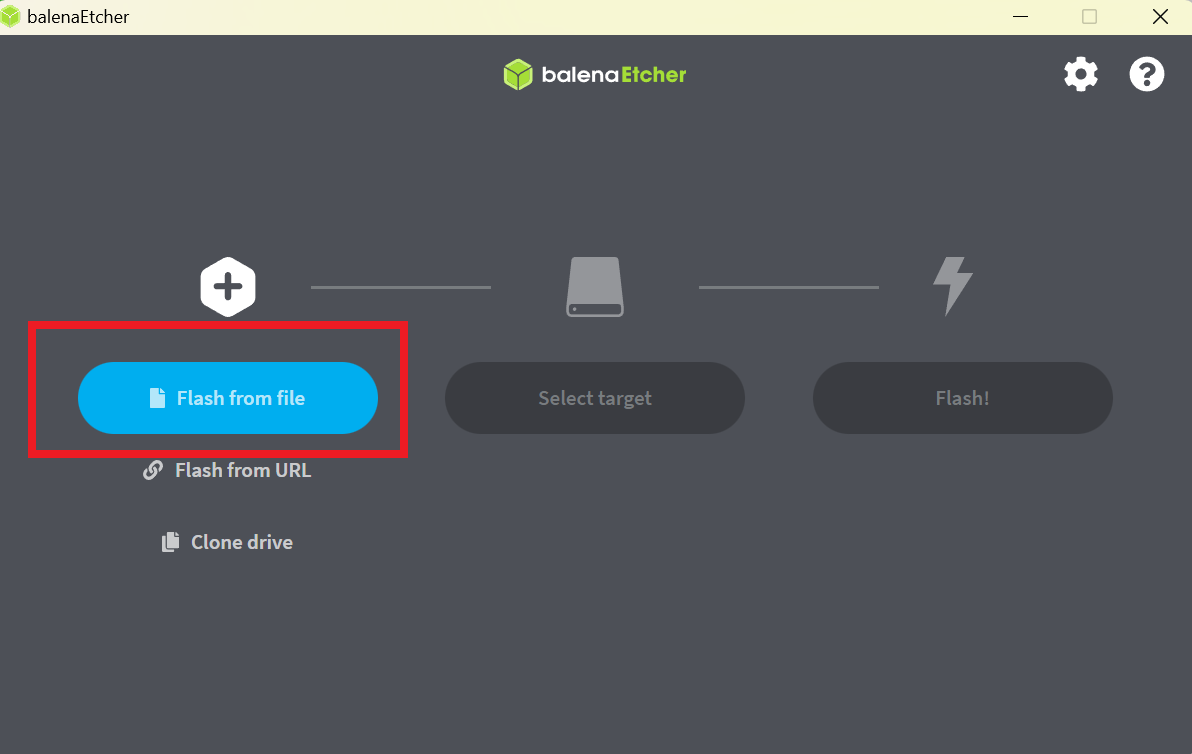
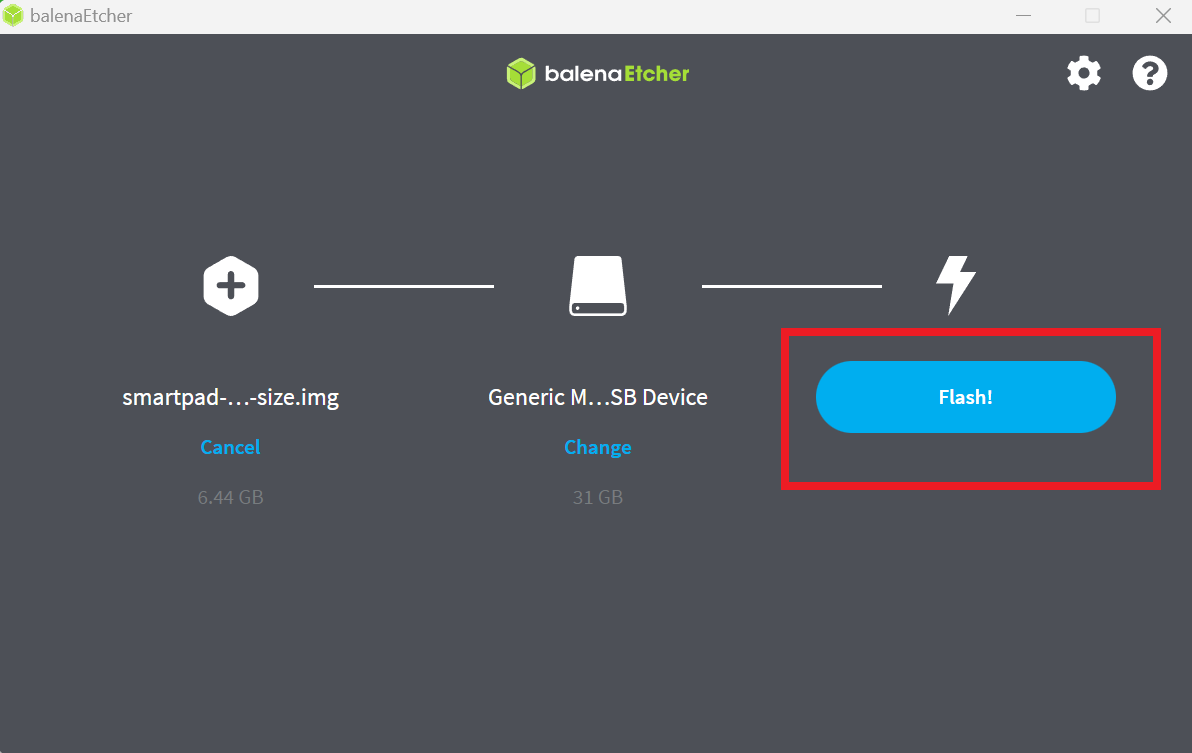
Start Balena Etcher and select your img file with Flash from file:
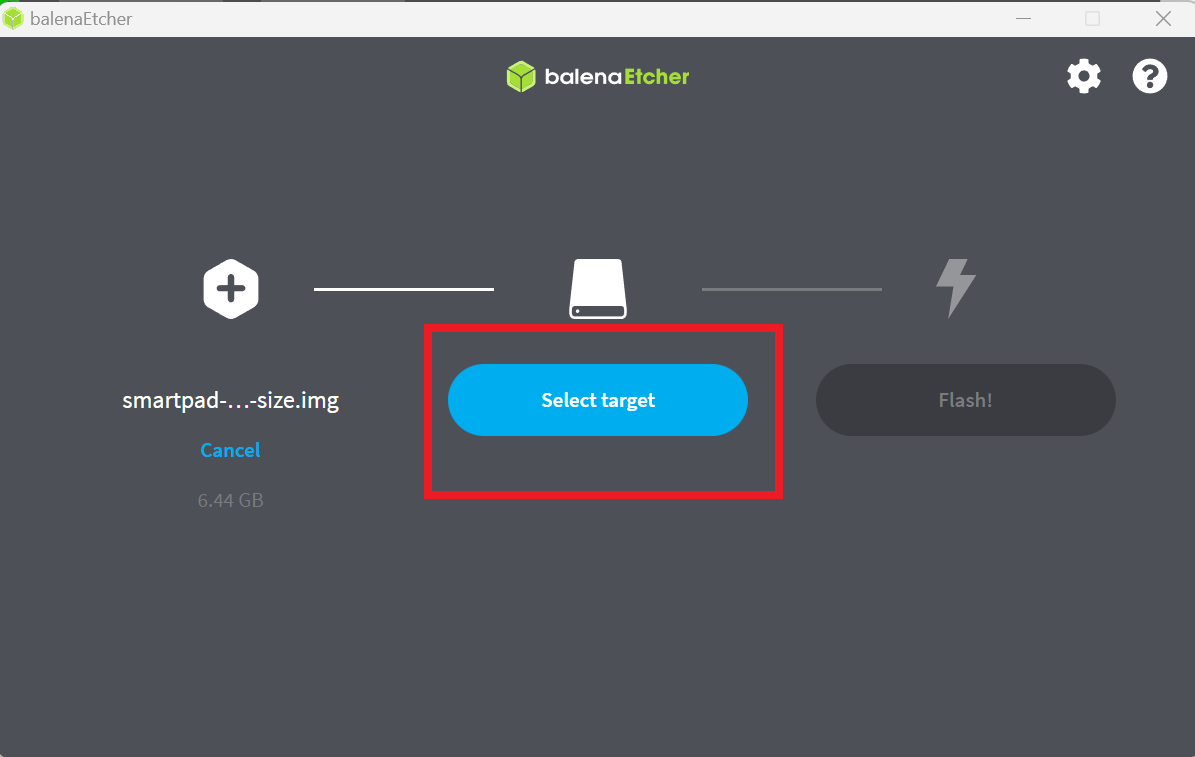
Select your SD support with Select target:
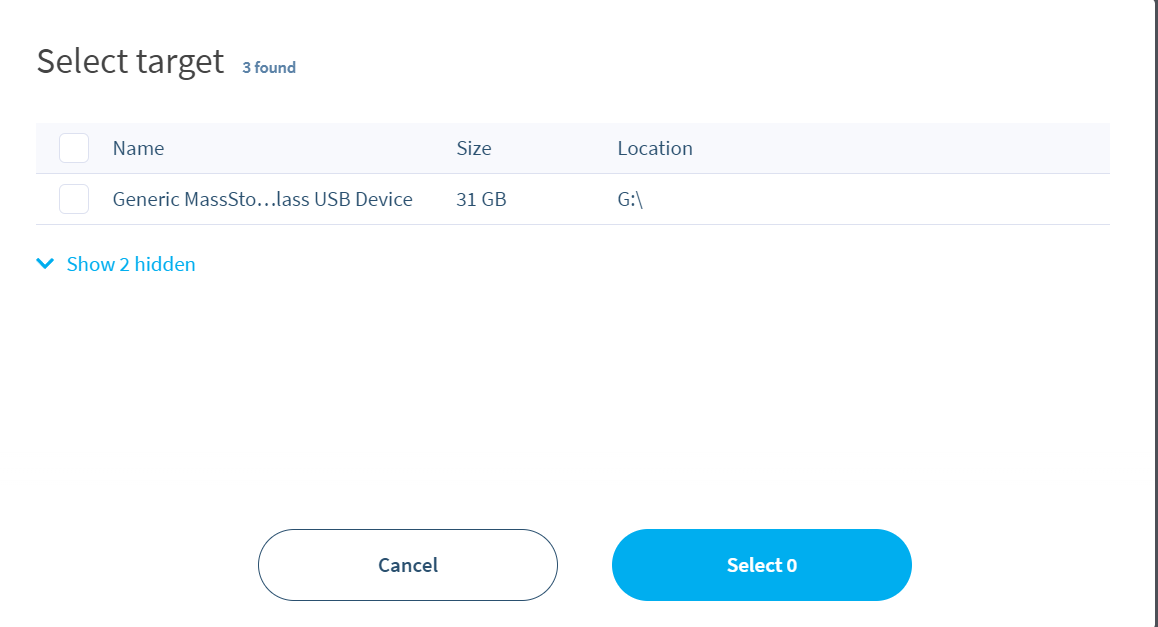
Flash the SD card with Flash!:
1.1 Wifi
With a keyboard and screen, connect to the smartpad.
Warning
Attention: QWERTY keyboard layout.
- User:
pi - Password:
yumi
Run the command:
Using the arrows on your keyboard, go to Network, confirm with Enter, then go to Wifi.
Select your wifi and type your password, then exit the menu.
Use this command to retrieve the IP address:
1.2 Connection
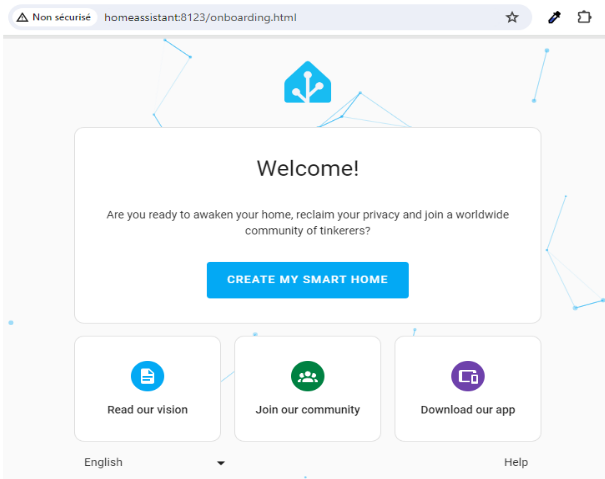
Now connect to the Home Assistant interface using a browser:

2. Install Home Assistant Supervised
This guide goes over how to install Home Assistant (Supervised) on a Debian based Linux distribution. Remember: only the latest version of Debian is supported.
A prebuilt image for this method (32 GB card or more) is available here: https://drive.google.com/file/d/1OFF1DpqMVtUqXKGGxFsO4lJdDIy_v8eS/view?usp=drive_link
The default logins of this image are: username "root" or "pi", password "pi".
2.1 Prerequisites
- Micro SD Card: a 32 GB or bigger card is recommended
- A Smart Pi running YUMI SMART PI 1 BOOKWORM SERVER (recommended)
- During the Linux server installation, please create user: pi
Connect to the smartpi via SSH with MobaXterm or PuTTY, for example.
Update the smartpi:
2.2 Firmware update and restart
Use the armbian-config utility to update the firmware:
In the interactive menu, select "System":
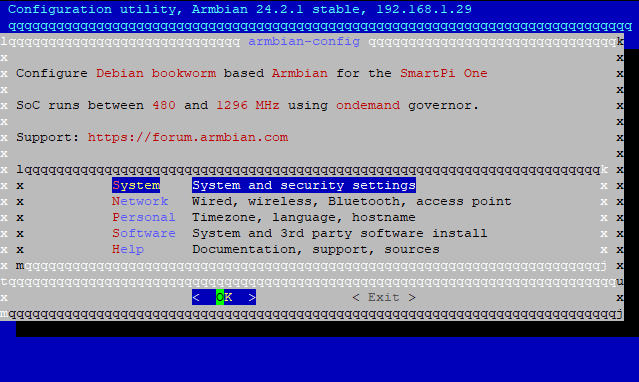
Select "Firmware" and "< Yes >":

And select "< Yes >" for reboot:

2.3 Home Assistant installation
Run the installation logged in as root.
Update the OS name
Only Debian is supported by HA supervised, so we need to fake the OS name, otherwise the install will fail on check.
In /etc/os-release, update ARMBIAN_PRETTY_NAME to:
Give a host name if you like
Configure AppArmor and cgroupv1
apt install apparmor
sudo echo "extraargs=apparmor=1 security=apparmor systemd.unified_cgroup_hierarchy=false systemd.legacy_systemd_cgroup_controller=false" >> /boot/armbianEnv.txt
update-initramfs -u
reboot
Home Assistant installation script for the YUMI Smart Pi One
git clone https://github.com/adnroboticsfr/smartpi_homeassistant.git
cd smartpi_homeassistant
chmod +x install.sh
./install.sh
Choose qemuarm as the machine type:
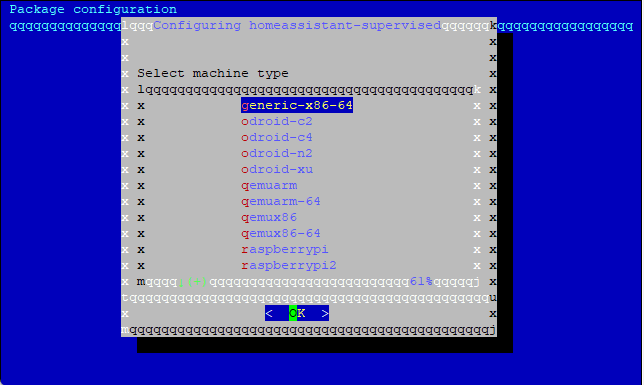
Wait for the installation check of Home Assistant and reboot:

A short while after the installation begins, the Home Assistant web interface will be available at http://homeassistant:8123 or http://IP:8123, where IP is the IP address of your device. You will get the "Preparing Home Assistant" screen:
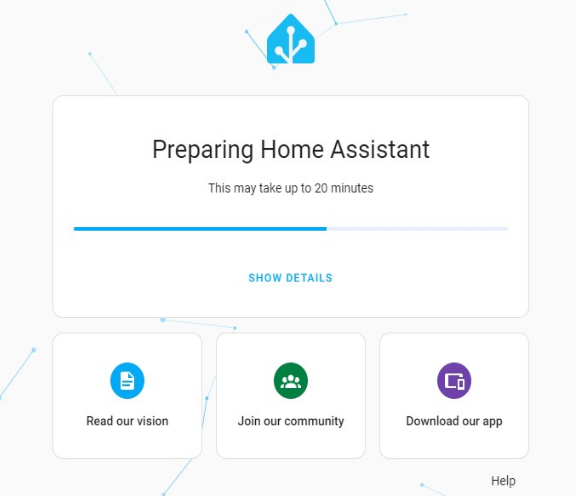
Wait until the installation is complete. Once its preparation is complete, it will ask you for some settings: