Klipper Sidewinder X2 installation
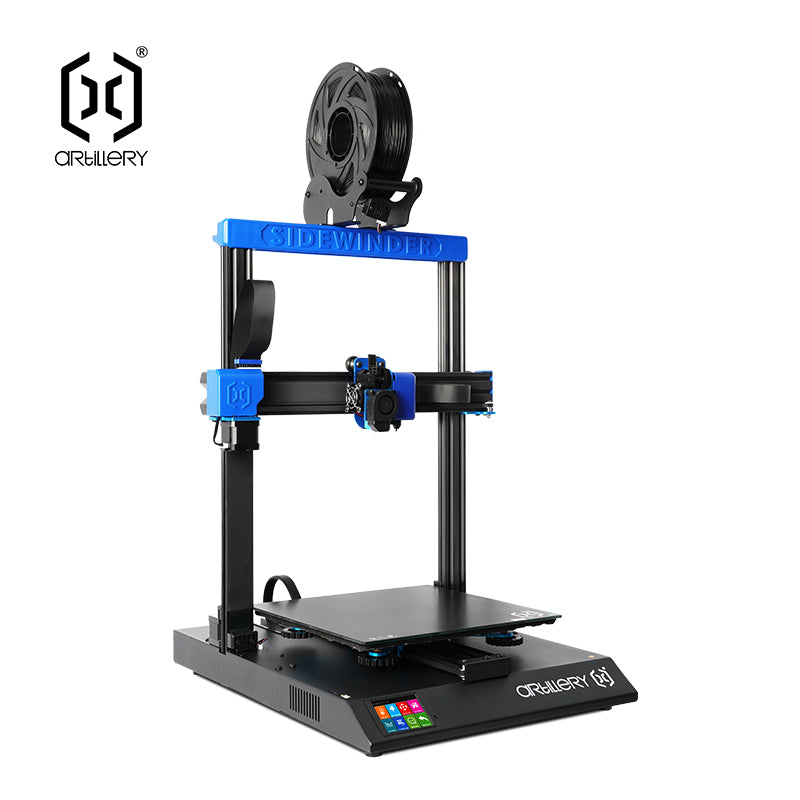
This procedure is for anyone who has a Sidewinder X2 and a SmartPad klipper control device.
1. Please read the procedure first
You are responsible for all operations carried out on your equipment. This procedure explains how to set up klipper on your printer. It has been tested and is fully functional.
This procedure has been tested and approved for Ruby 1.2 motherboards. Do not install it on other motherboards.
2. Hardware and software :
MobaXterm https://mobaxterm.mobatek.net/download-home-edition.html
Pronterface https://github.com/kliment/Printrun/releases/tag/printrun-2.0.1
3. SSH connection
Download and install MobaXterm.
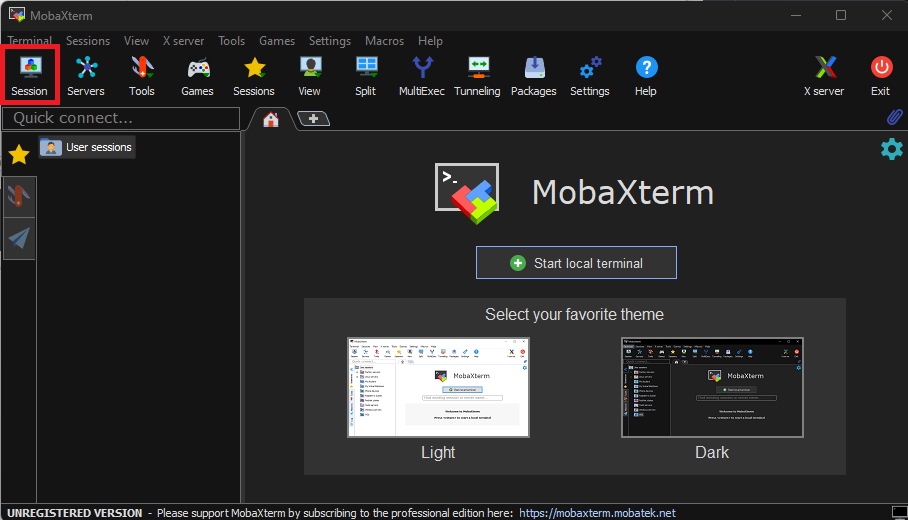
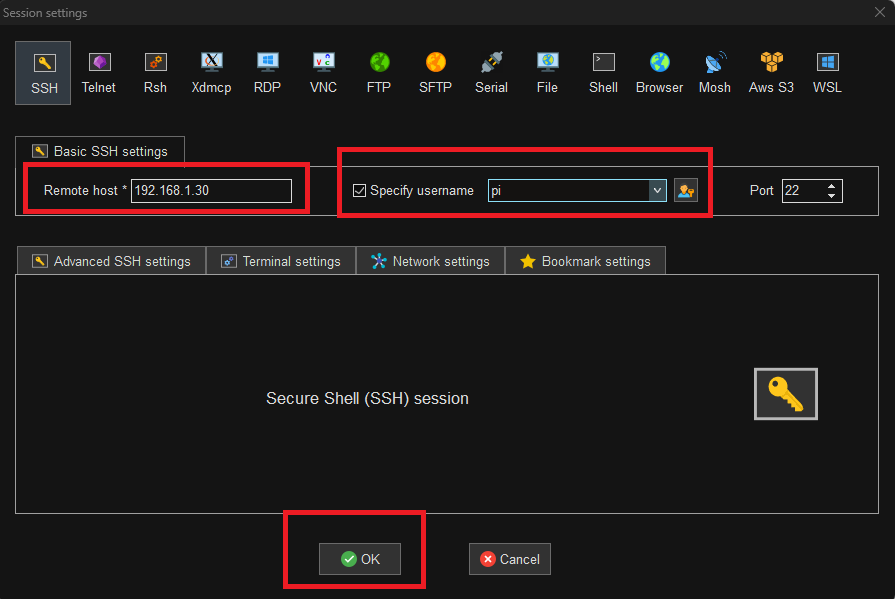
Click on the Session icon
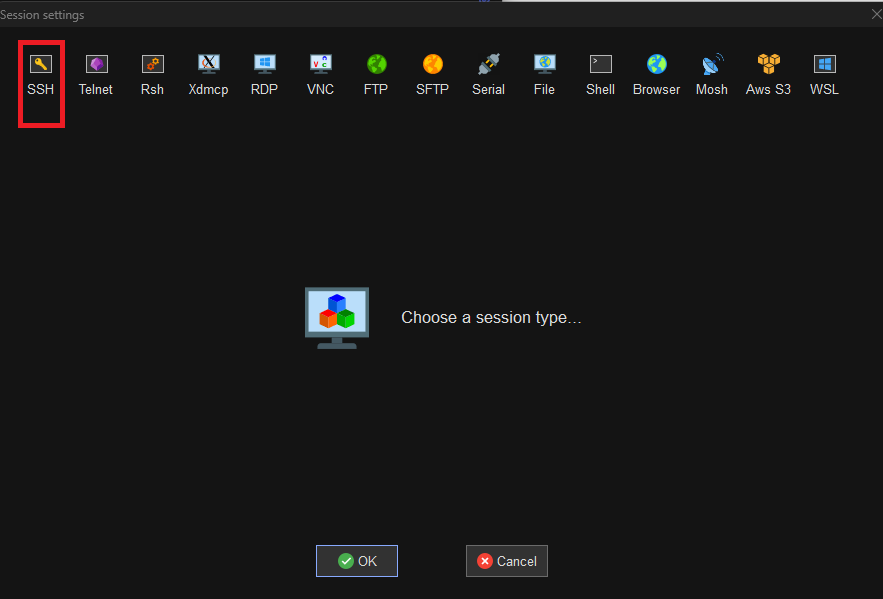
Select SSH
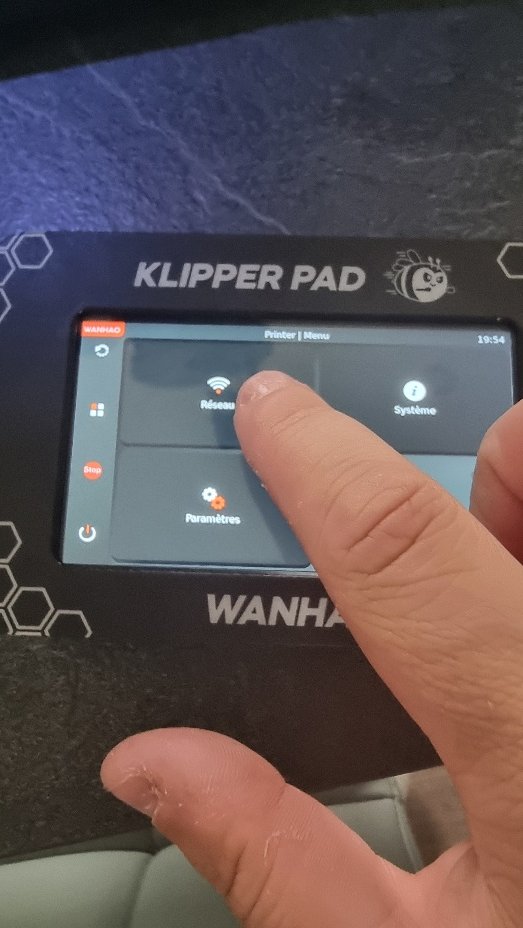
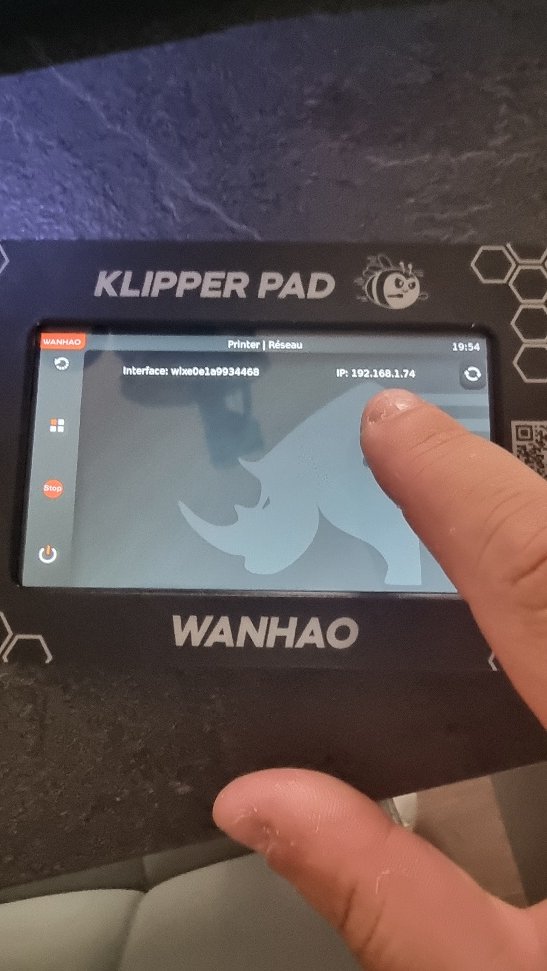
Enter the raspberry's IP address and enter pi as the user name. Follow this procedure to find the IP address: https://www.malekal.com/comment-faire-un-scan-ip-reseau-local-lan/ Or, on the Pad, go to Menu :
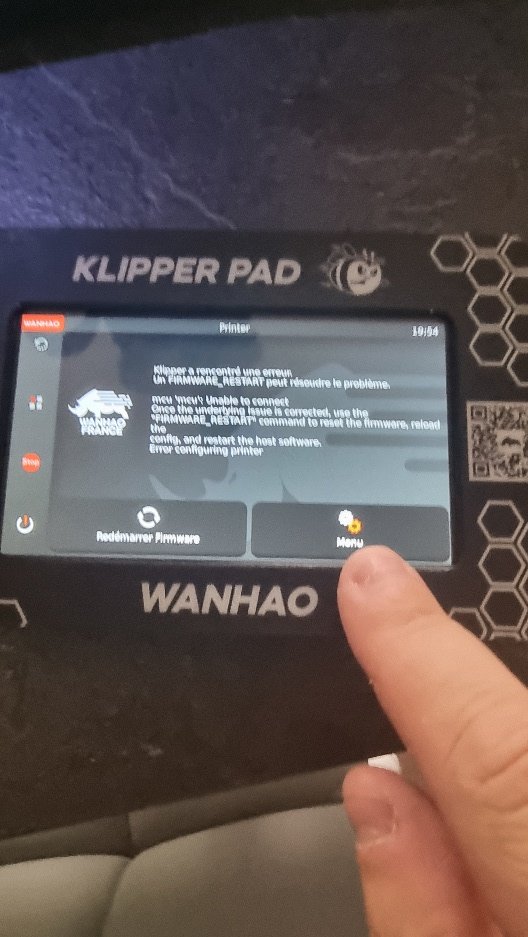
Network:
You will see your IP address
You will be prompted to enter the password.
The Pad Wanhao username is pi and the password is yumi.
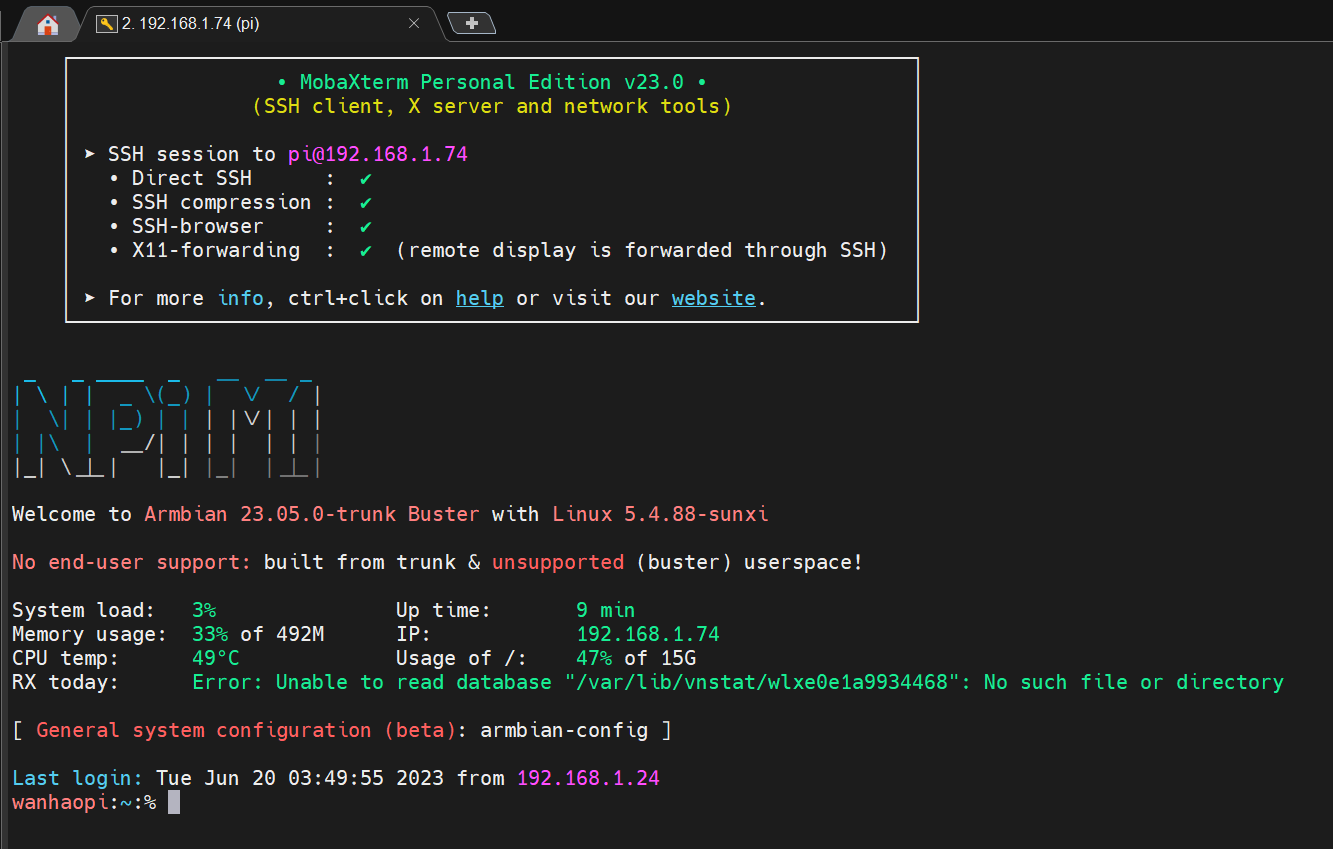
A certificate authorization may appear. You need to validate it. Once you're logged in, you'll see this screen:
4. Generate firmware
The left sidebar corresponds to the Raspberry file and the right to the command line interface.
Issue the command cd klipper and confirm with Enter
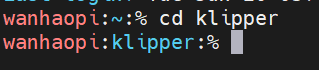
to access the firmware configuration parameter, run the command:

You need to set the information below:
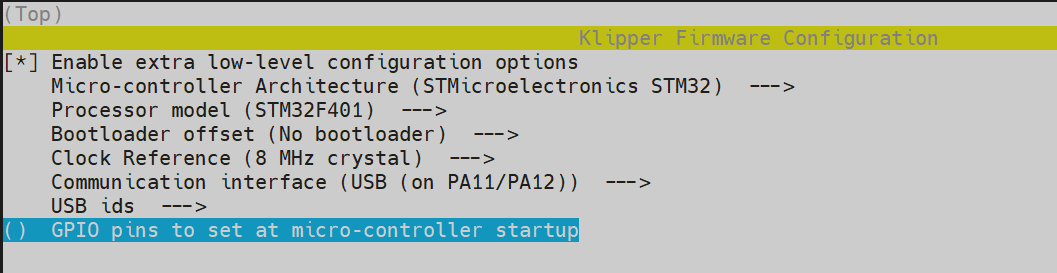
Use the arrow keys to move around and enter to confirm.
When ready, press q
Confirm with Y
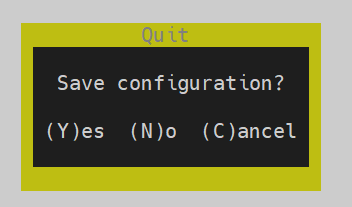
Run the make clean and make command. This will generate the firmware.
5. Switch printer to DFU mode
We need to switch the printer to DFU mode in order to install the frmware. To do this, you can install pronterface (link to start of tutorial) on your computer and connect it directly to the printer. Open Pronterface (in administrator mode).
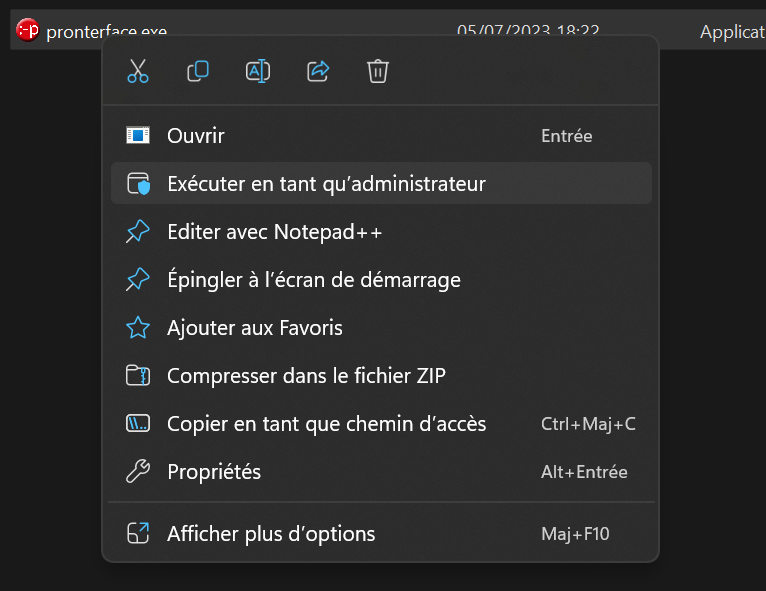
Connect the printer to the PC using the USB port and set 115200 baud. Click on connect.
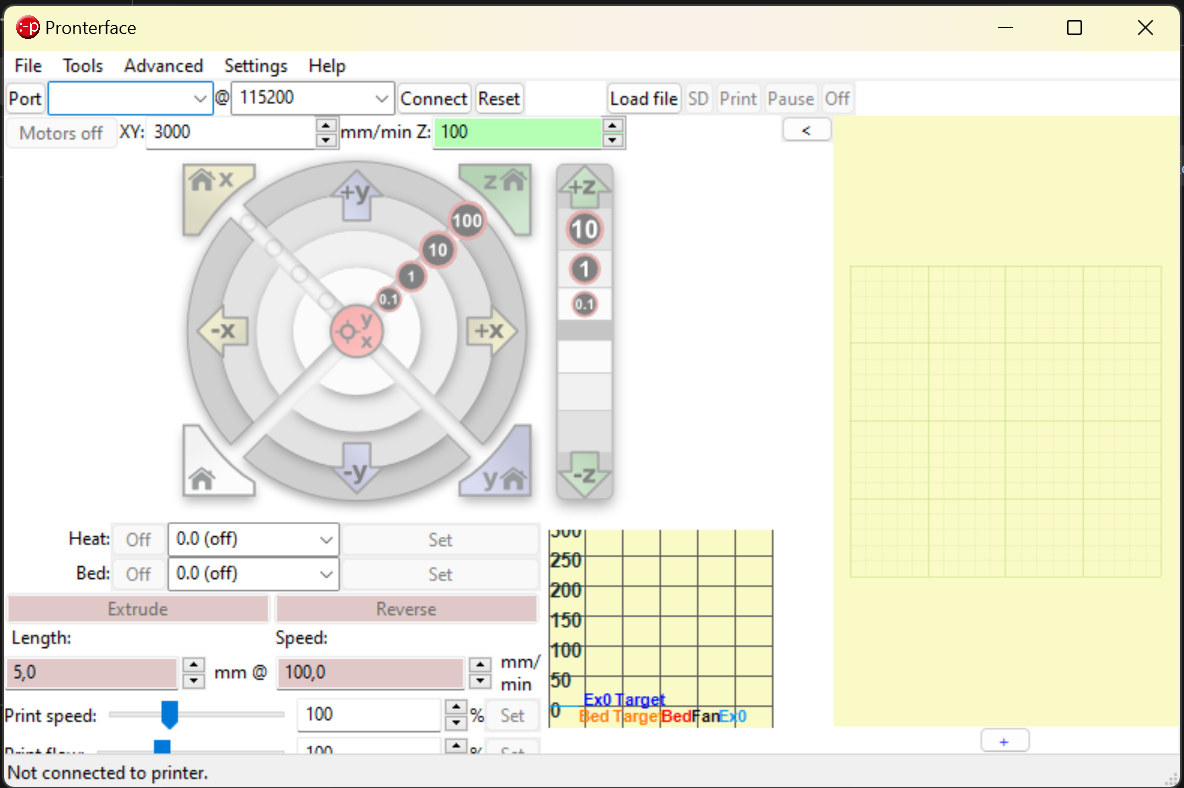
Run the command
6. Flashing with the SmartPad
Return to MobaXterm.
Connect the printer to the pad and run the lsusb command.
You should have a device in DFU mode.

Run the following command to flash the printer:
If you get this error:
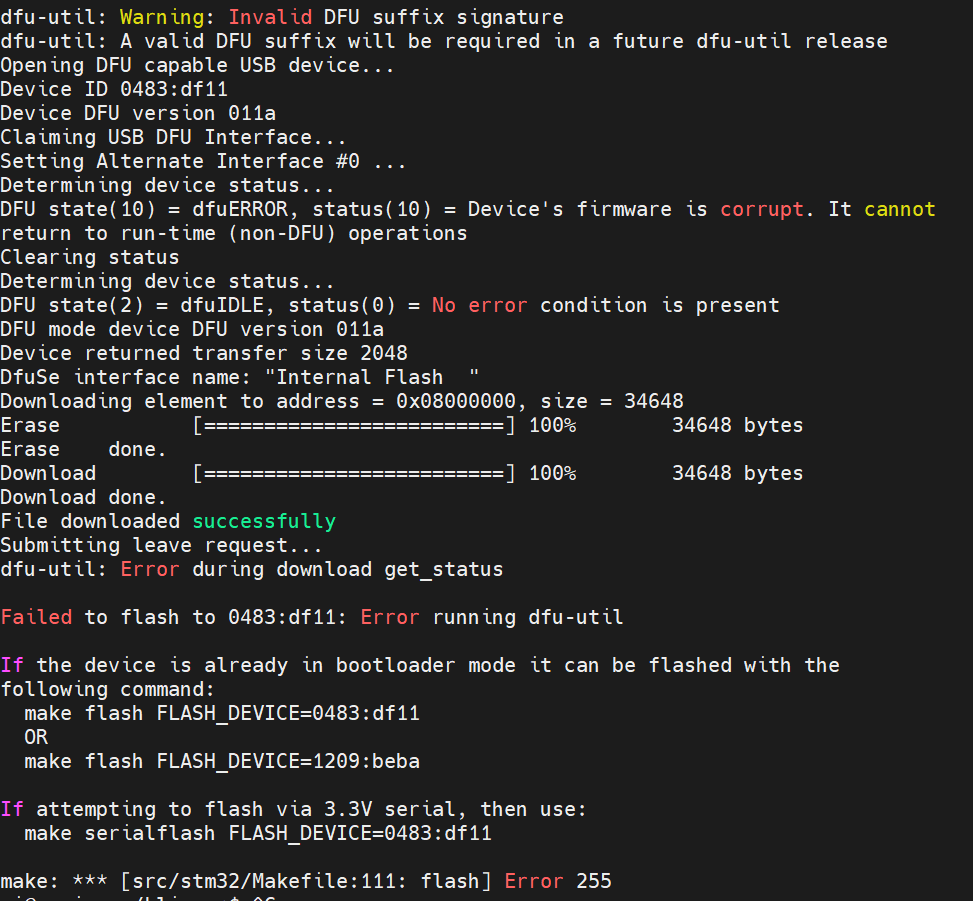
Please follow the steps below.
To begin, download the STM32cubeprogrammer: https://gofile.me/67vGQ/QqyBHGEDB
Run the following command to copy the firmware to a specific location so that it can be retrieved from the mainsail web interface.
Download the file firmware.bin
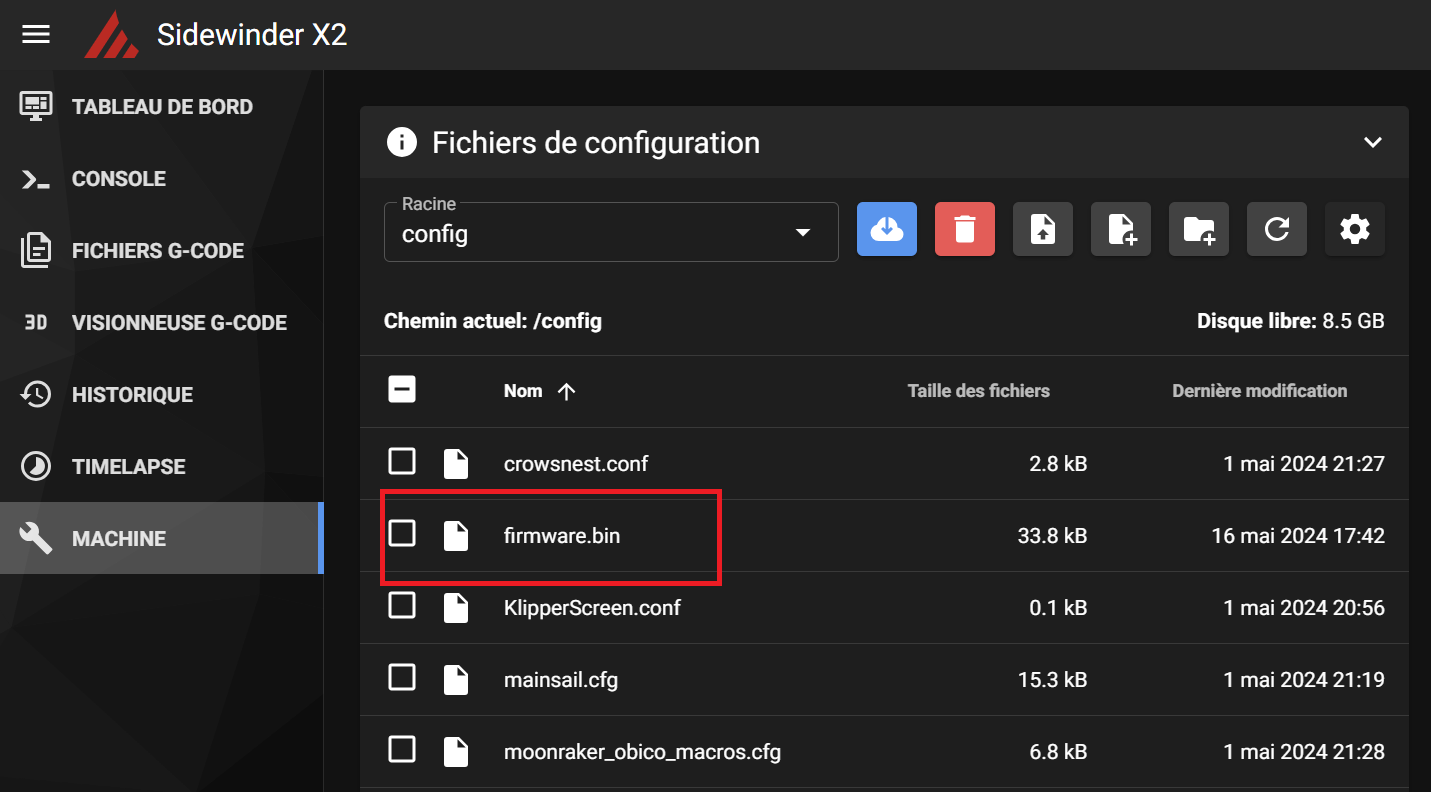
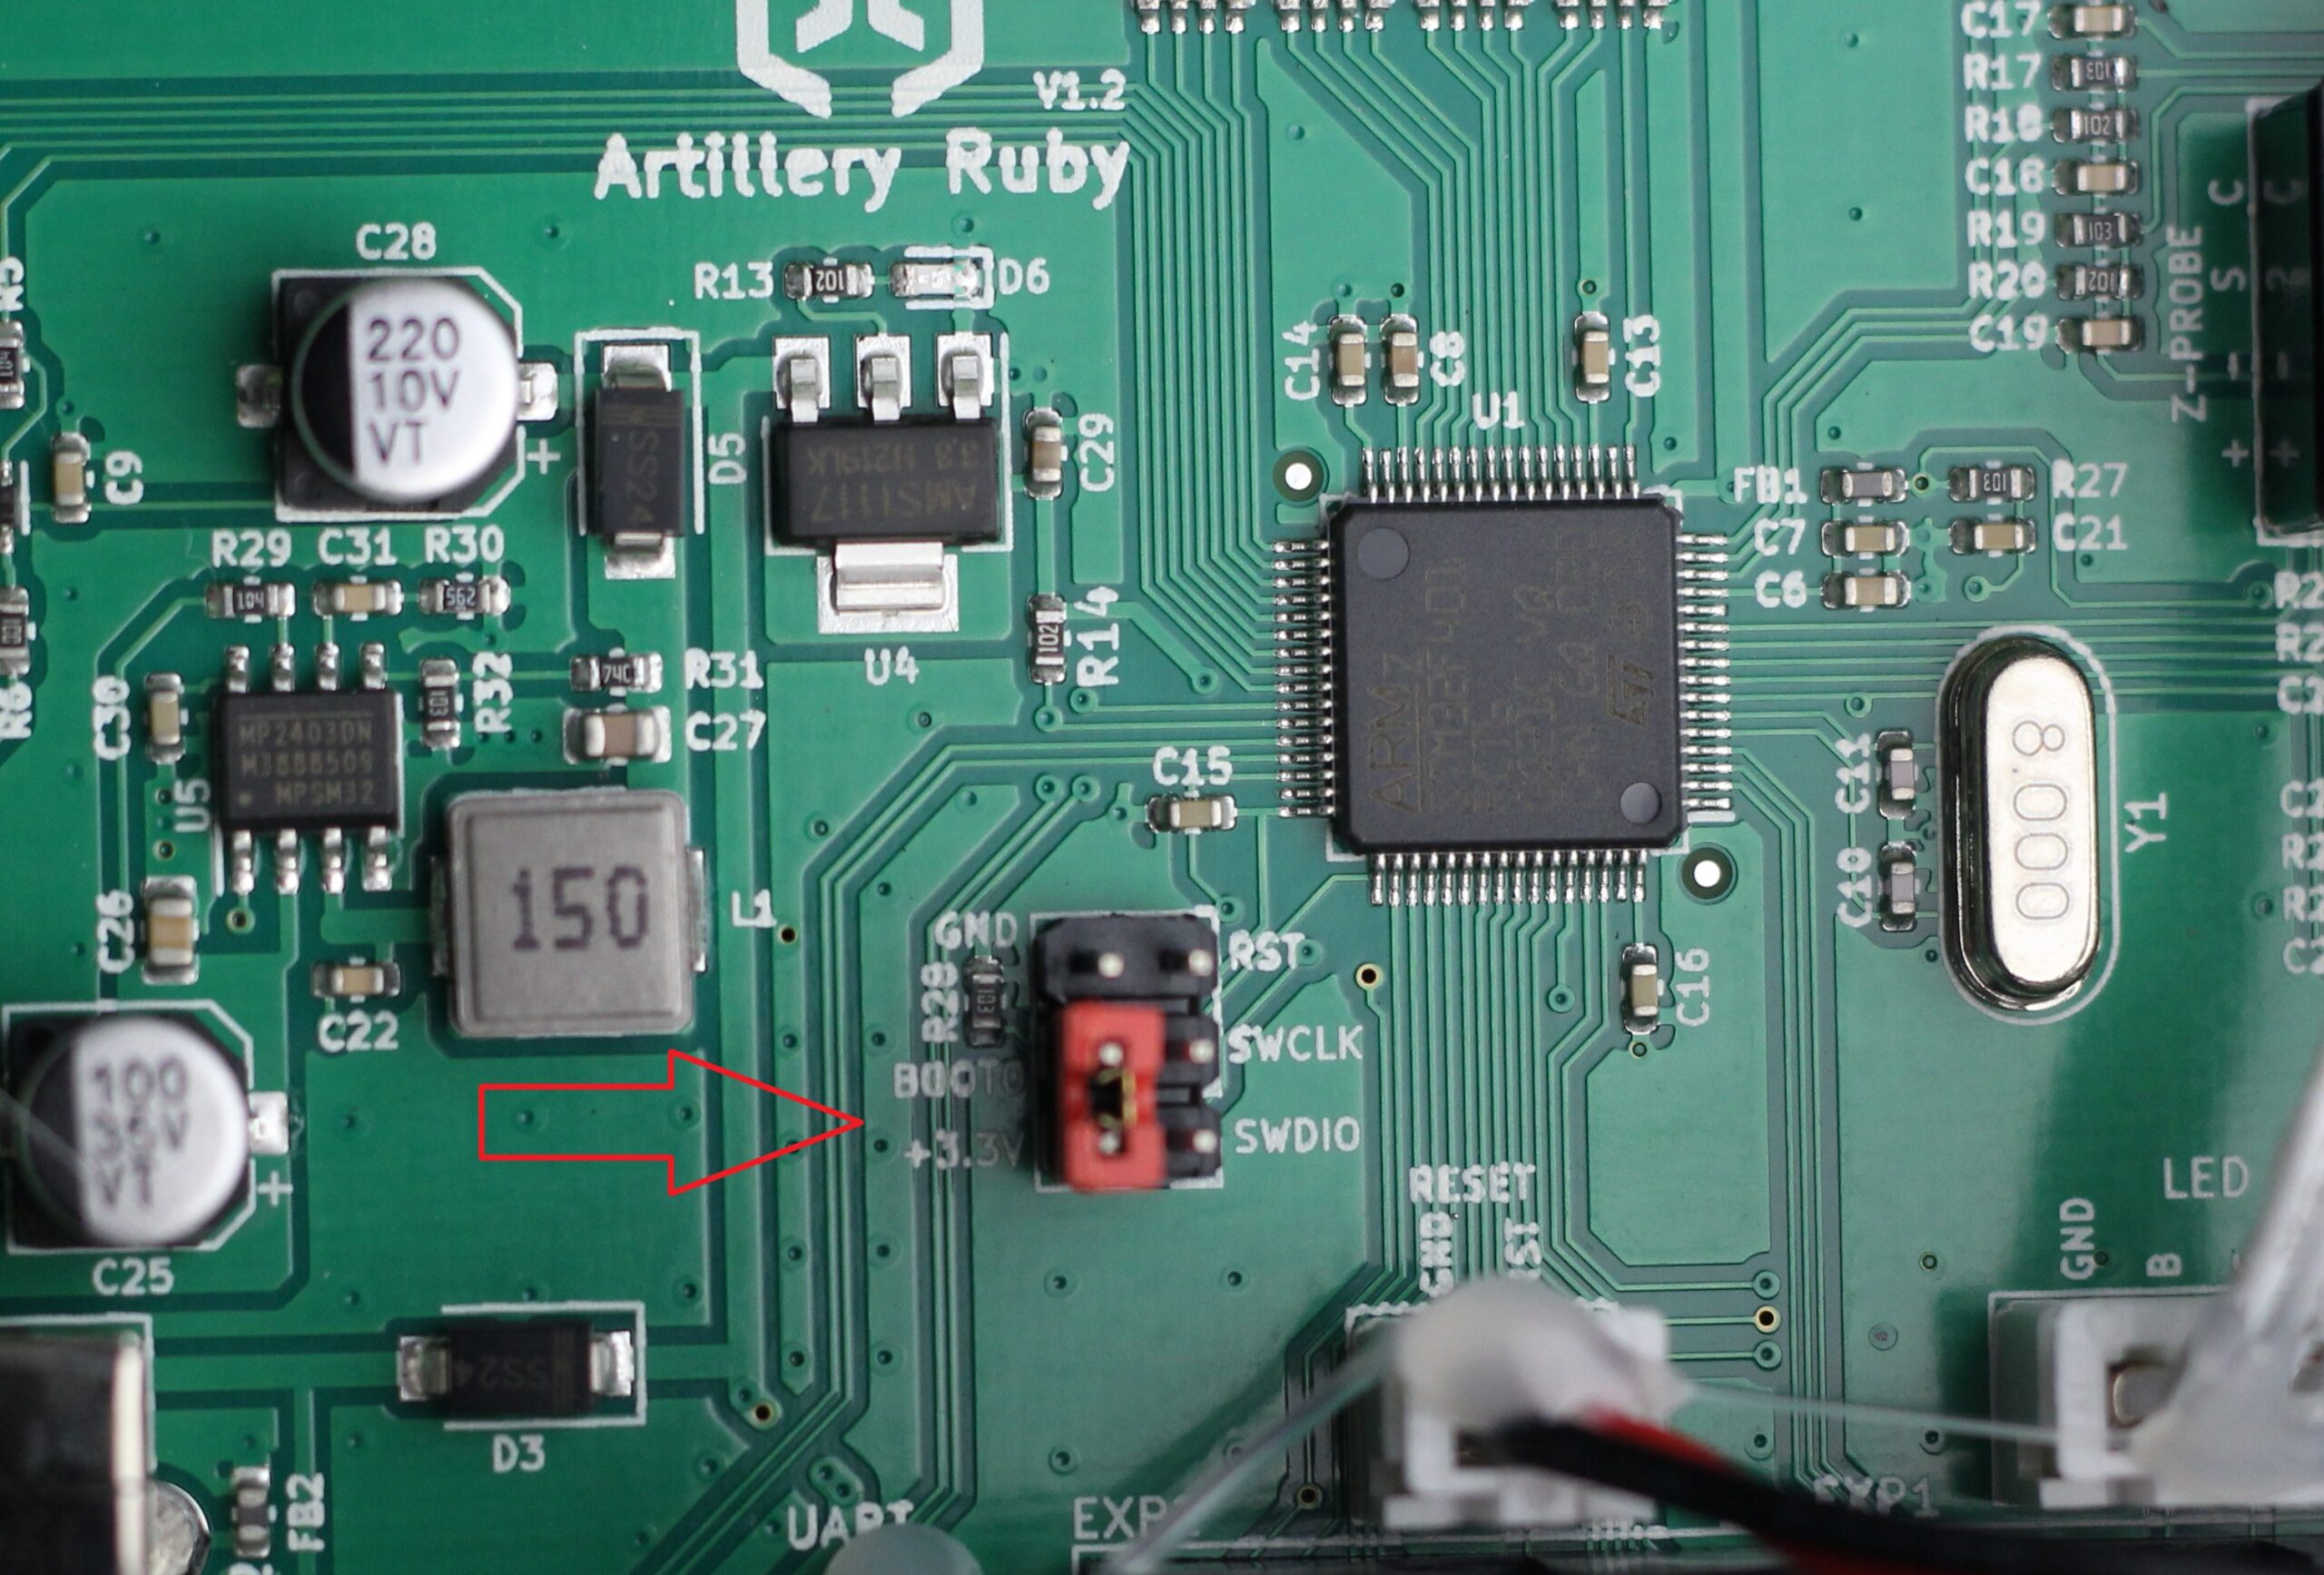
Switch the card to DFU mode by shaking the pins. To do this, you need to remove the bottom cover of the printer to gain physical access to the Artillery Ruby board. Next, you need to install a jumper to connect the BOOT pin and the +3.3V pin. This connection will put the Ruby card into DFU mode and allow you to flash the printer. Once the printer has started up in DFU mode, remove the jumper and connect it to the PC.
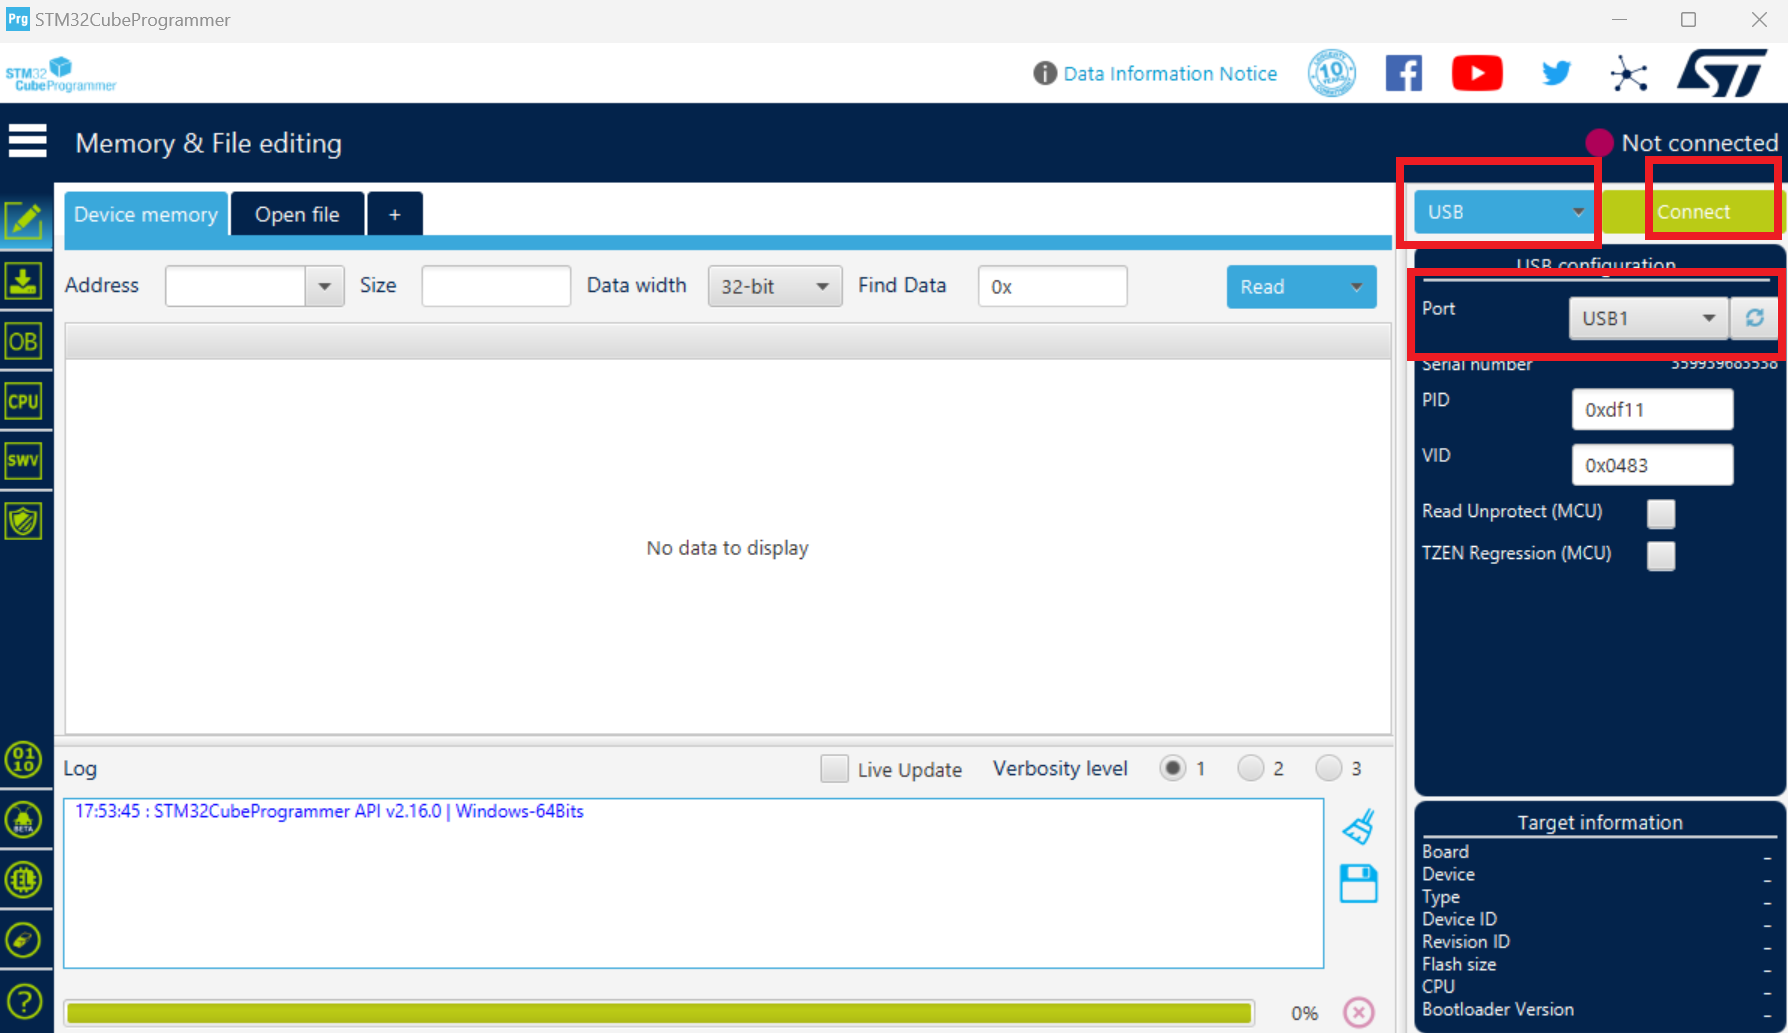
Launch STM32cubeprogrammer Select USB mode, USB1 port in my case and connect
Select erasing mode on the right-hand panel. select your firmware and click on start Programm
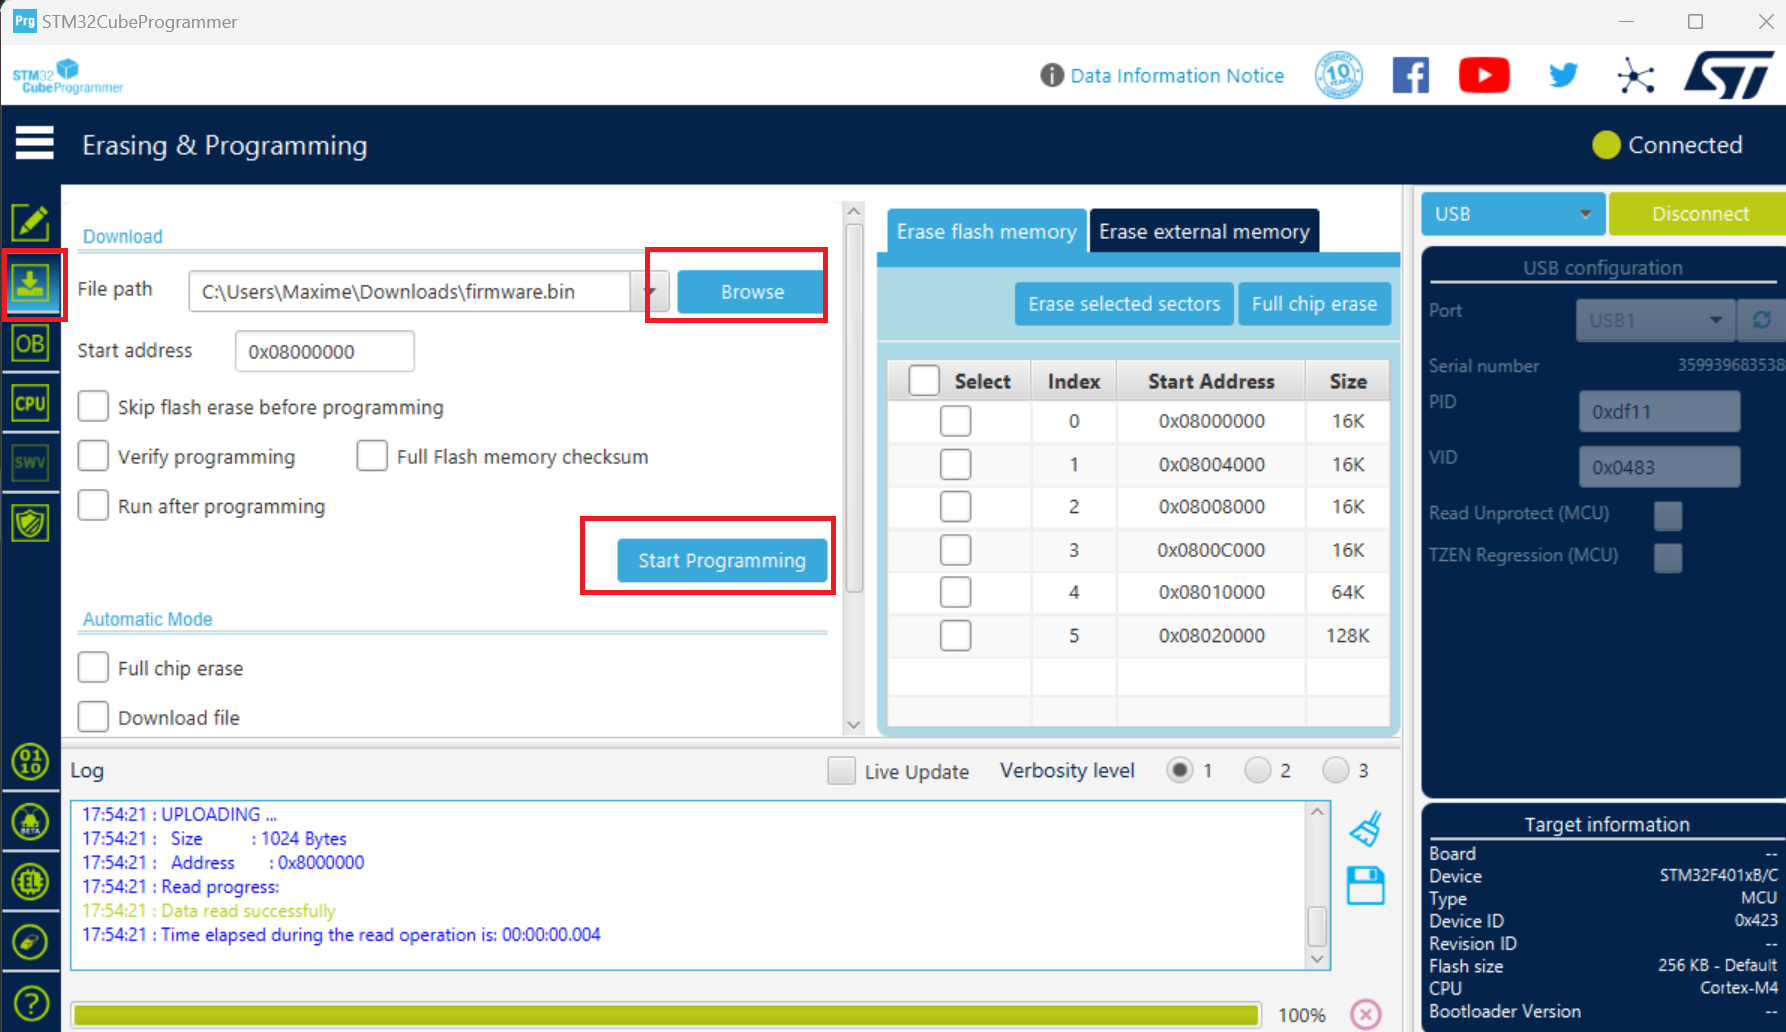
Once the firmware has been uploaded, close the STM32 program and disconnect the printer from the PC to connect it to the smartpad.
7. Download configuration files
Download the Sidewinder X2 configuration file from the following link:
Printer.cfg: https://github.com/Yumi-Lab/yumi-config/tree/main/smartpad-sidewinder-x2
8. Mainsail Web interface
You can connect to your Mainsail interface from a web browser with the address http://Your_IP_Address.
Example: http://192.168.1.74
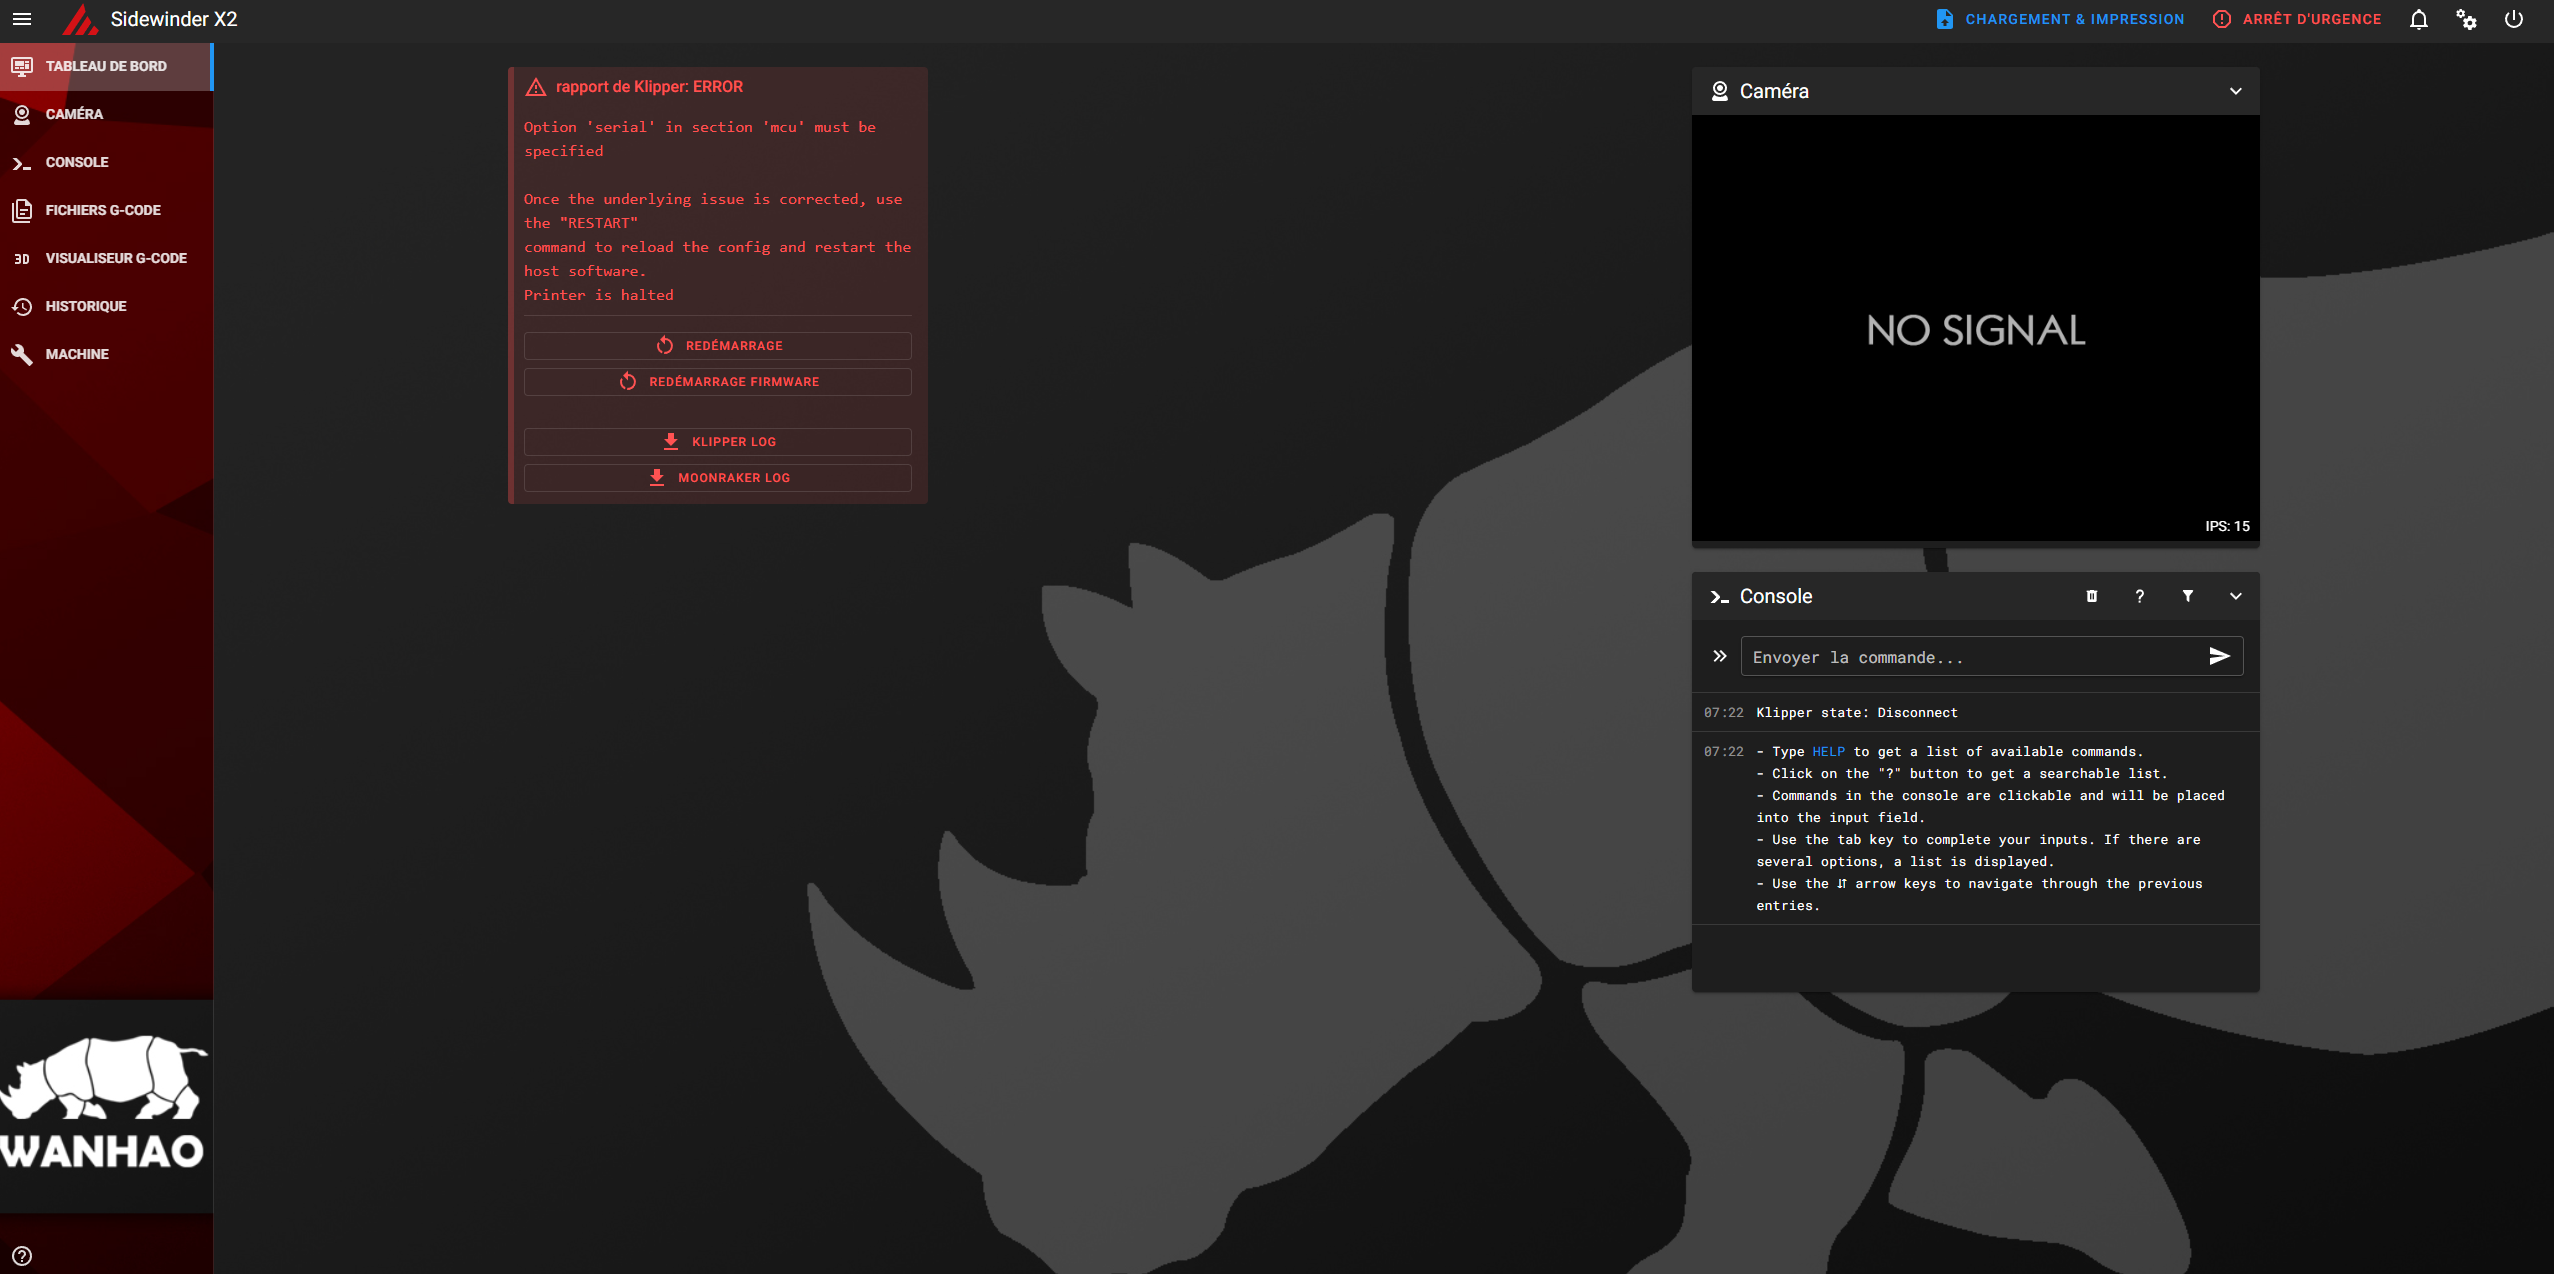
You should arrive on this page. The error is normal. We haven't finished the configuration.
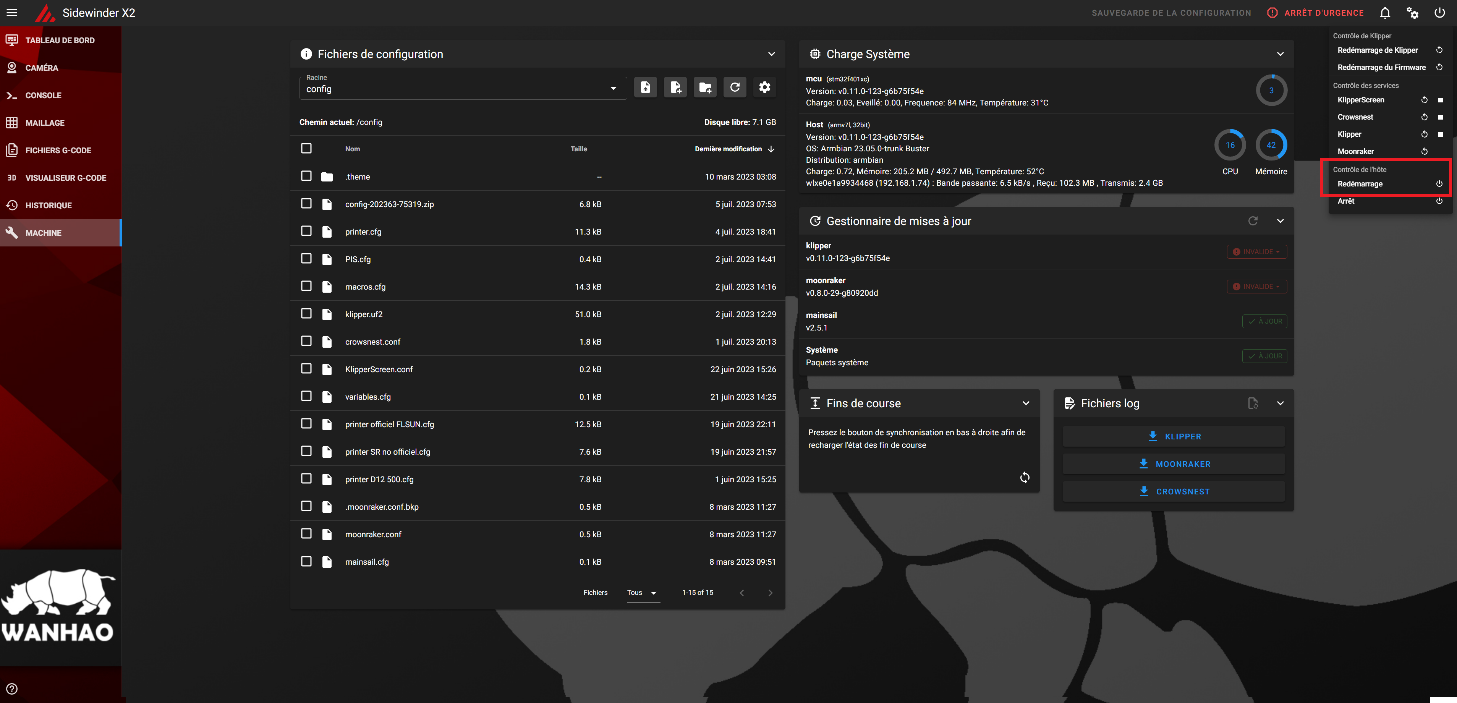
From the Mainsail interface, go to Machine (wrench icon) Click on the button to load files
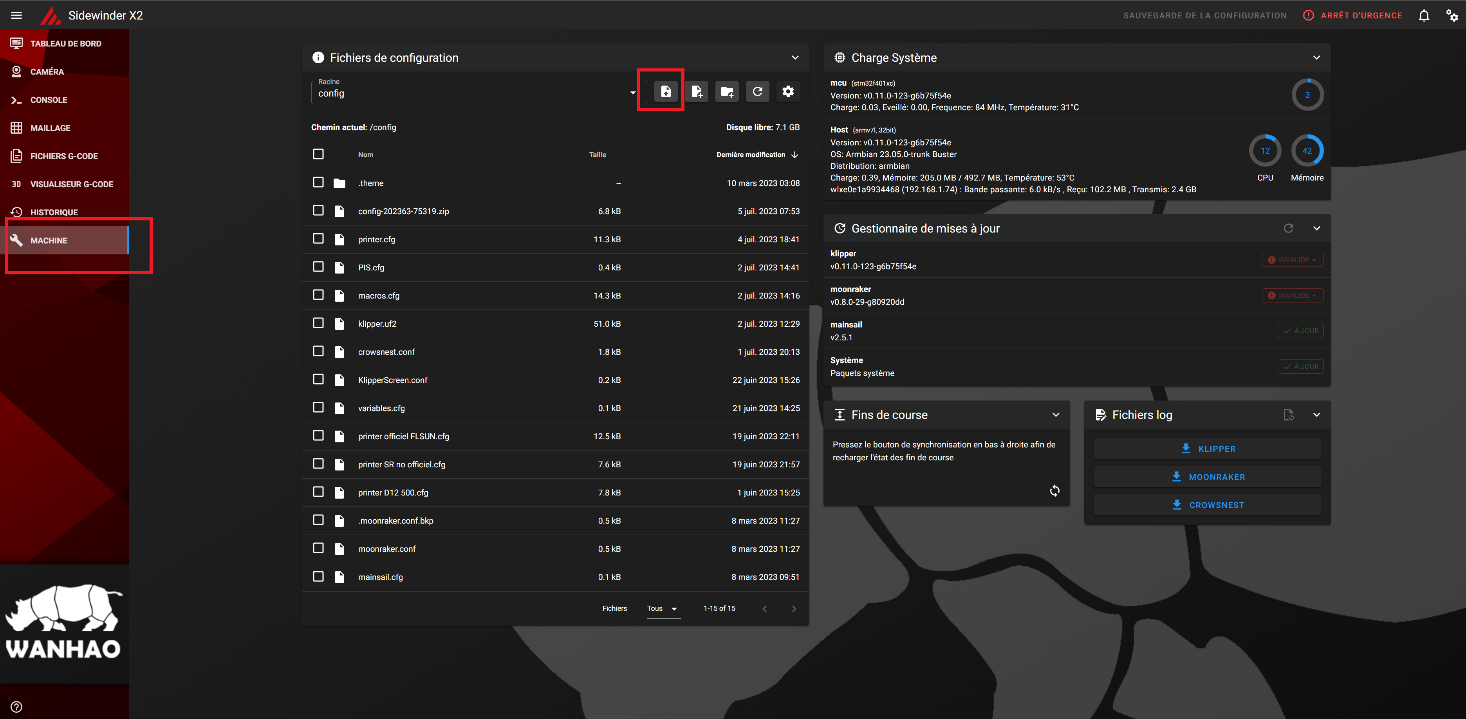
Select configuration file and click Open. Your file will be uploaded to Mainsail.

Restart the Pad and connect the printer to it with the correct USB cable.
9. Get your printer's USB ID
Connect your printer to one of the PAD's USB ports.
Connect via SSH with MobaXterm, then enter the following command to retrieve the USB serial from the motherboard:
Your id will be different from mine. You should see the USB id appear like this: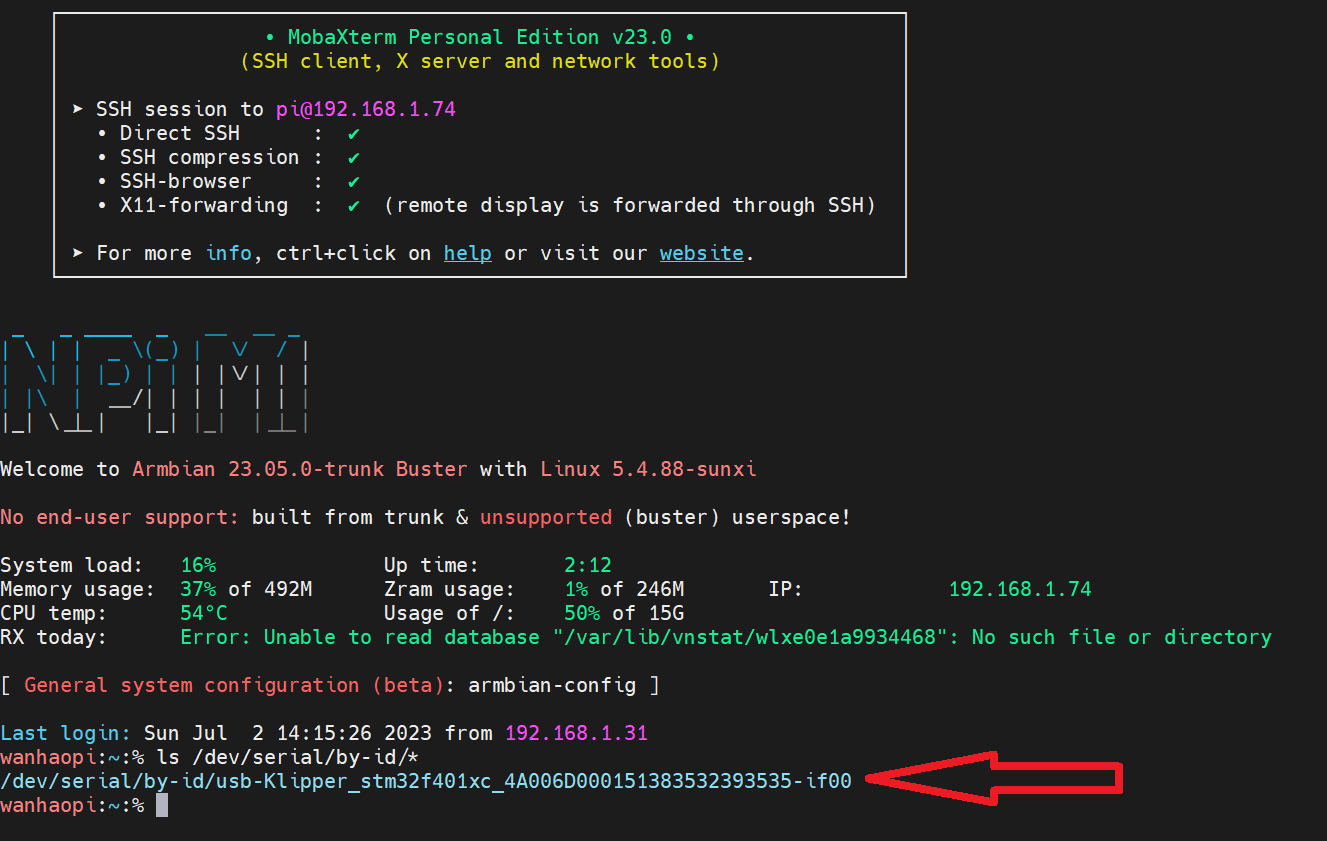
Go to your Mainsail web interface and click on the Machine tab.
Open the printer.cfg file and look for the [mcu] section.
Modify the existing line with the serial number you've just obtained as follows:
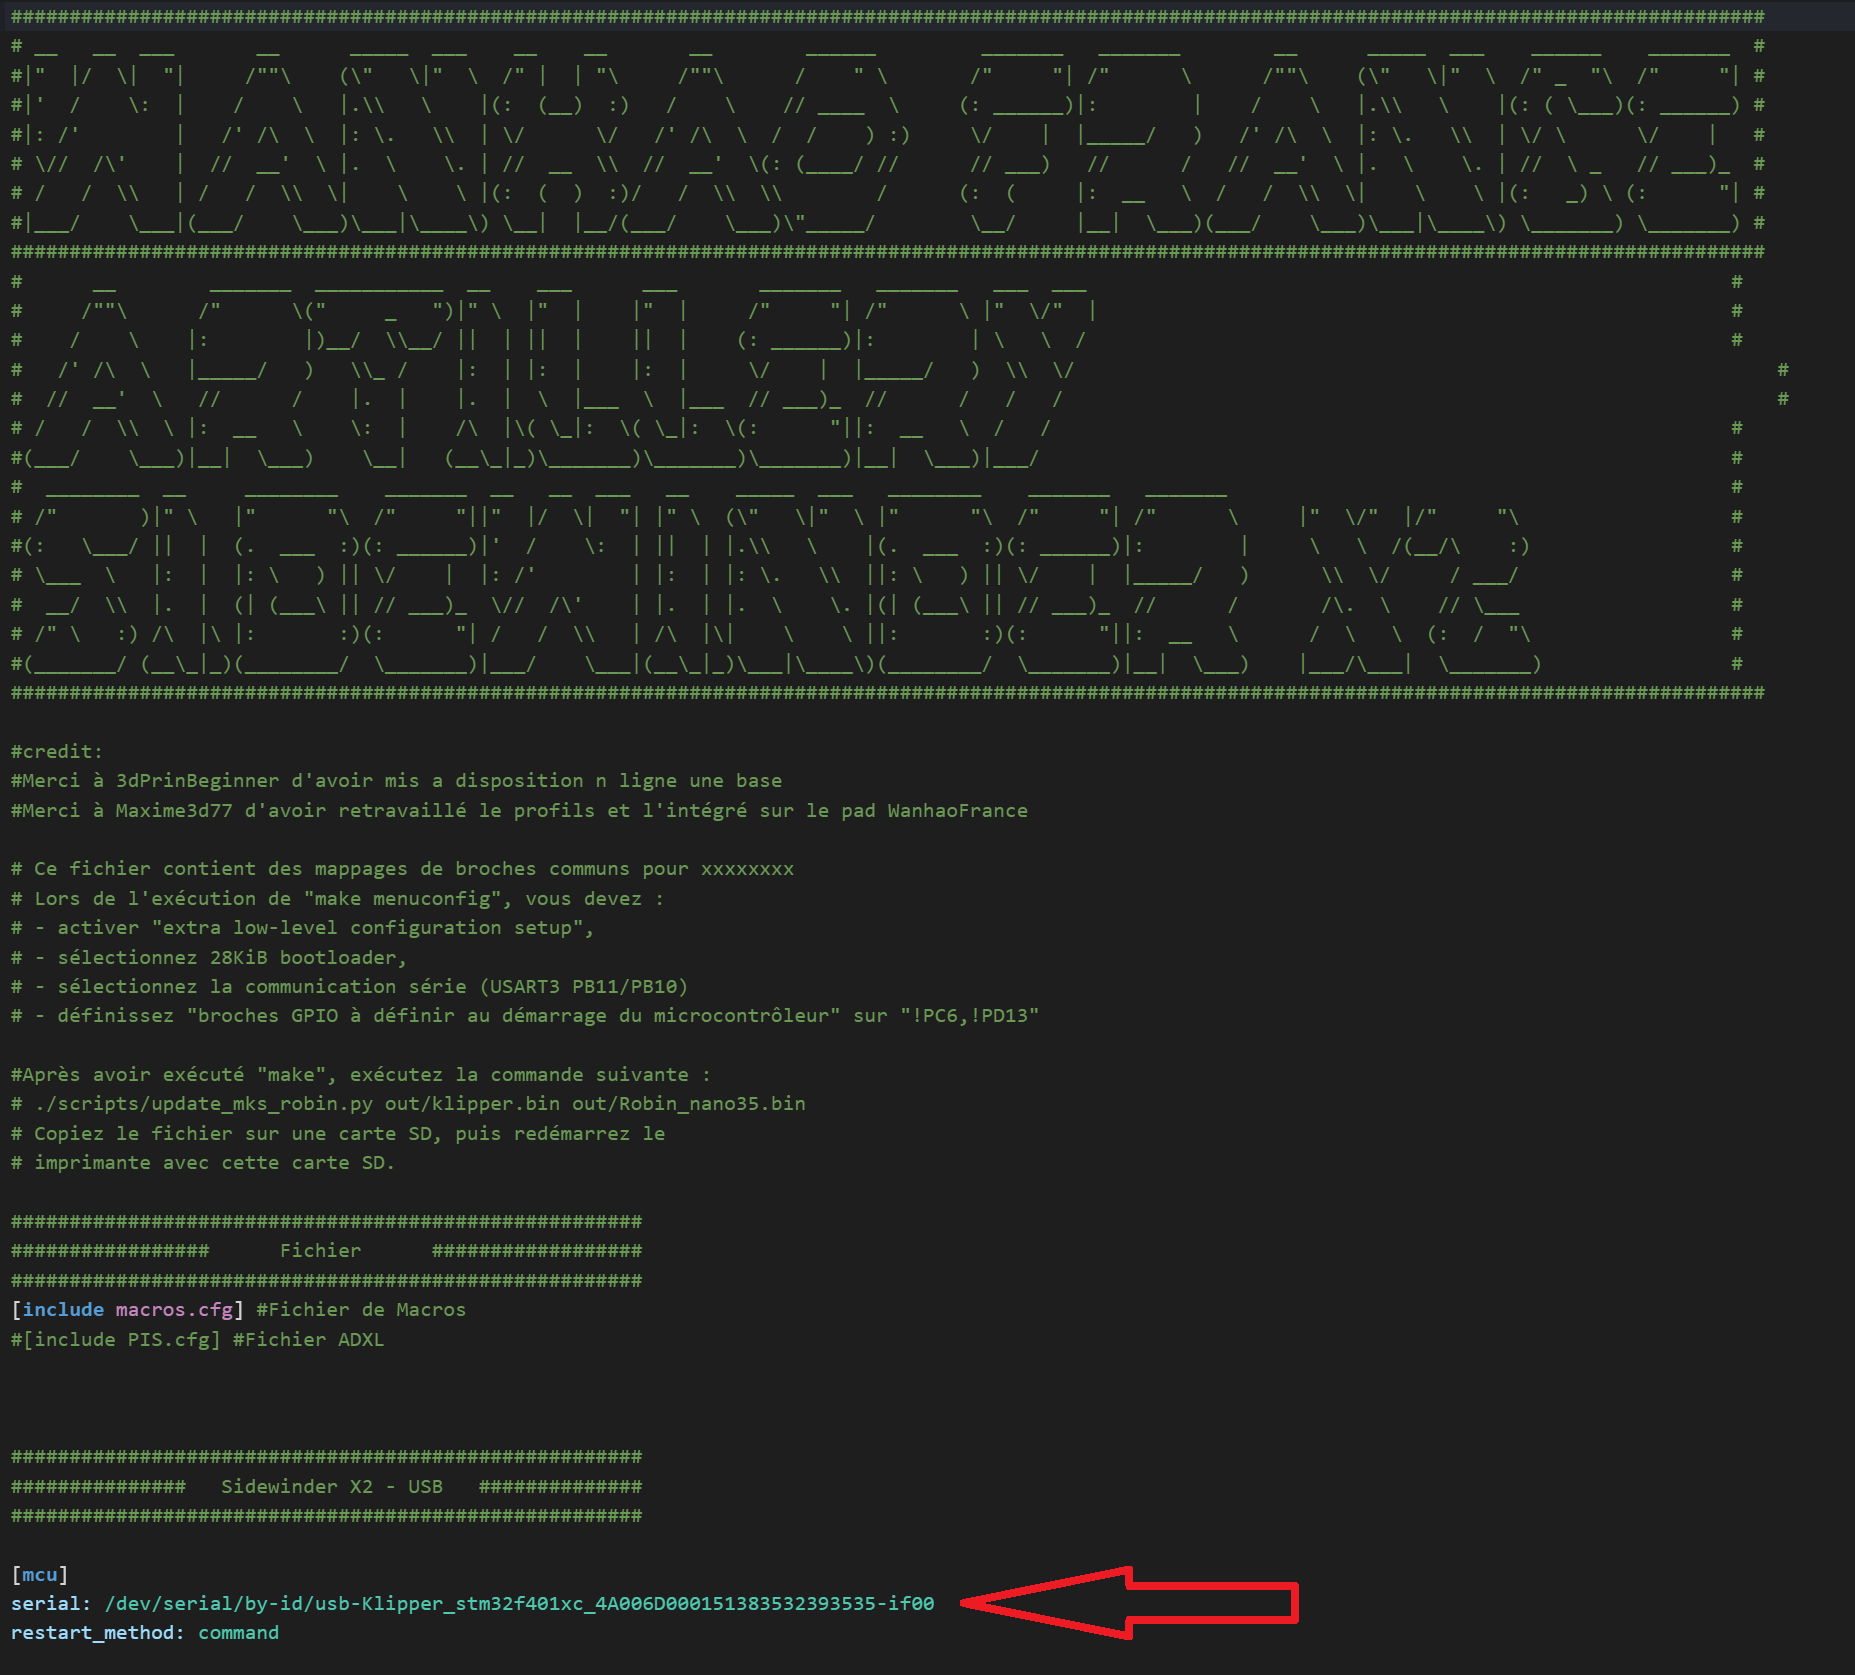
Click on SAVE and RESTART in the top right-hand corner to save the file.
Your printer should now connect to your Pi. Restart the firmware if it hasn't been updated yet.
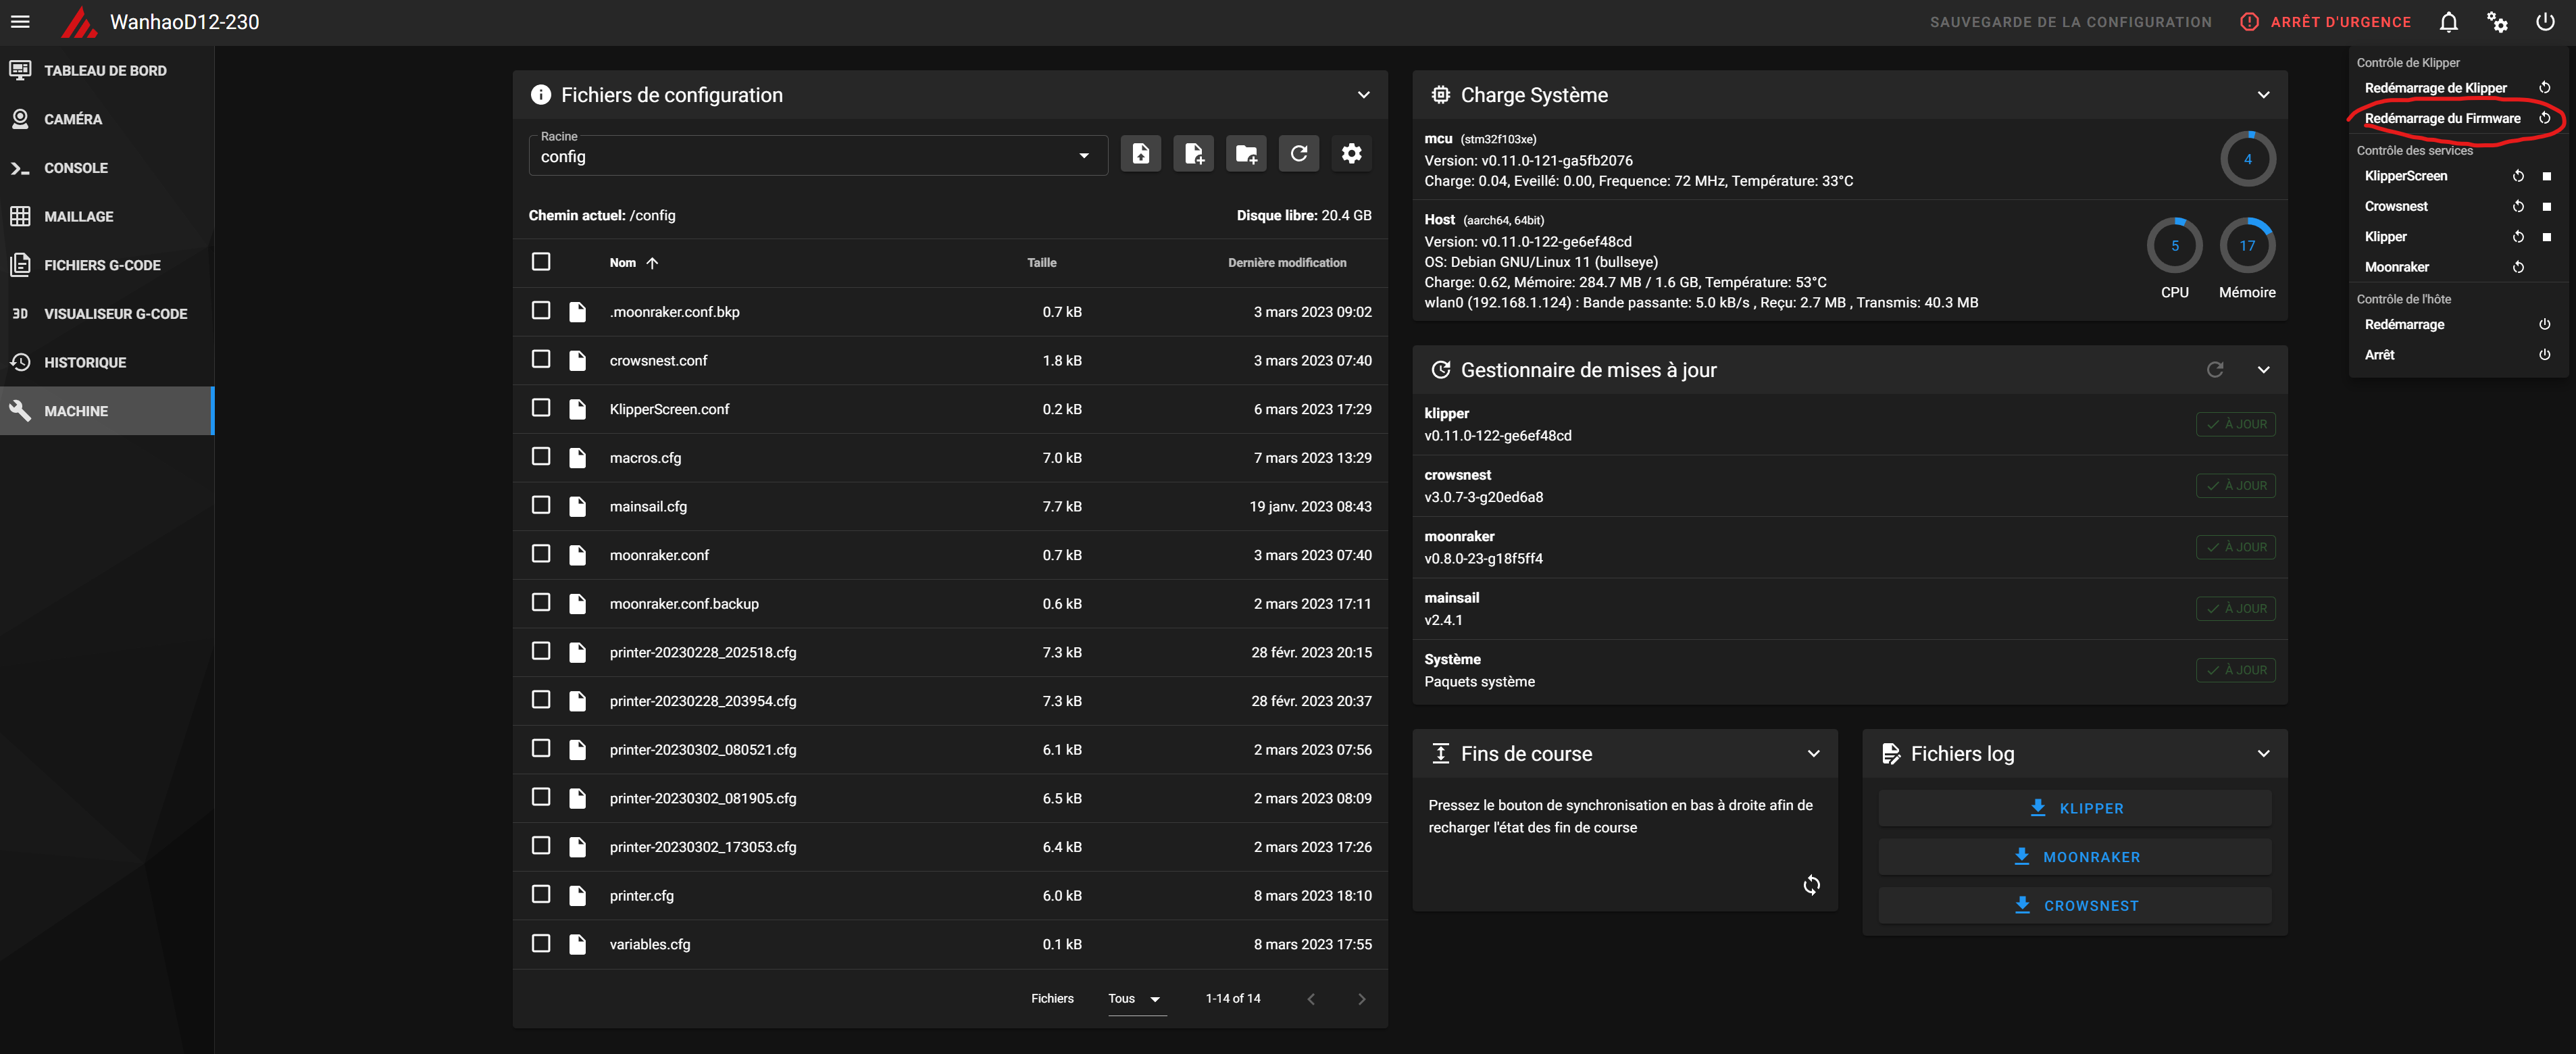
From the dashboard, it should look like this:
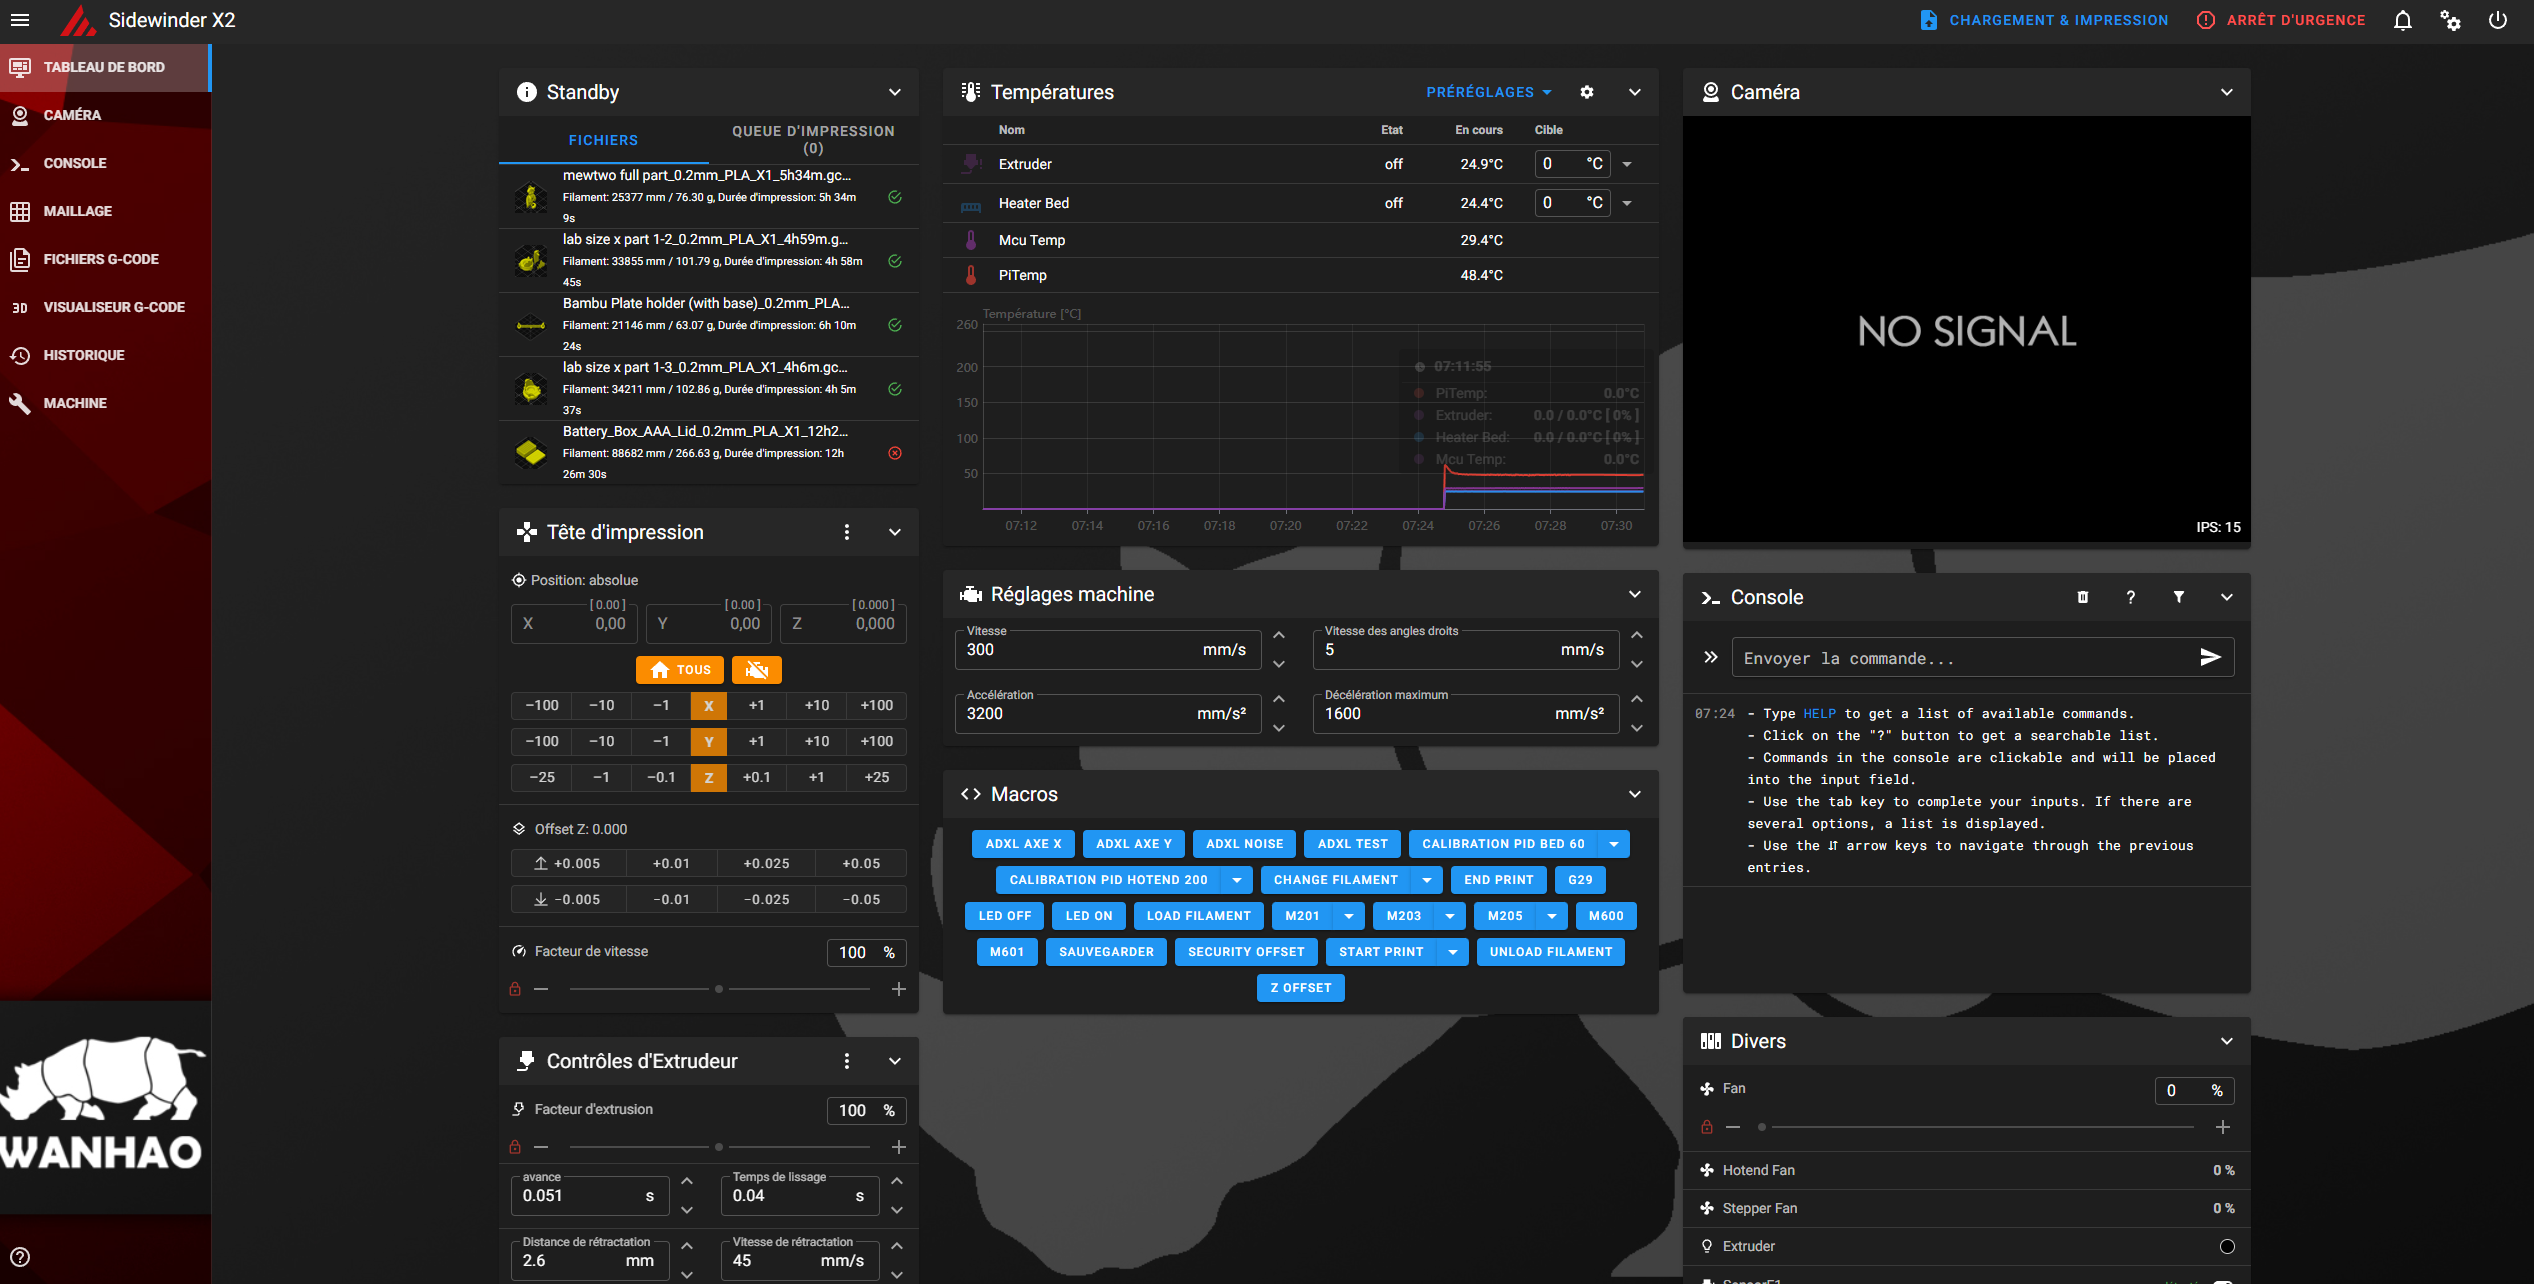
10. Filament detector
The filament detector on the X2 is connected to the screen. Once klipper is installed, there is no connection between the screen and the motherboard. It is currently connected to the left side of the printer. There is a port available on the right side of the printer. The filament sensor must therefore be moved. Disconnect the sensor from the printer. Carefully remove the cover and thread from the left-hand side of the printer and position it in the same way, but on the right-hand side.
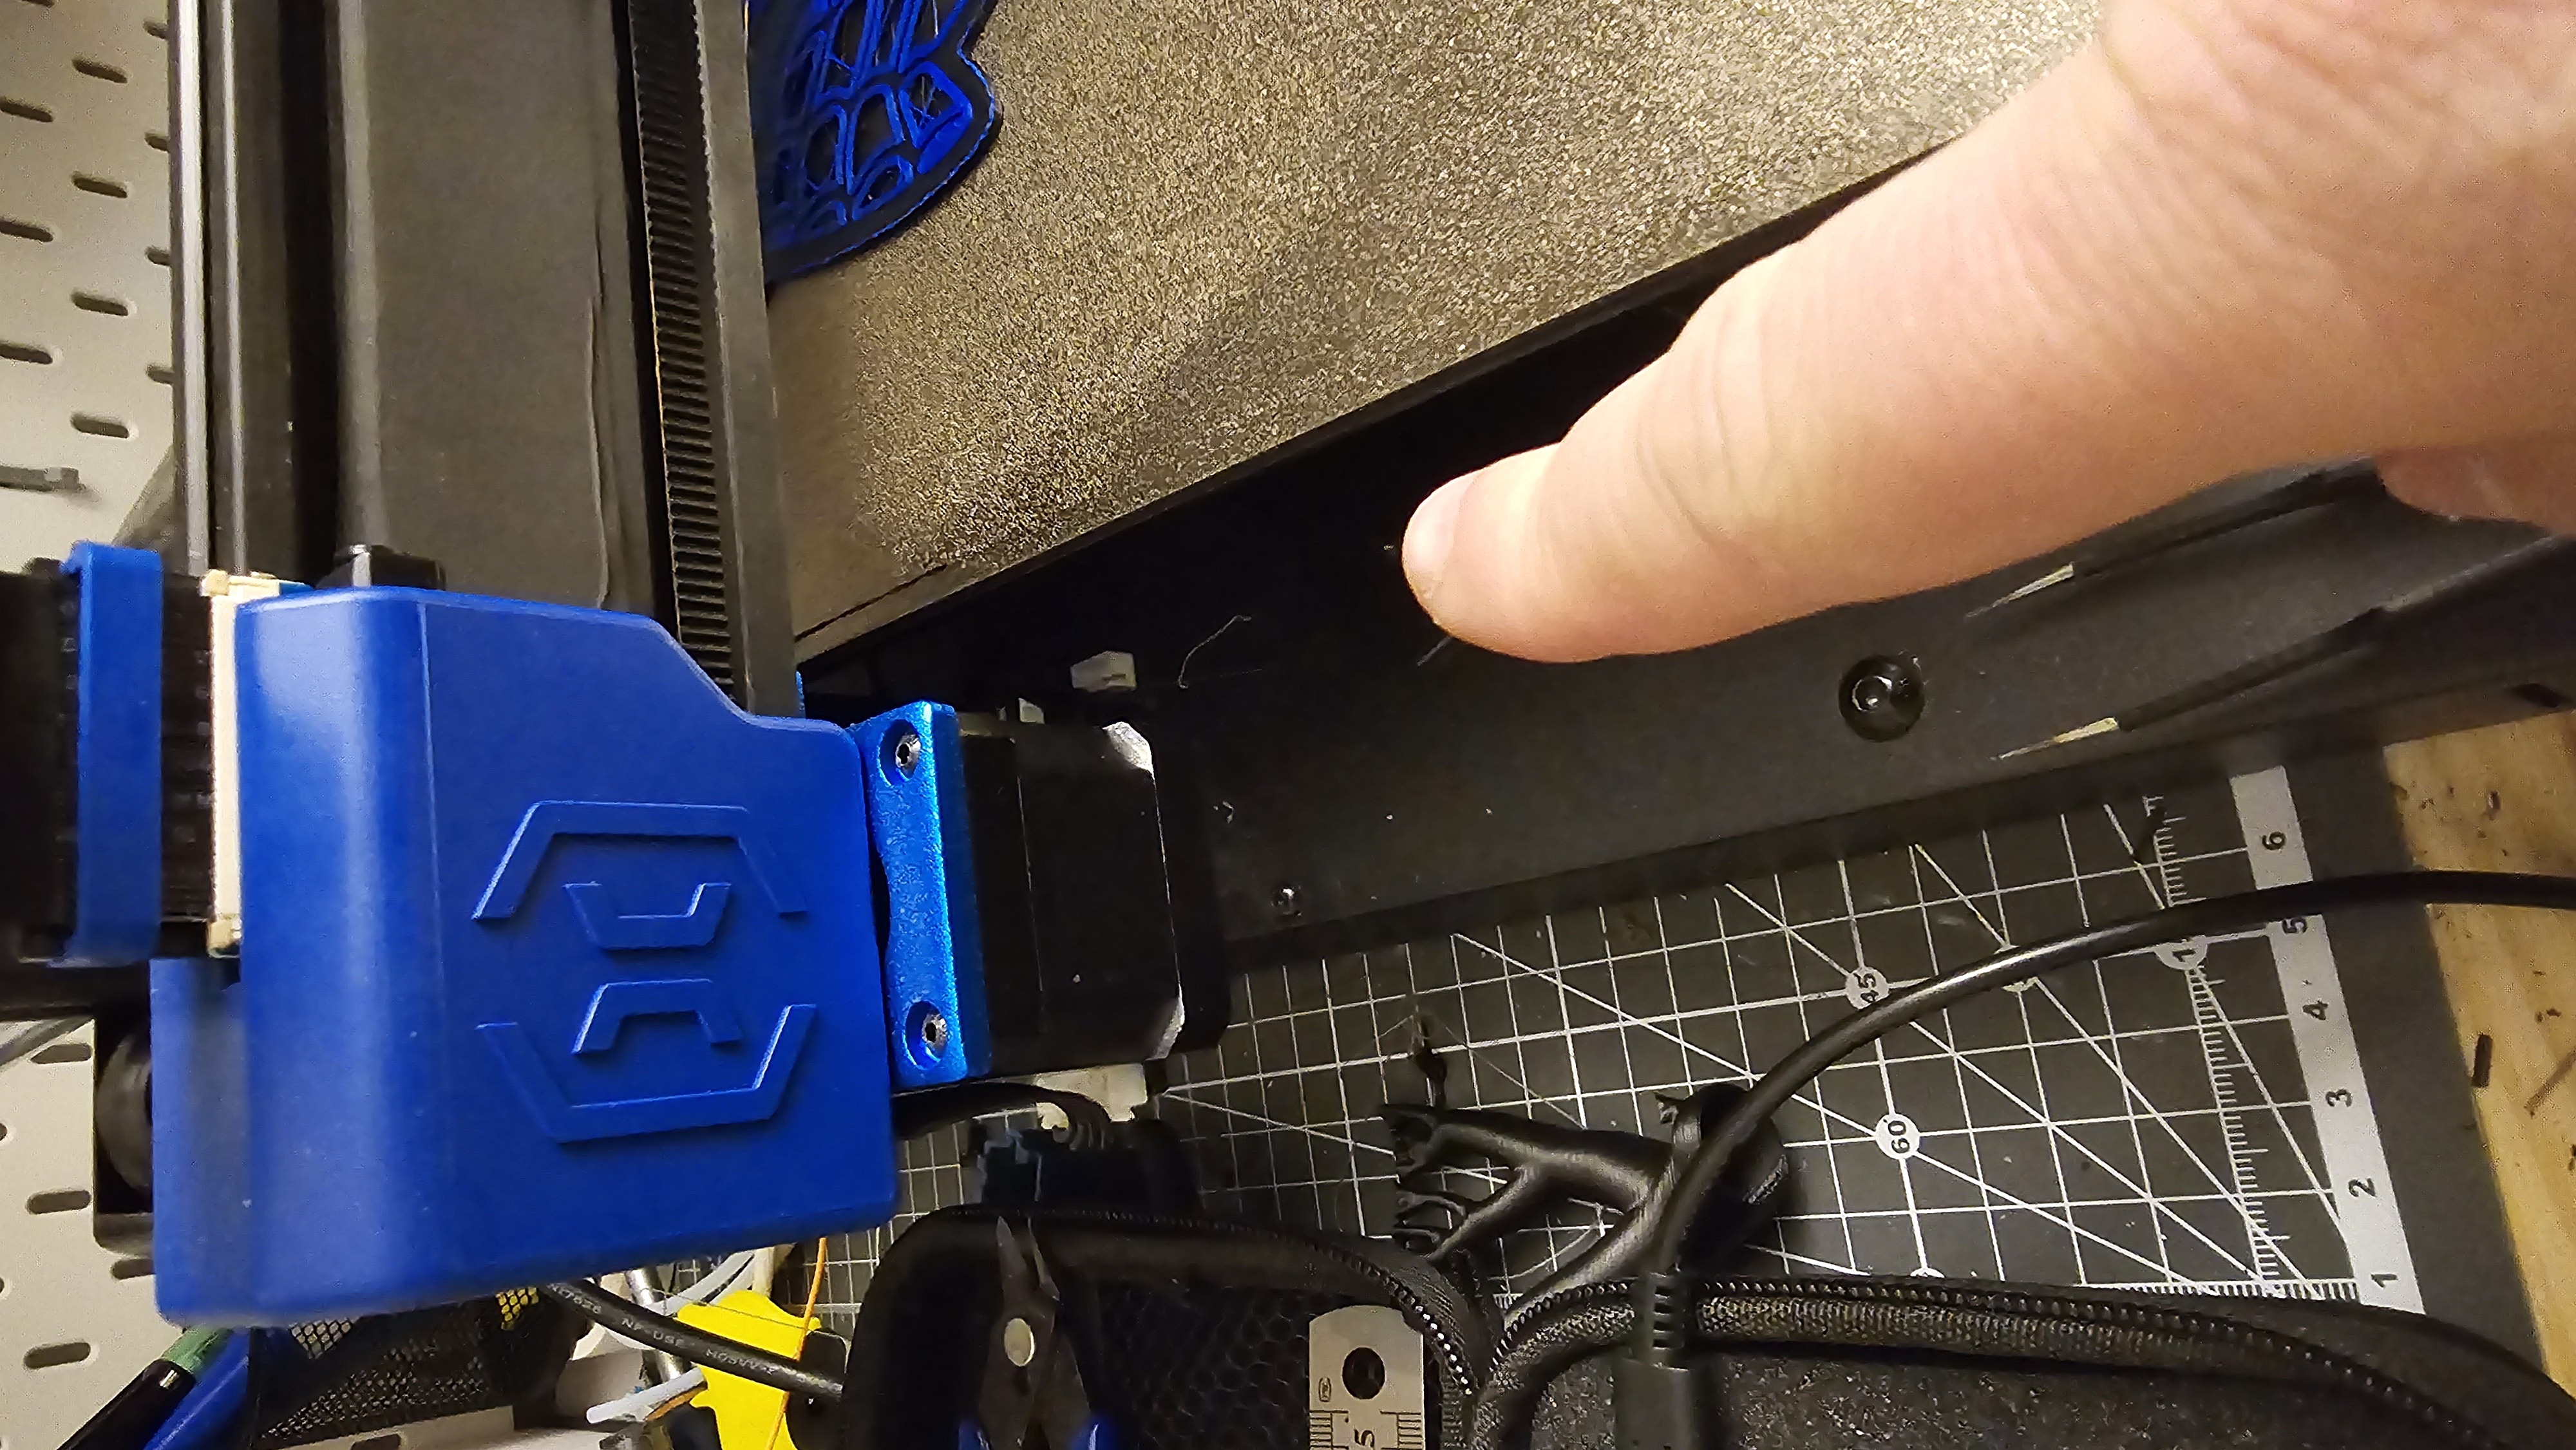
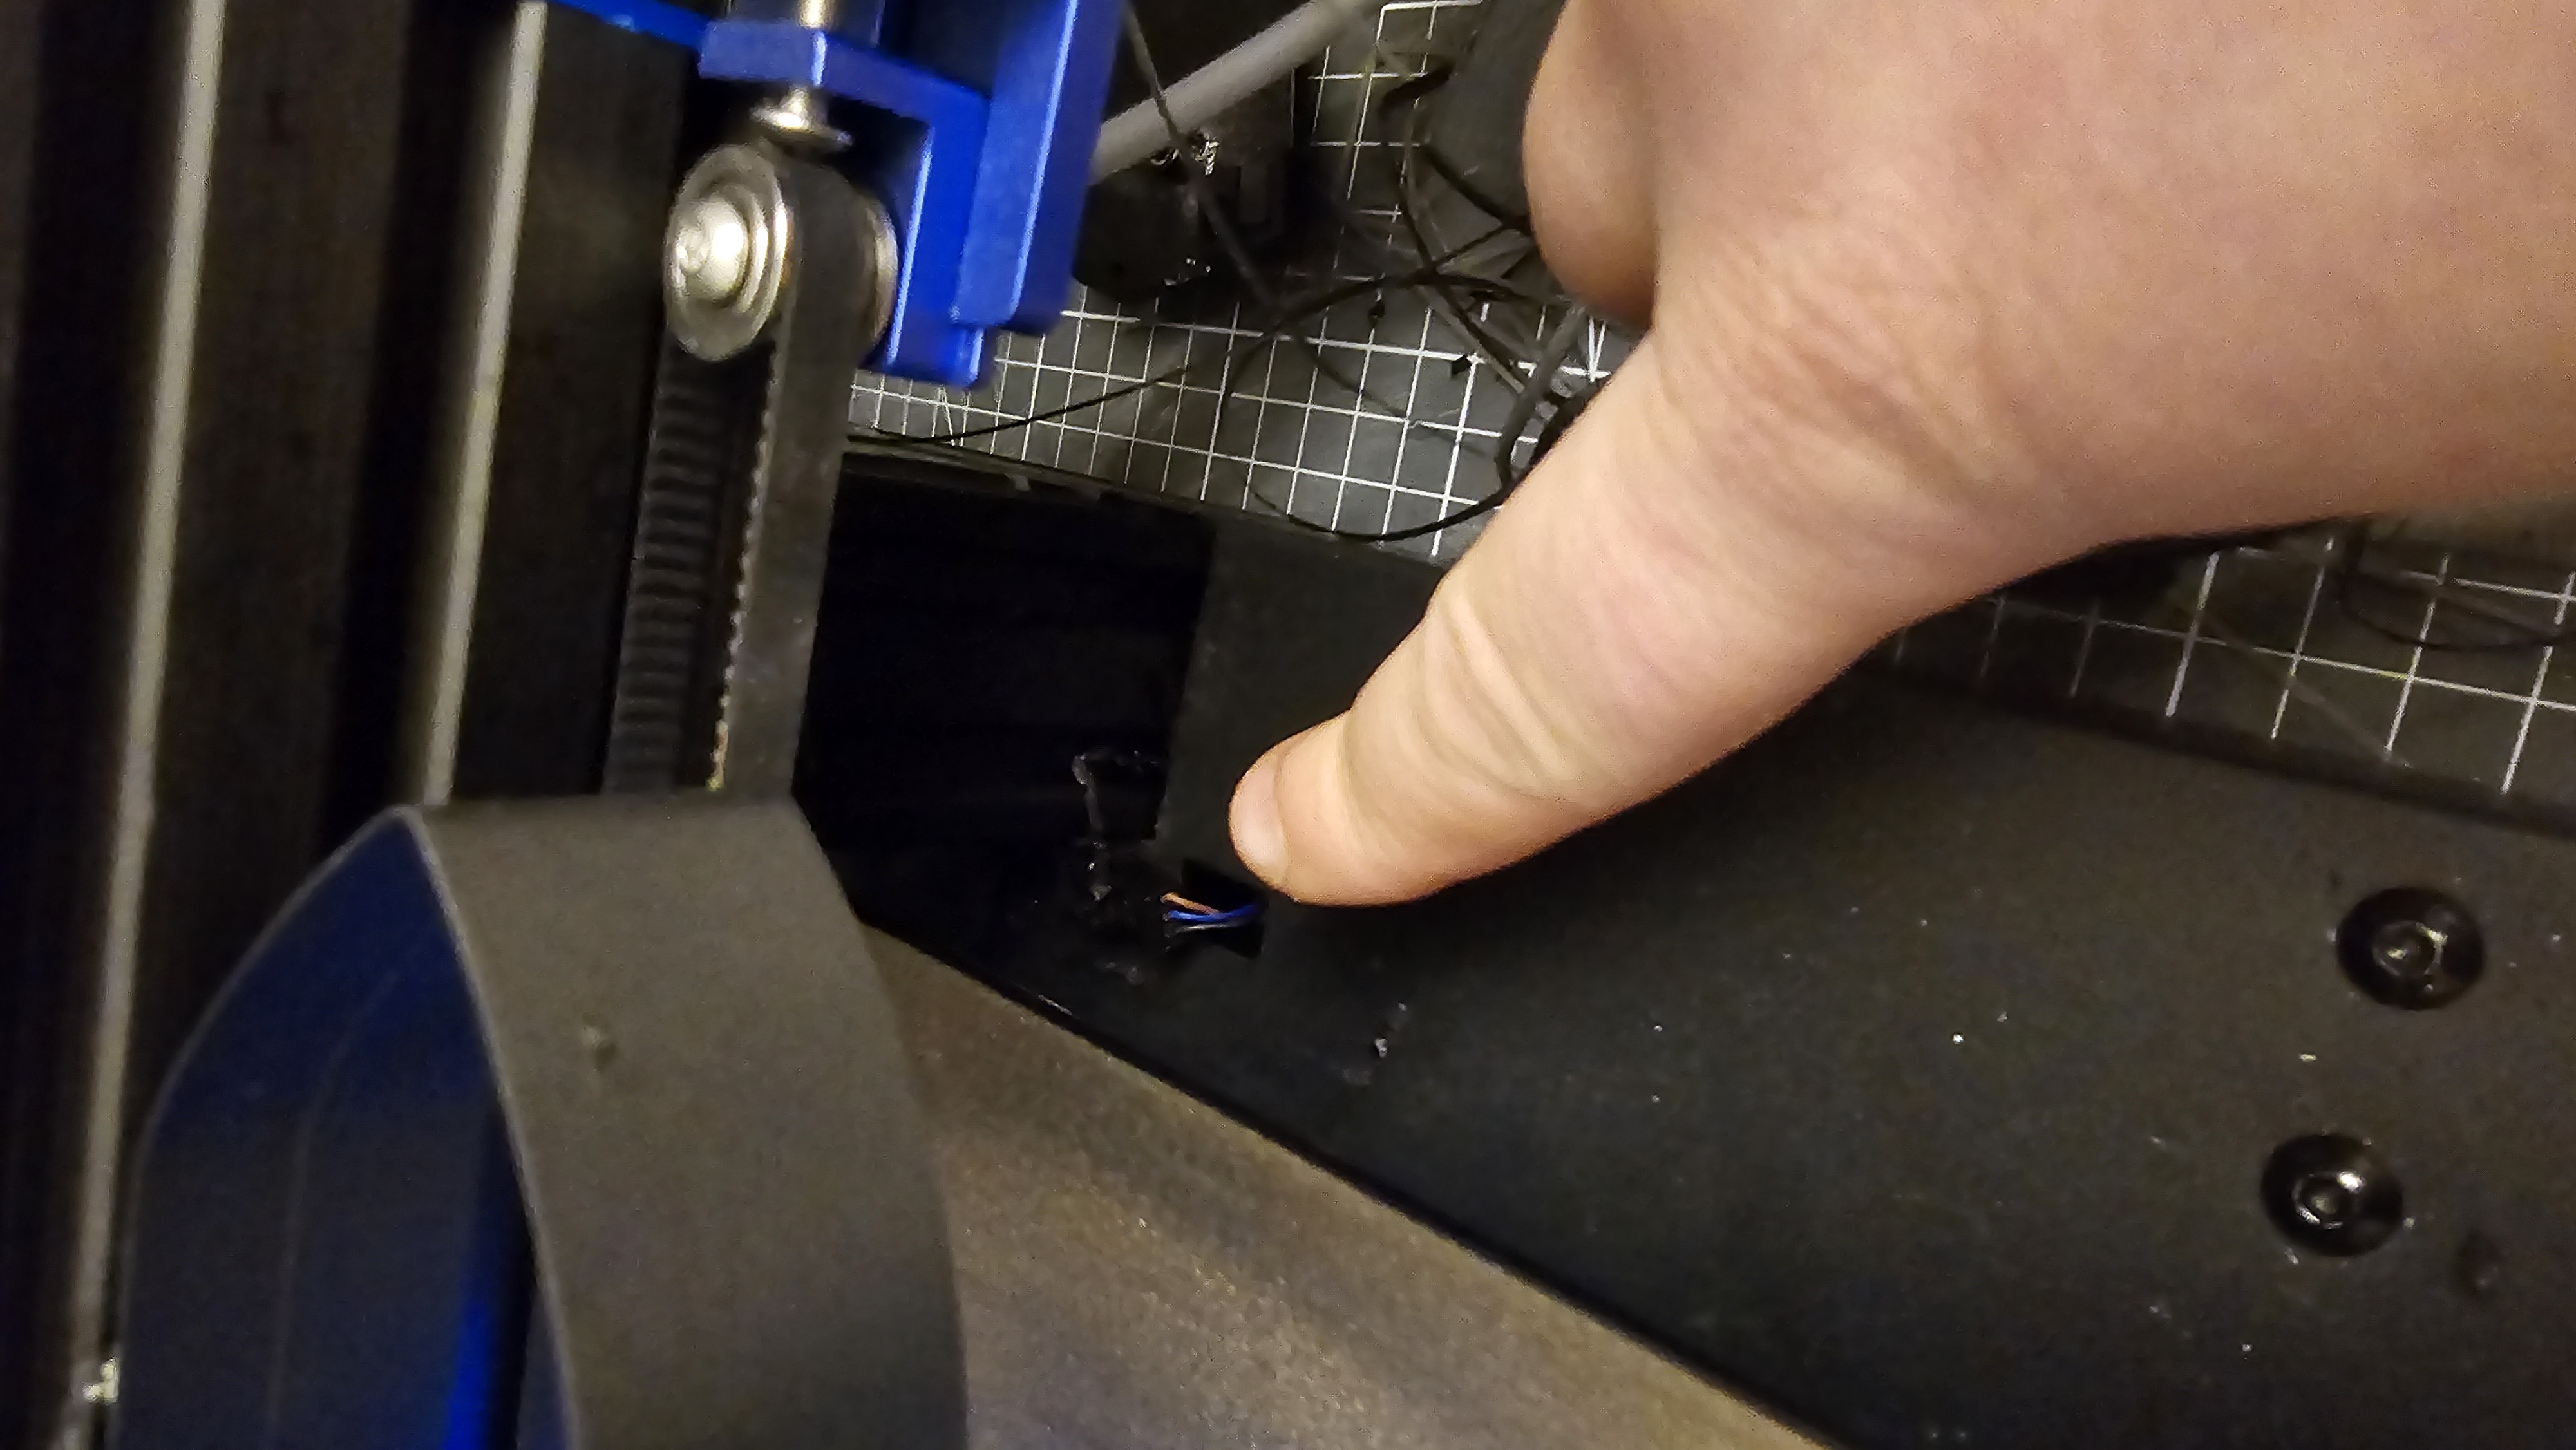
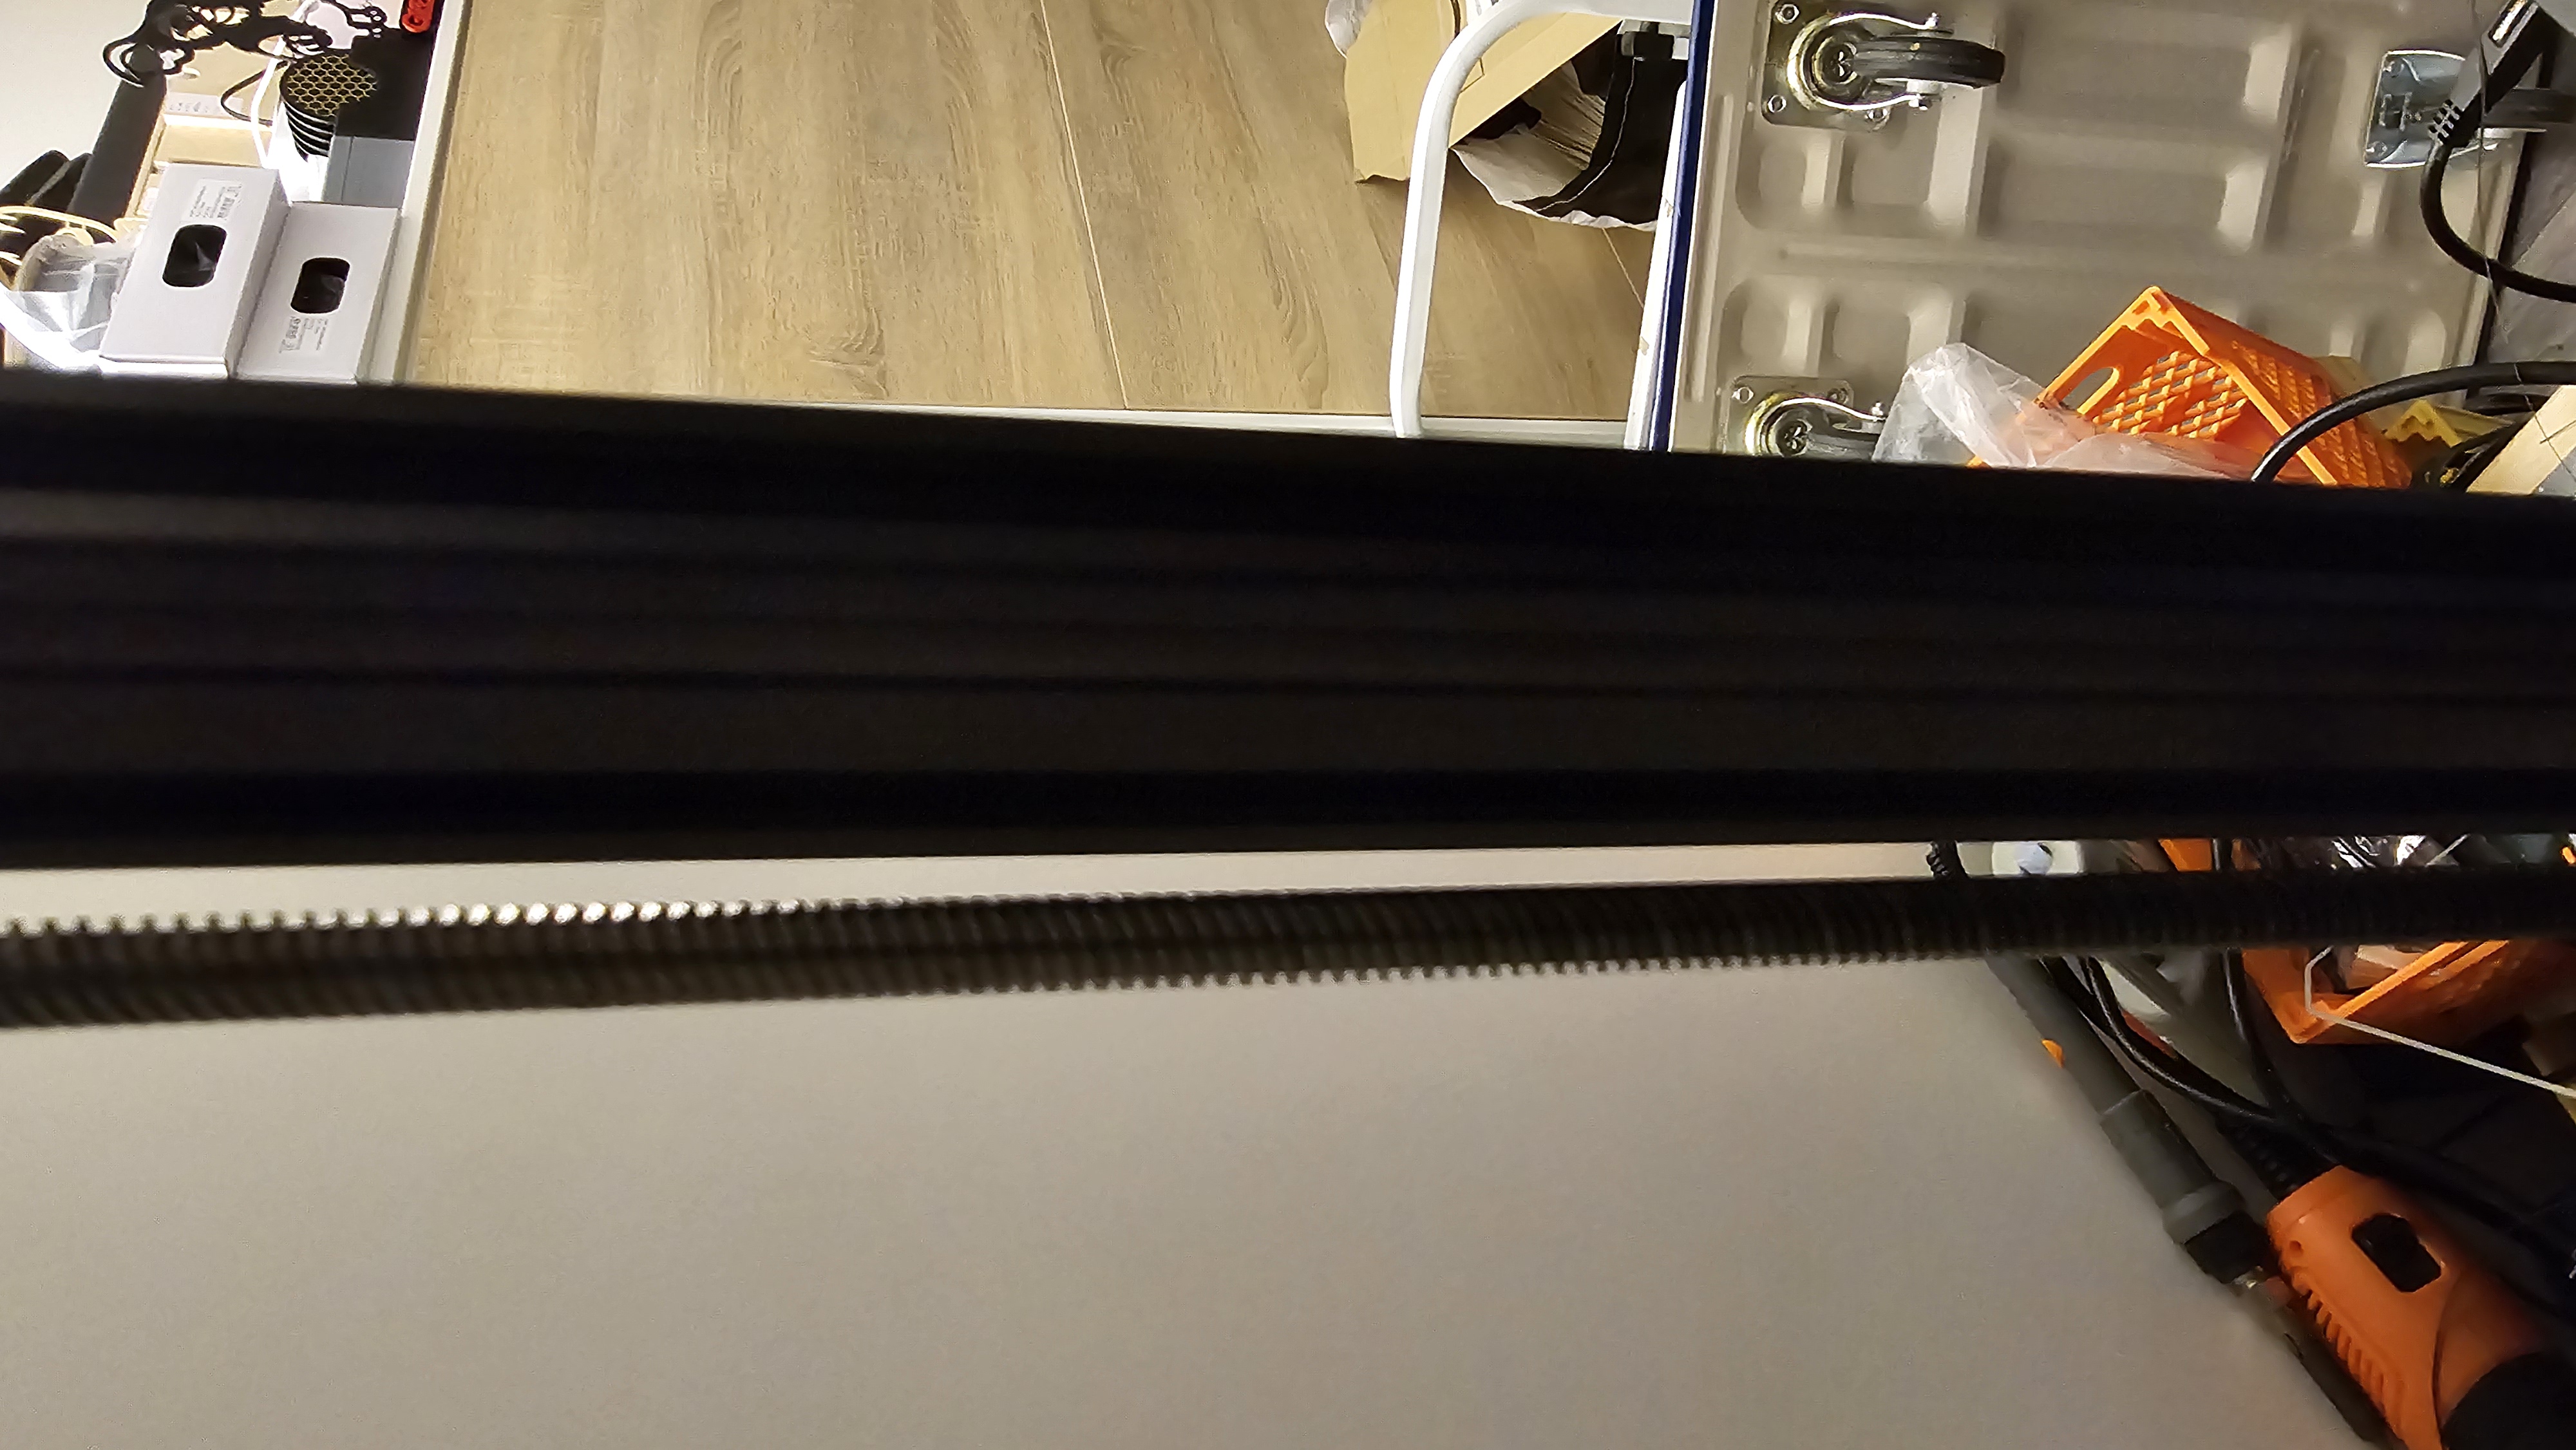
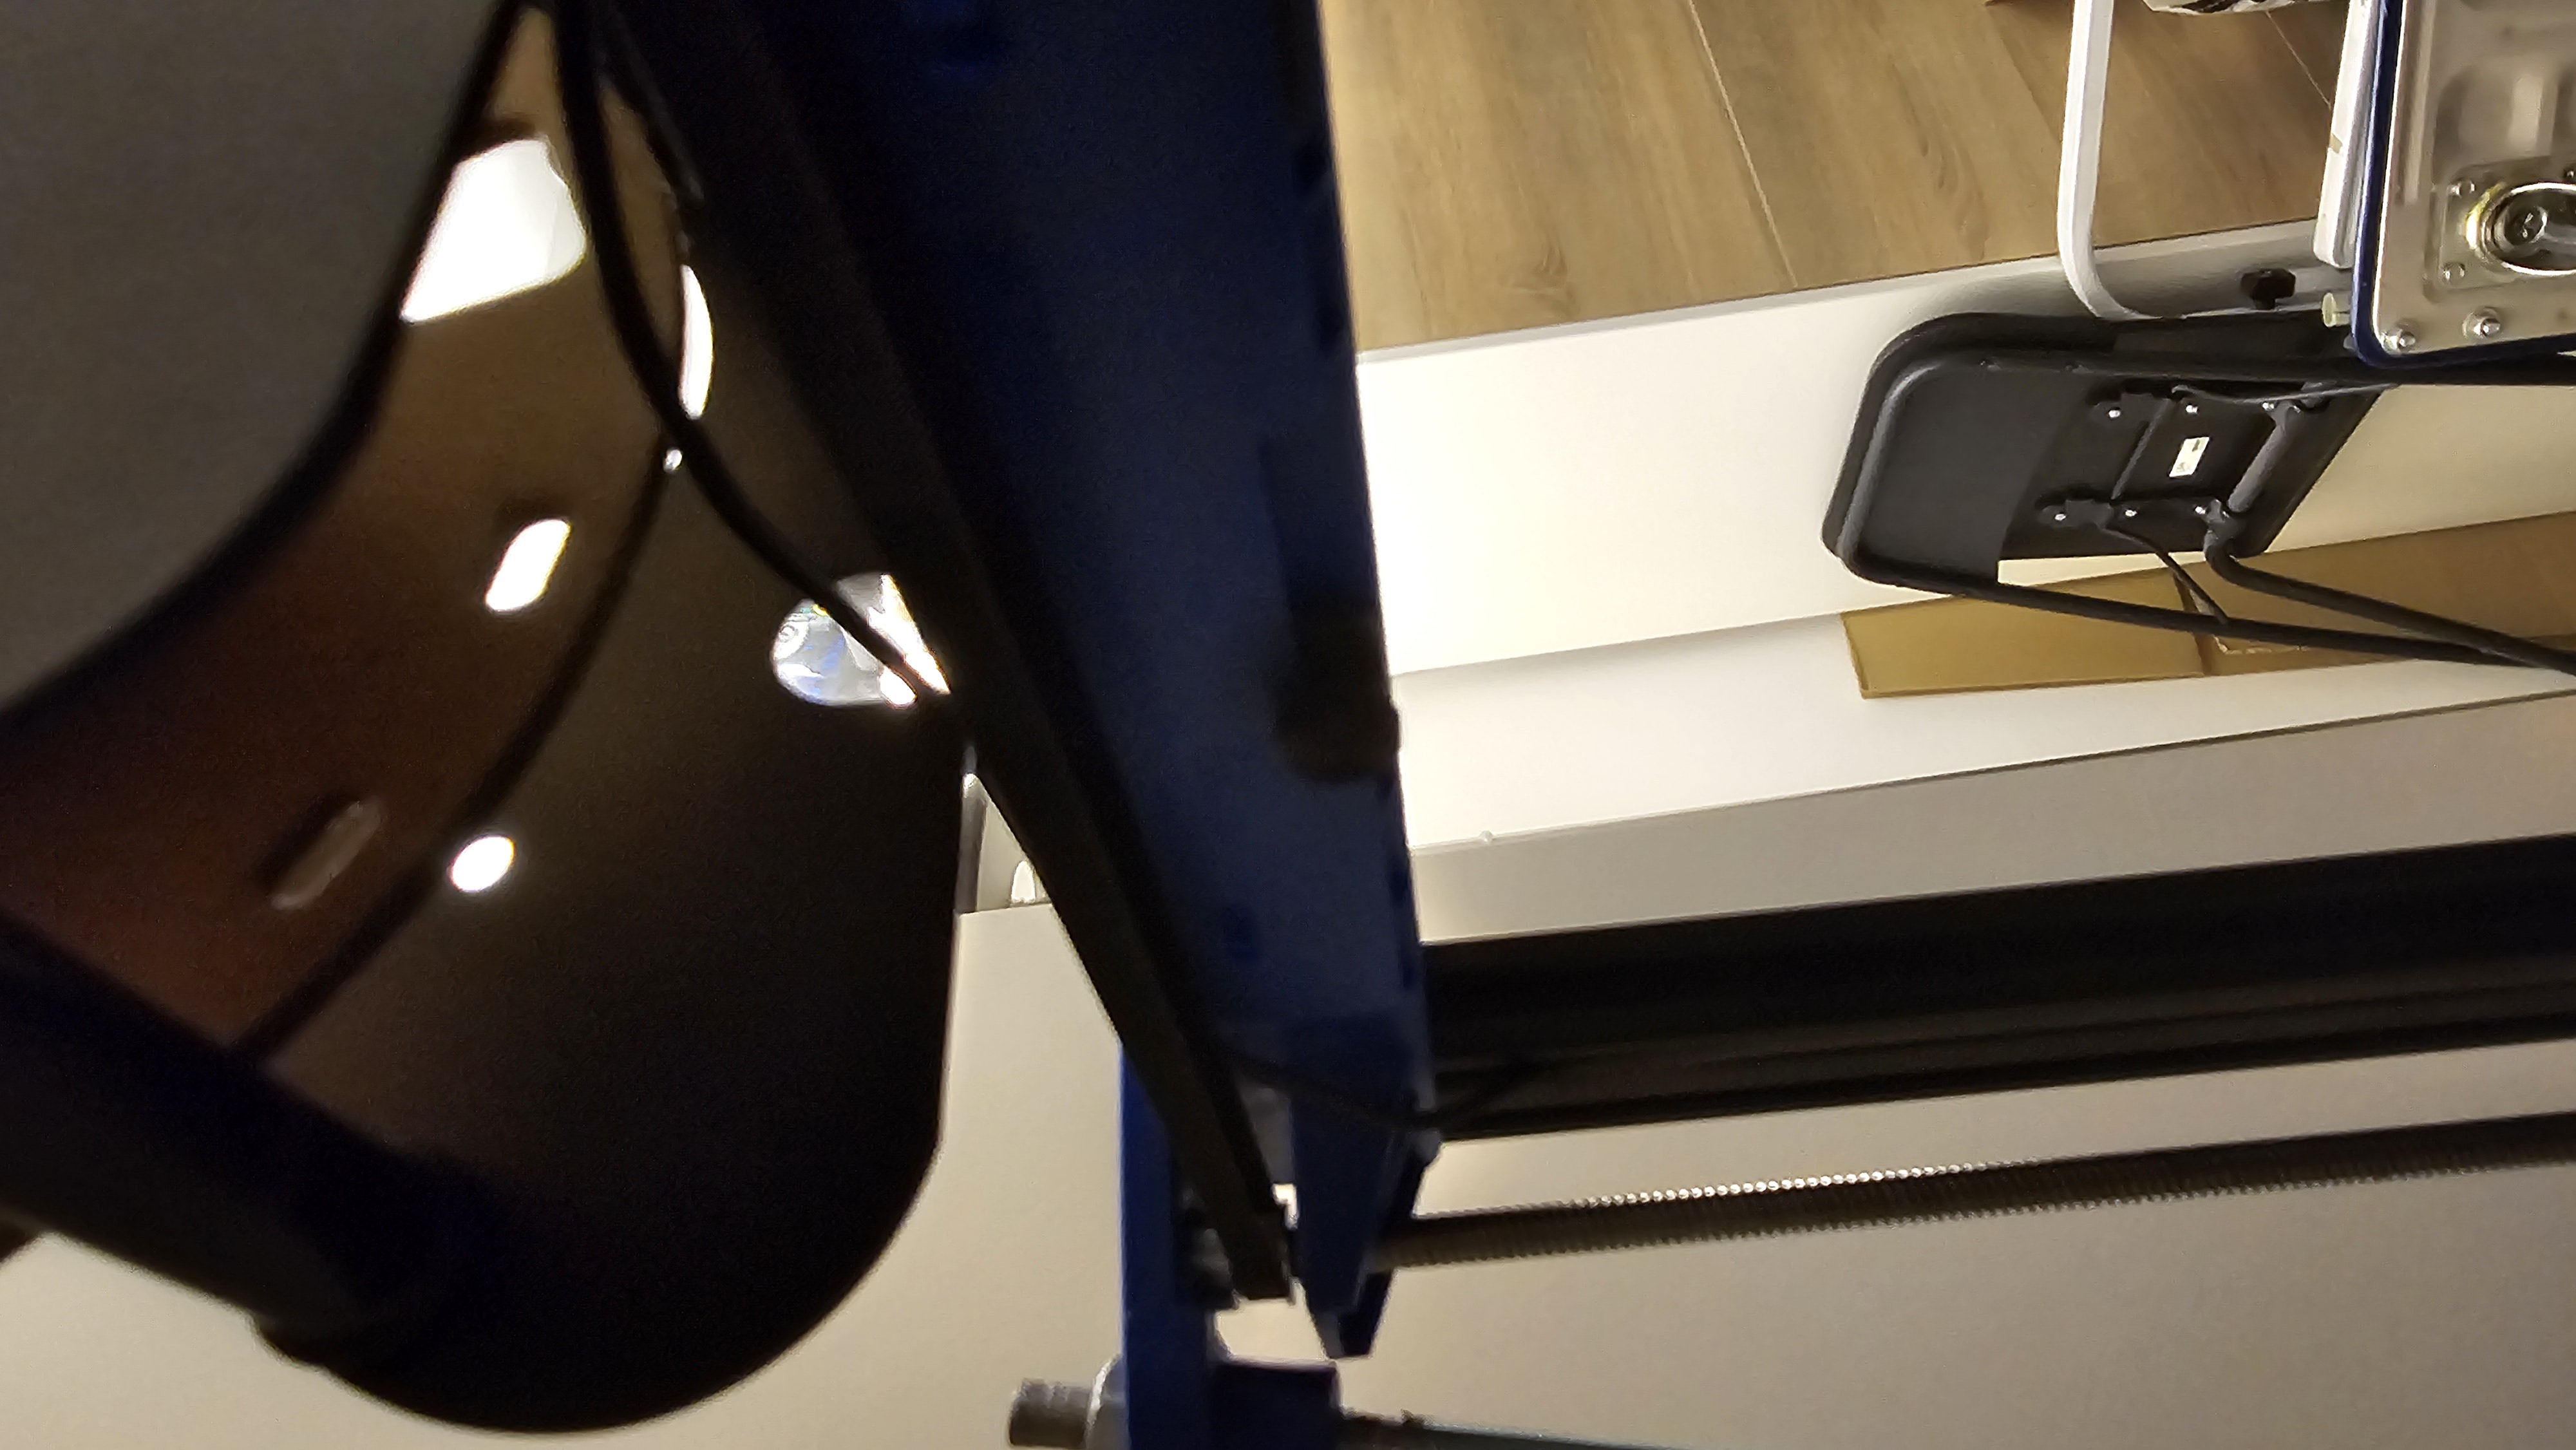
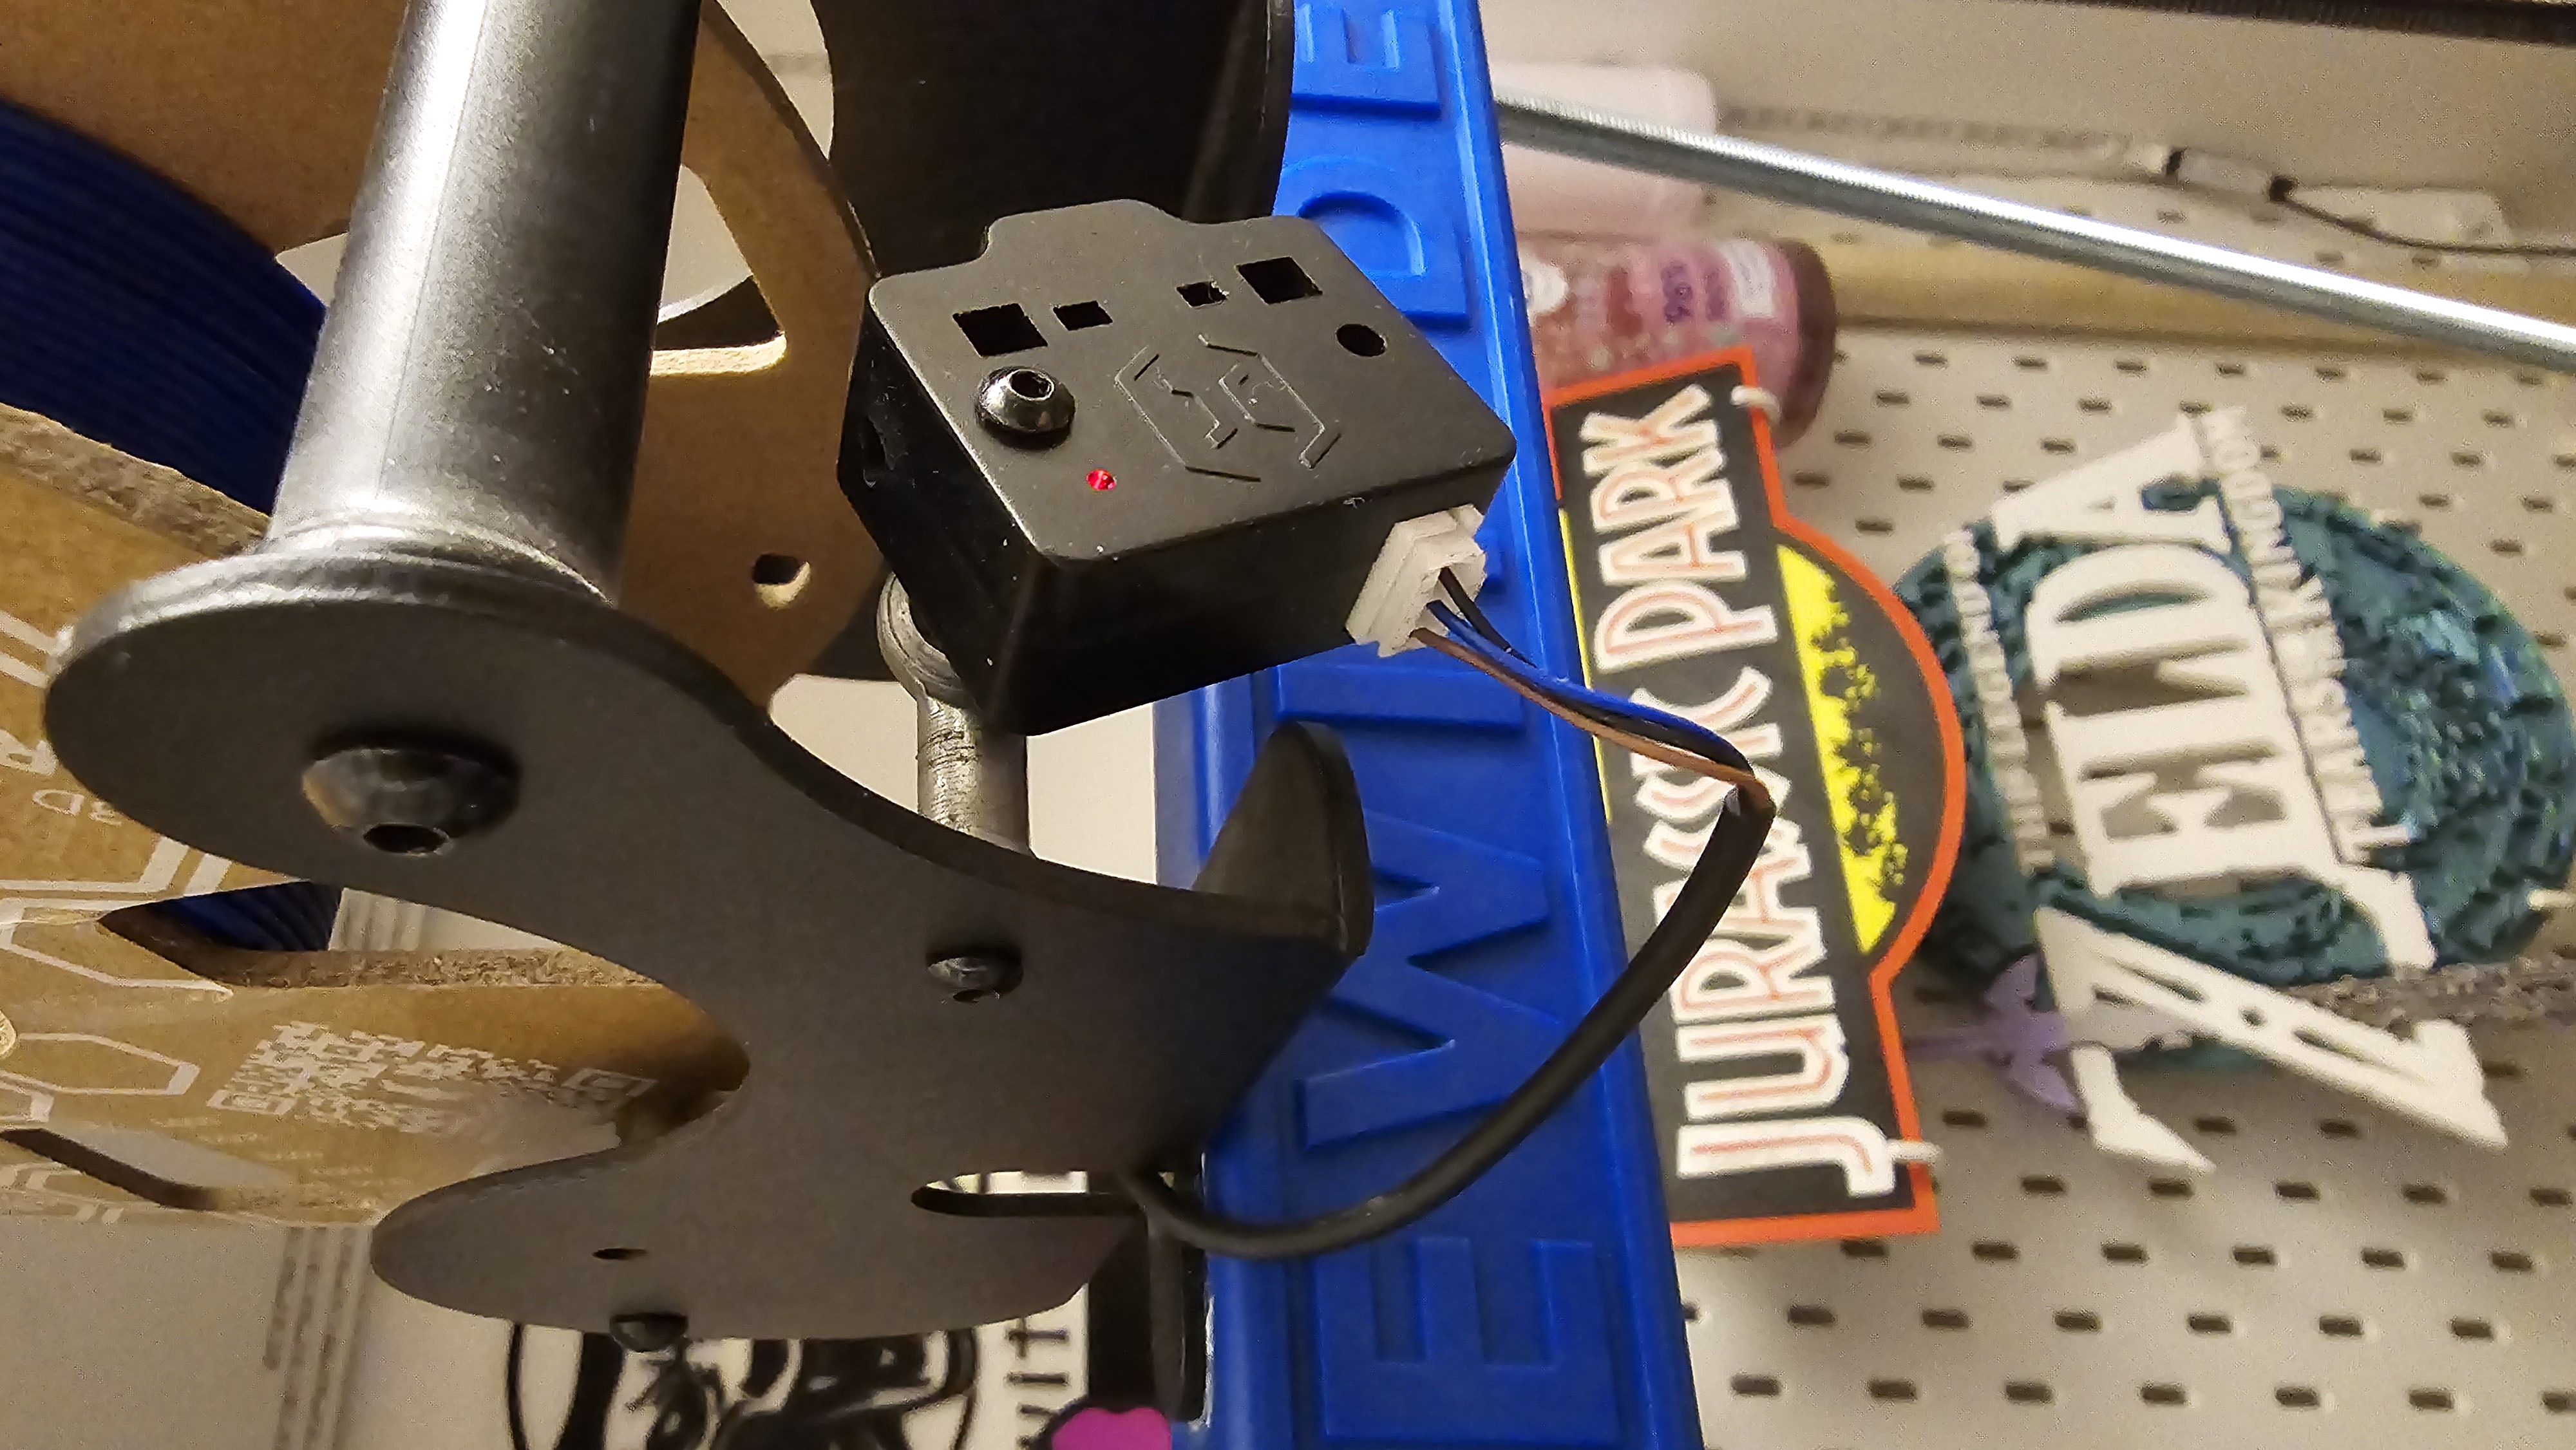
The sensor will be functional again with klipper. Everything is already configured in the printer.cfg file.
11. Slicer profile
12. Orcaslicer
https://github.com/Yumi-Lab/yumi-wiki/raw/main/Profile_Slicer/Orcaslicer/Artillery%20Sidewinder%20X2%200.4%20nozzle%20Klipper%20X4.orca_printer
13. Calibrating your printer
The general calibration procedures are documented in the SmartPad calibration guides:
The steps below use the YumiOS dashboard macros, which automate the PID calibration.
14. BED PID
Now it's time to set the PIDs and printer settings.
Start BED PID and save the configuration: From the Dashboard, launch the BED PID 65 macro
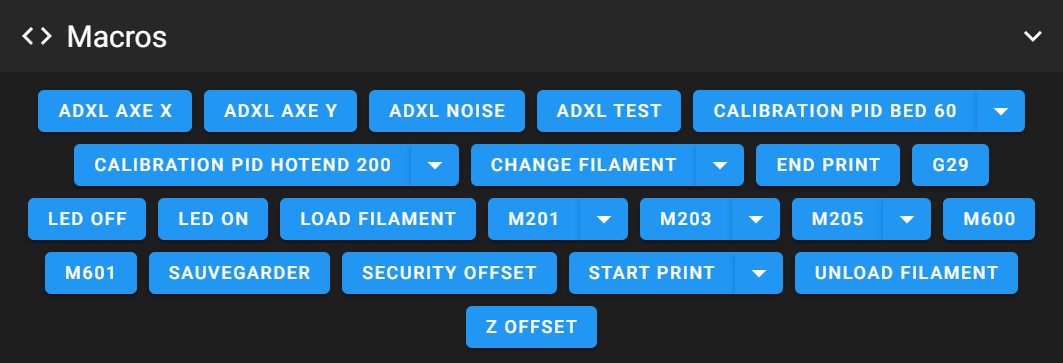
Your tray will heat up several times to 65°C and wait 5 minutes for this to finish. Use the save macro to apply the settings on restart.
15. HOTEND PID
Start HOTEND PID and save the configuration: From the Dashboard, run the HOTEND 220 PID macro
Your nozzle will heat up several times to 220°C and wait 5 minutes for this to finish. Use the save macro to apply the settings on restart.
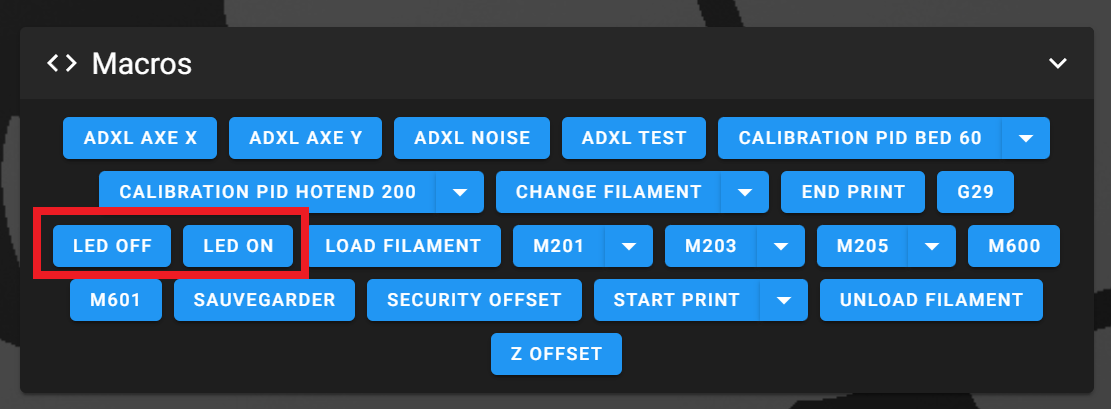
16. Activate Head LED
To activate the head LED, there are 2 macros LED OFF to turn it off and LED ON to turn it on. Click on one of these macros to turn it on or off.
17. Print
I recommend starting with a calibration cube.
https://www.thingiverse.com/thing:1278865
Once you've got a perfect cube, you can start printing