LightBurn Setup and First Engraving
LightBurn is one of the most powerful and user-friendly software tools for controlling your YUMI Laser.
This guide will walk you through setting up LightBurn for your specific YUMI L Series model (L-A4, L-A3, L-A2) and laser module (2.5W, 5.5W, 10W, 20W), and launching your first engraving job.

1. - Install LightBurn
- Download LightBurn from the official website: https://lightburnsoftware.com
- Install it on your computer (Windows, macOS, Linux supported).
2. - Connect Your YUMI Laser
- Power on your YUMI Laser.
- Connect it to your computer via USB cable.
- Insert the included MicroSD card if you wish to load files directly without USB control.
3. - Add the YUMI Laser to LightBurn
-
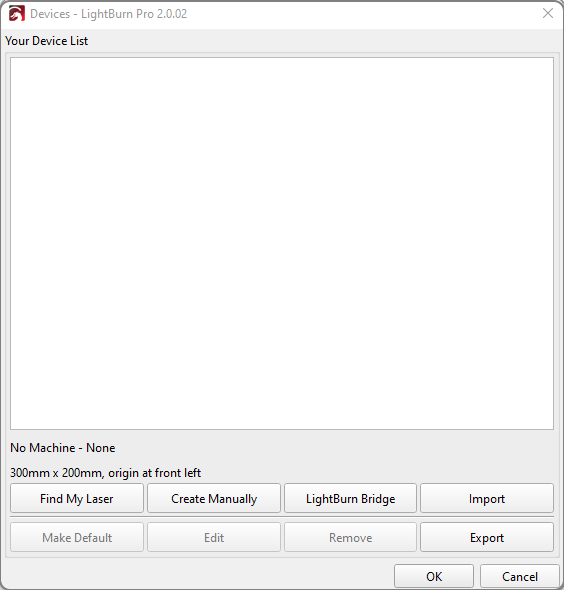
Open LightBurn → go to Devices → click Find my Laser.
-
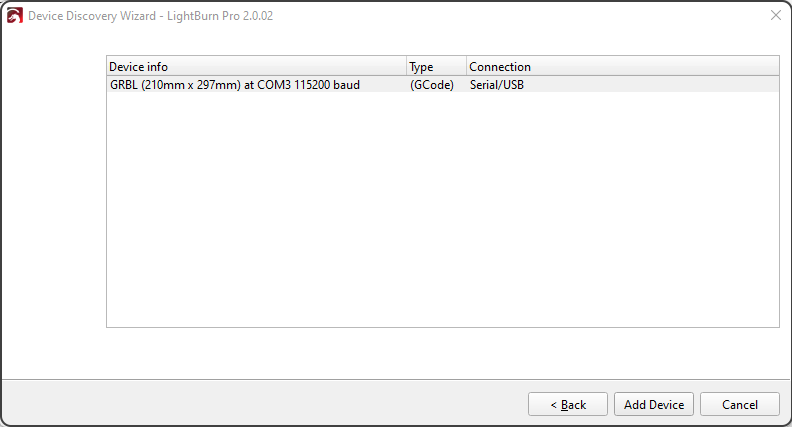
The Device Discovery Wizard opens → click Next.
- LightBurn scans and detects your machine (e.g.,
GRBL (210 mm x 297 mm) at COM3, 115200 baud). -
Select it → click Add Device.
-
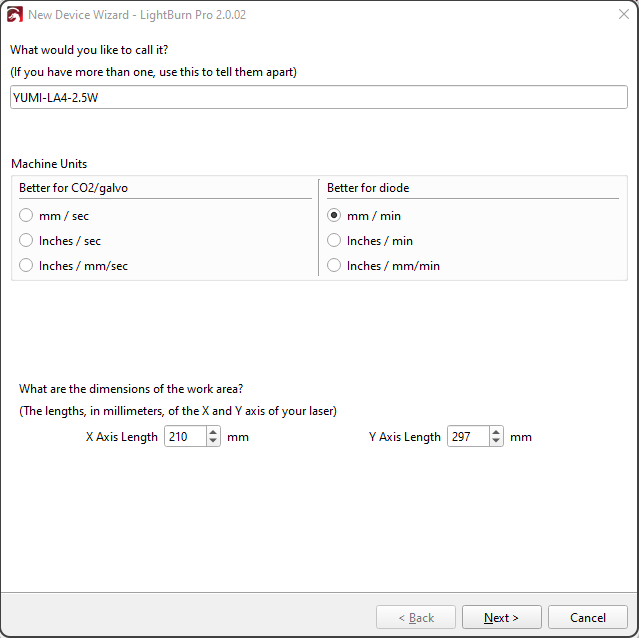
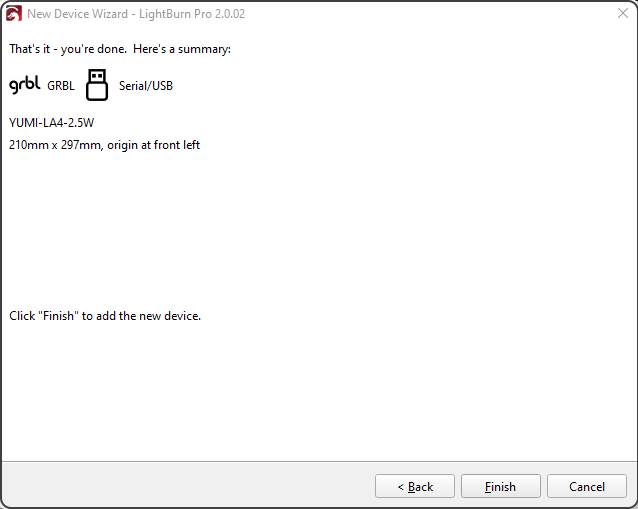
Replace the default name (
GRBL) with e.g.YUMI-LA4-2.5W. - Set Machine Units to
mm/min. - Enter the work area dimensions for your model:
| Model | Width (mm) | Height (mm) |
|---|---|---|
| L-A4 | 210 | 297 |
| L-A3 | 420 | 297 |
| L-A2 | 420 | 594 |
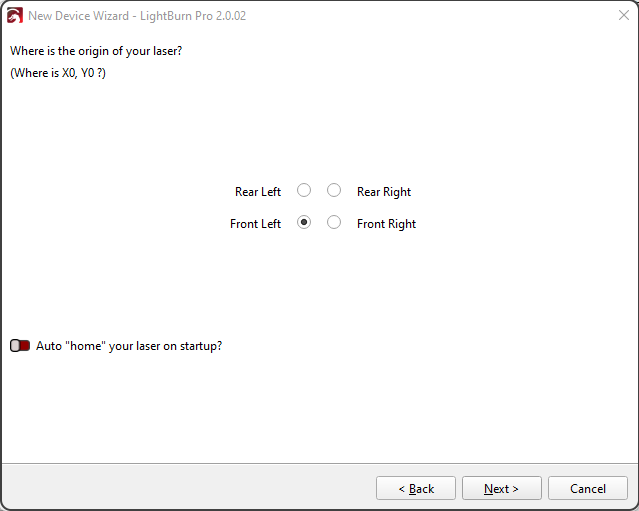
- Click Next → choose Front Left as origin.
- Disable Auto-home on startup.
- Click Finish.
4. - Import a Test Design
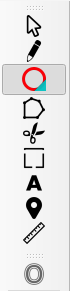
- Create or import a design (text, SVG, or image).
- Place it inside the workspace area.
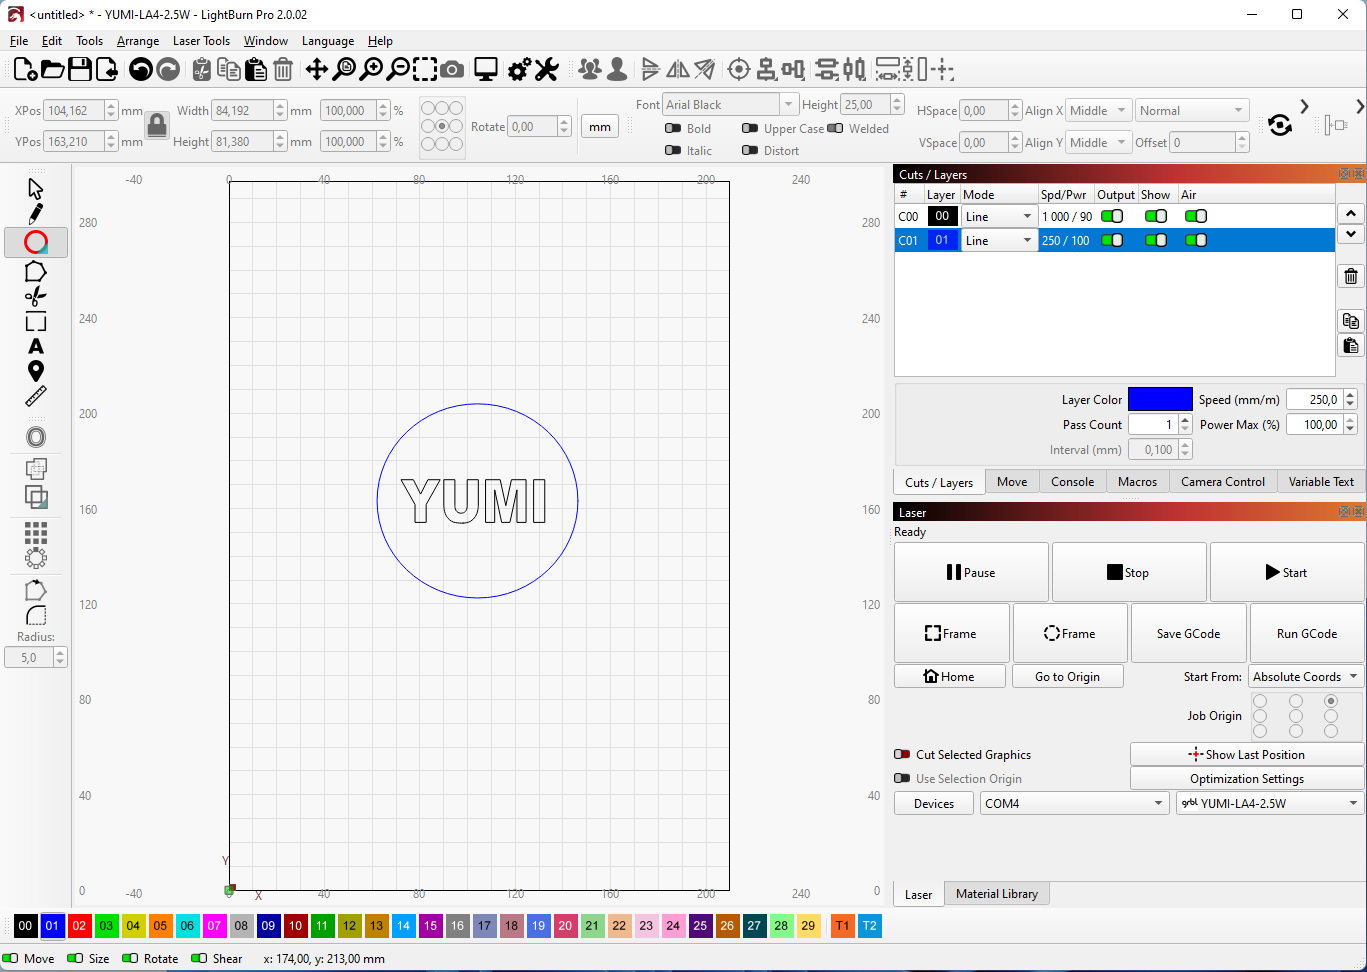
- Set the Layer:
- Line → outline engraving
- Fill → filled engraving
- Adjust parameters:
- Speed (mm/min)
- Max Power (%)
- Pass Count
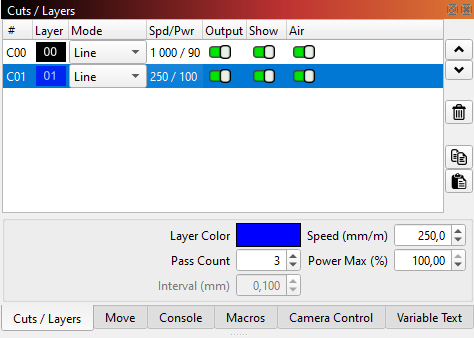
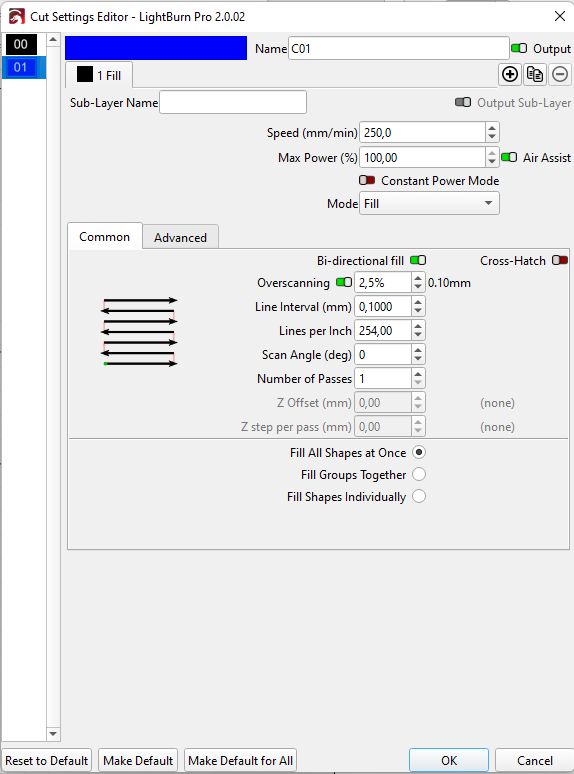
5. - Configure the Laser Module Power
- 2.5W → fine engraving, 10–40% power
- 5.5W → general use, 20–70%
- 10W → faster engraving, 30–90%
- 20W → high speed/thick cuts, 50–100%
Always start low, then increase if needed.
6. - Position & Focus the Laser
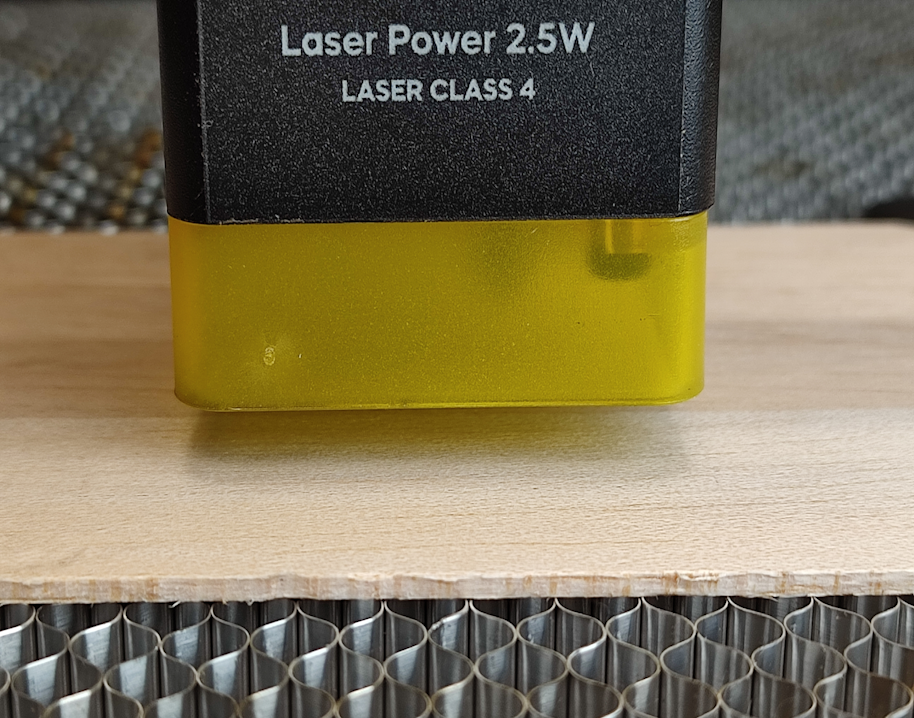
- Move the laser head manually over the workpiece.
- Place the 5 mm spacer on the surface.
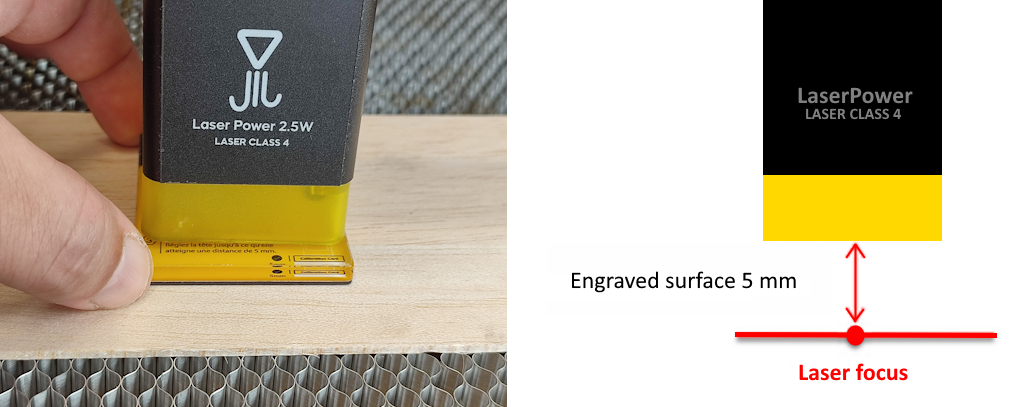
- Loosen the fixing screws of the laser module.
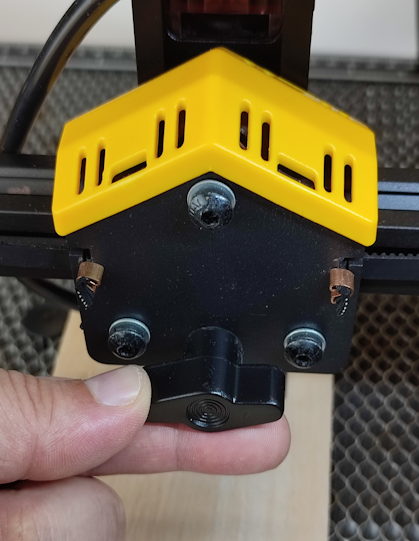
- Slide the laser down until it touches the spacer.
- Remove the spacer and tighten the screws.
7. - Enable Air Assist (Optional)
- If equipped, turn on Air Assist for better cut quality and less burning.
8. - Launch the First Engraving
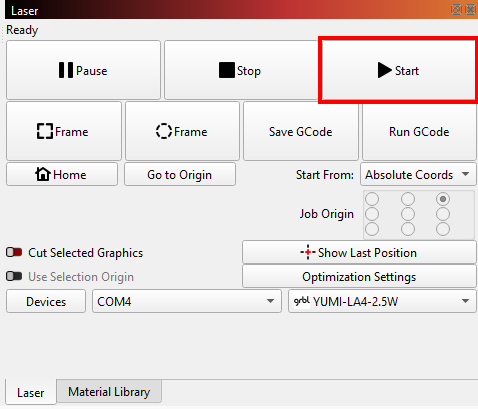
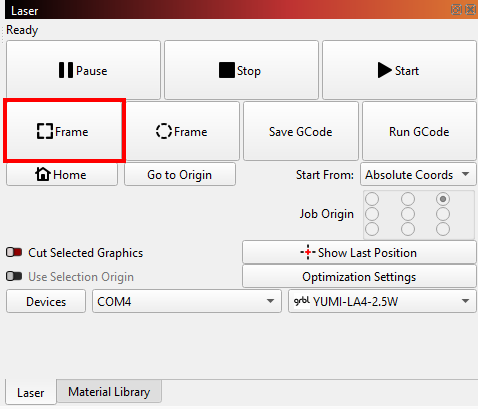
- In LightBurn, click Frame to preview area.
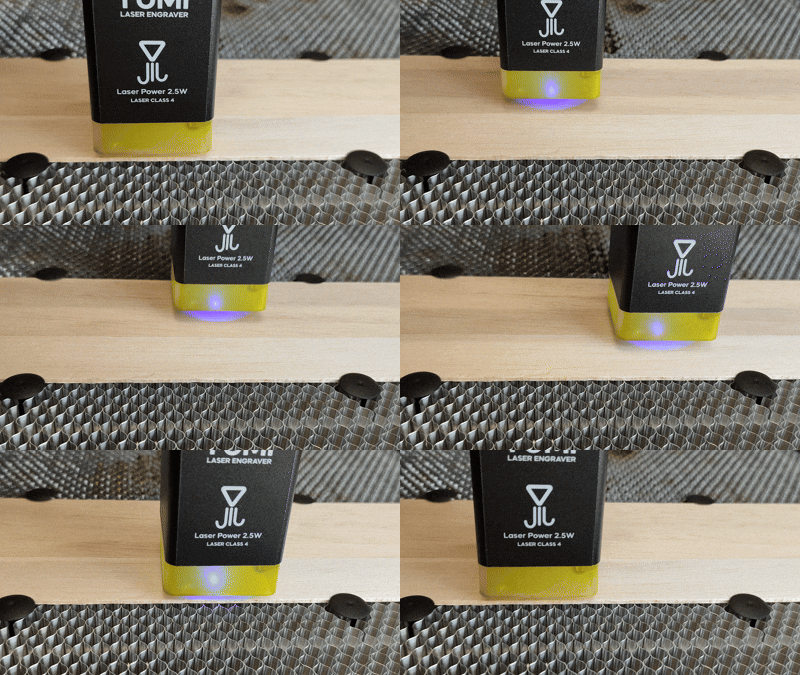
- Click Start to begin engraving.