1.6 LaserGRBL Setup and First Engraving
LaserGRBL is a free, open-source software designed to control GRBL-based laser engravers such as the YUMI Laser.
This guide explains how to configure LaserGRBL for your model (L-A4 / L-A3 / L-A2), select the laser power module, and perform your first engraving.

1 - Install LaserGRBL
- Download LaserGRBL from the official website: https://lasergrbl.com
- Install it on your Windows computer (LaserGRBL is Windows-only).
2 - Connect Your YUMI Laser
- Power on your YUMI Laser.
- Connect it to your computer via USB cable.
- Wait for Windows to recognize the device.
3 - Configure LaserGRBL for Your Model
-
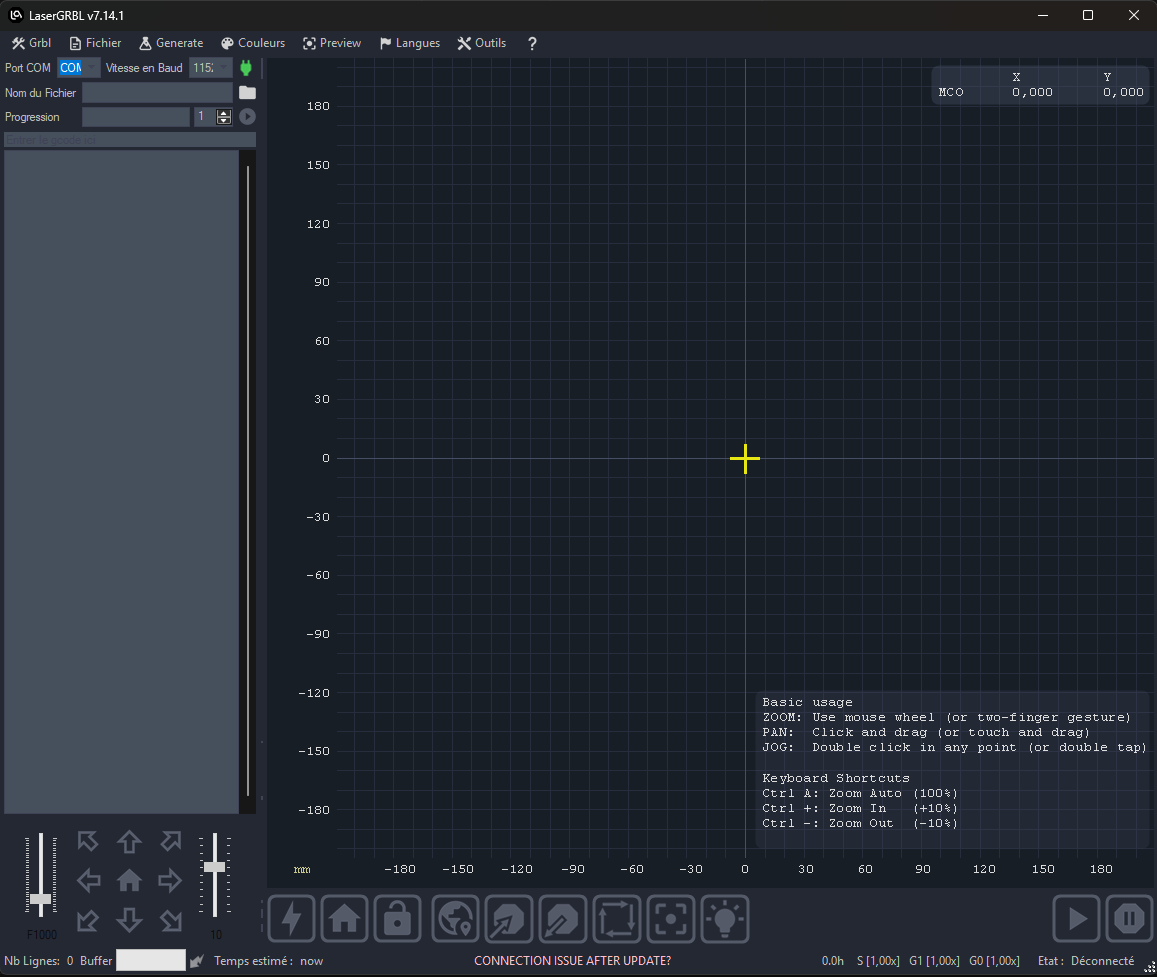
Open LaserGRBL.
-
At the top left, select the correct COM port and baud rate:
- Baud rate:
115200 -
Click Connect.
-
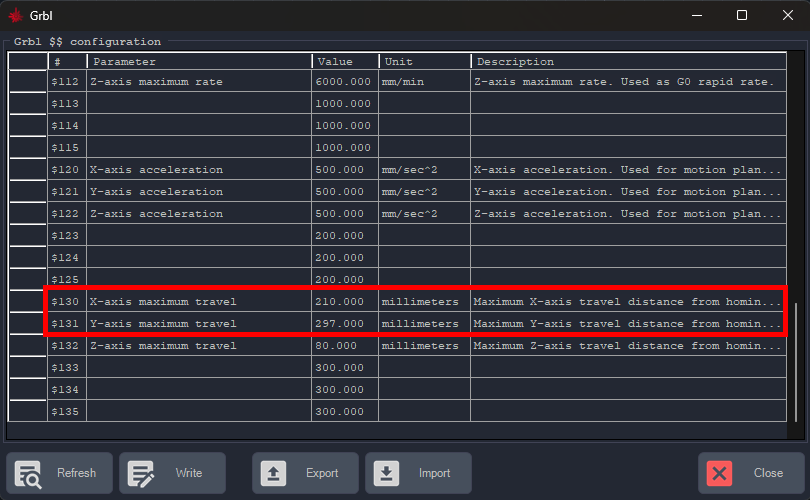
Set the Work Area Size in Grbl Configuration:
- Go to
Grbl > Grbl Configuration. - Adjust: X-axis maximum travel and Y-axis maximum travel.
- Click Write → Close.
Work Area Dimensions per Model
| Model | X-axis (mm) | Y-axis (mm) |
|---|---|---|
| L-A4 | 210 | 297 |
| L-A3 | 420 | 297 |
| L-A2 | 420 | 594 |
4 - Load a Test File
- Click File next to the Open File field and select a test file (
.nc,.svg, or.bmp).
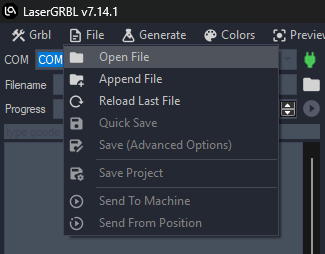
- For images, use the Import Raster Image function.
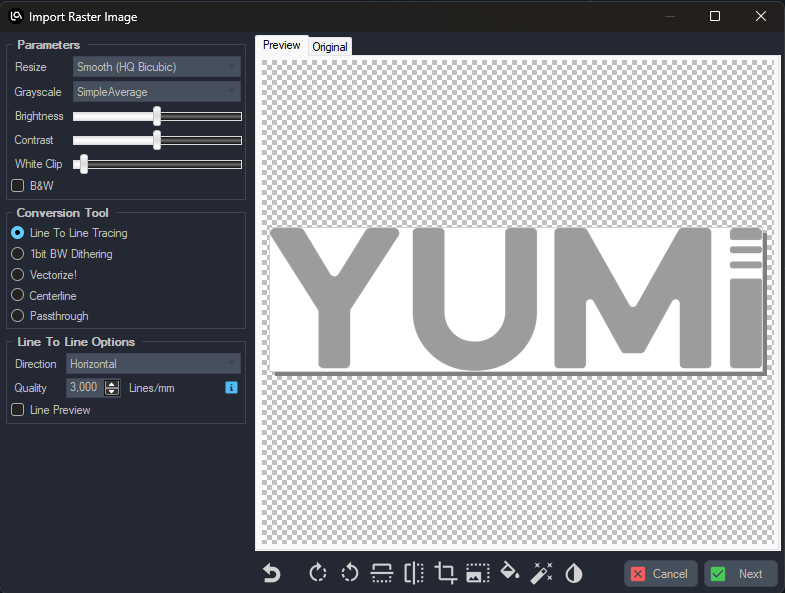
- Choose the engraving method (Line to Line, Dithering, etc.).
5 - Set Laser Power
- In LaserGRBL, laser power is expressed as a percentage of the maximum PWM value.
- Recommended starting values:
- 2.5W → 10–40%
- 5.5W → 20–70%
- 10W → 30–90%
- 20W → 50–100%
Always start low and increase gradually to avoid burning materials.
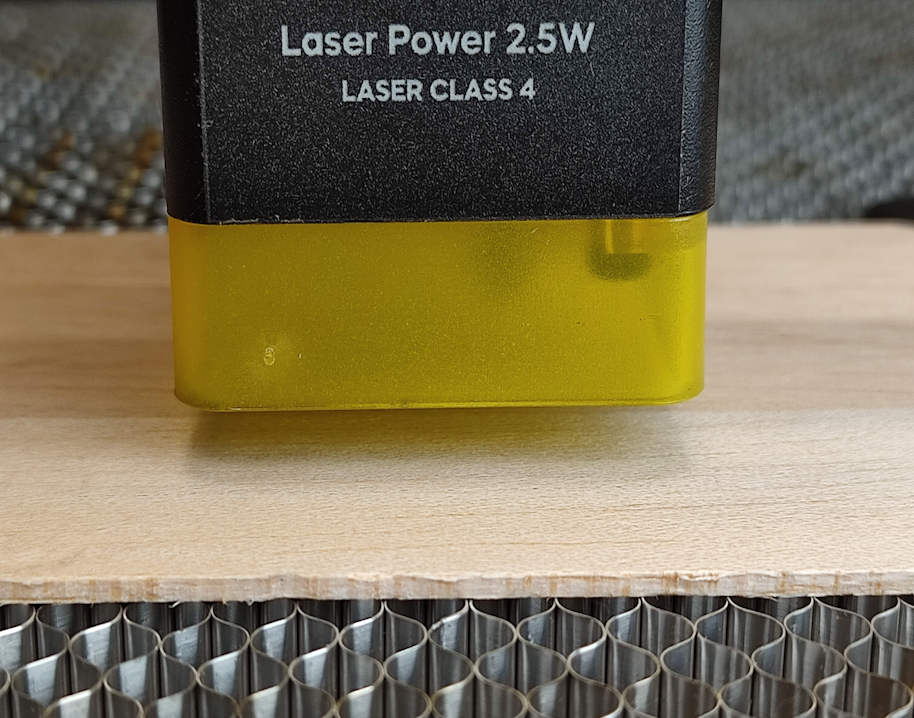
6 - Position & Focus the Laser
- Move the laser head manually over the workpiece.
- Place the 5 mm spacer on the surface.
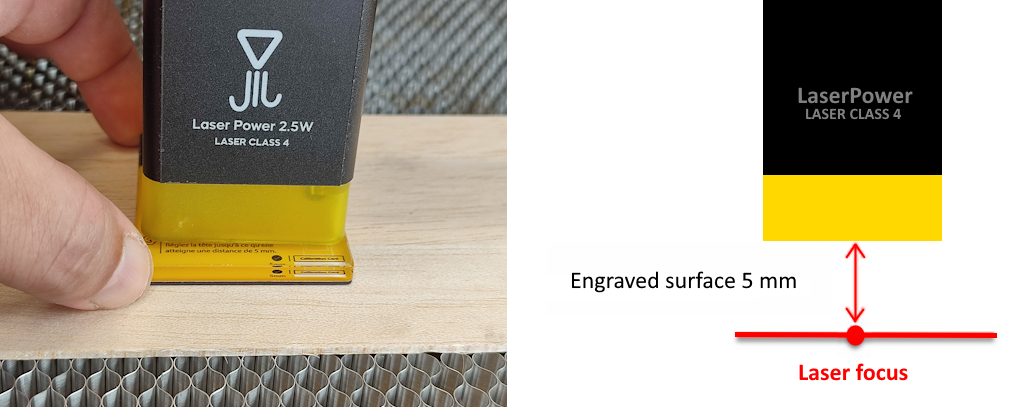
- Loosen the fixing screws of the laser module.
- Slide the laser down until it touches the spacer.
- Remove the spacer and tighten the screws.
7 - Position the Workpiece
- Click Move to Center → laser moves to design center.
- Click Light Laser → weak beam shows engraving center. Adjust material if needed.

- Click Profile Scan → laser scans the outline. Adjust until alignment is correct. Adjust the material again if needed and Use Wrap Around until the outline matches.

8 - Enable Air Assist (Optional)
- If equipped, turn on Air Assist to improve cutting quality and reduce burn marks.
9 - Start Engraving
- Verify speed, power, and focus.
- Click Start to begin engraving.
- Stay near the machine and monitor the process for safety.