1.4 Assembly & First Setup
This section explains how to assemble, and prepare your YUMI Laser for its first use.
The complete illustrated assembly instructions are available in PDF format.
Assembly Manual (PDF)
Click here to download the official assembly guide:
YUMI L Series (Laser) Assembly Guide
Assembly Checklist
-
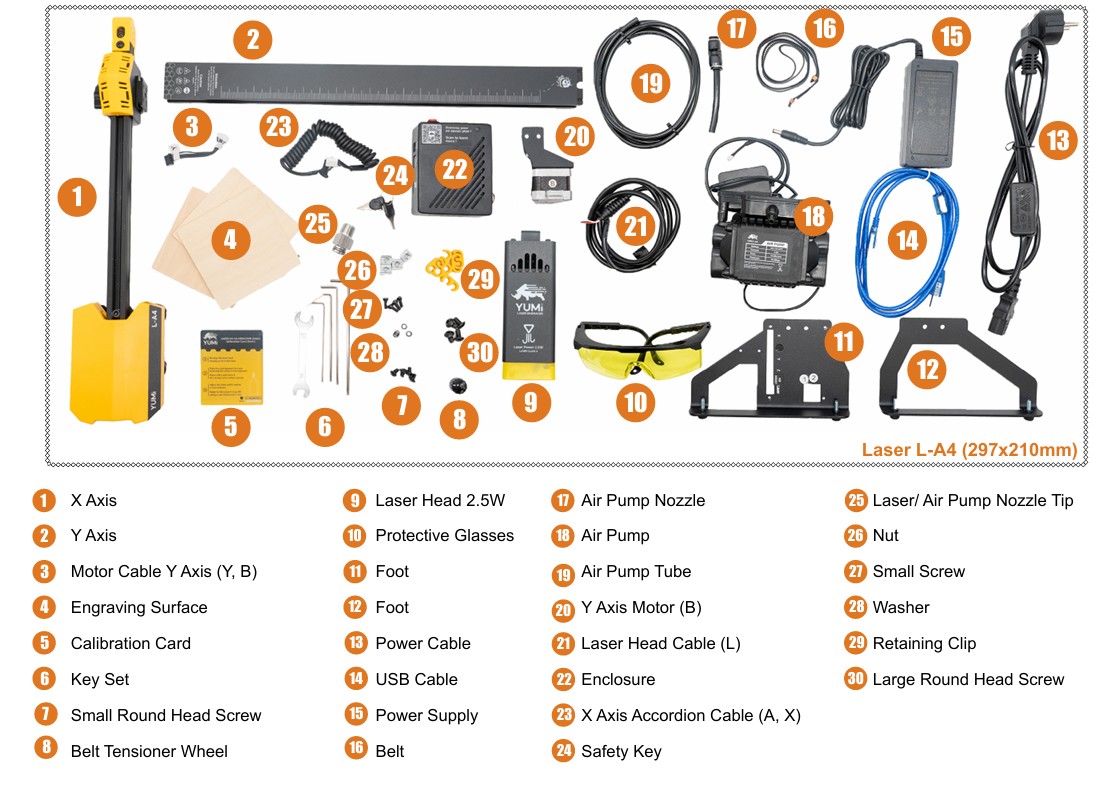
Unpack all components
-
Check that all parts match the inventory list in the manual.
-
Inspect each item for shipping damage.
-
Frame Assembly
-
Follow the sequence in the PDF guide to assemble the aluminum frame.
-
Ensure all screws are tightened evenly, but avoid over-tightening.
-
Install Laser Module
-
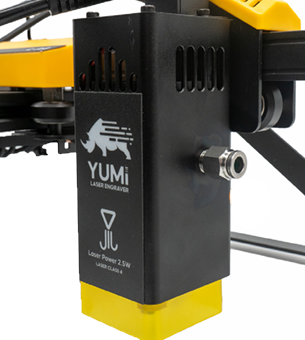
Mount the selected laser head (2.5W / 5.5W / 10W / 20W).
-
Connect the laser cable to the control board.
-
Install Accessories
-
Attach Air Assist pump and tubing (included).
- Install honeycomb bed or rotary module if used.
-
Connect Power & USB
-
Plug in the supplied 12V adapter.
- Connect USB cable to your computer if controlling via software.
First Power-On
- Turn on the main power switch on the socket and then turn the safety key..
- Ensure that Air Assist is working (you should hear airflow).
- The laser head should remain off until commanded by the software.
Safety Reminder
- Wear laser safety glasses before testing.
- Keep flammable materials away from the working area.
- Never operate the machine unattended.