4.2 Dual Color D12 230
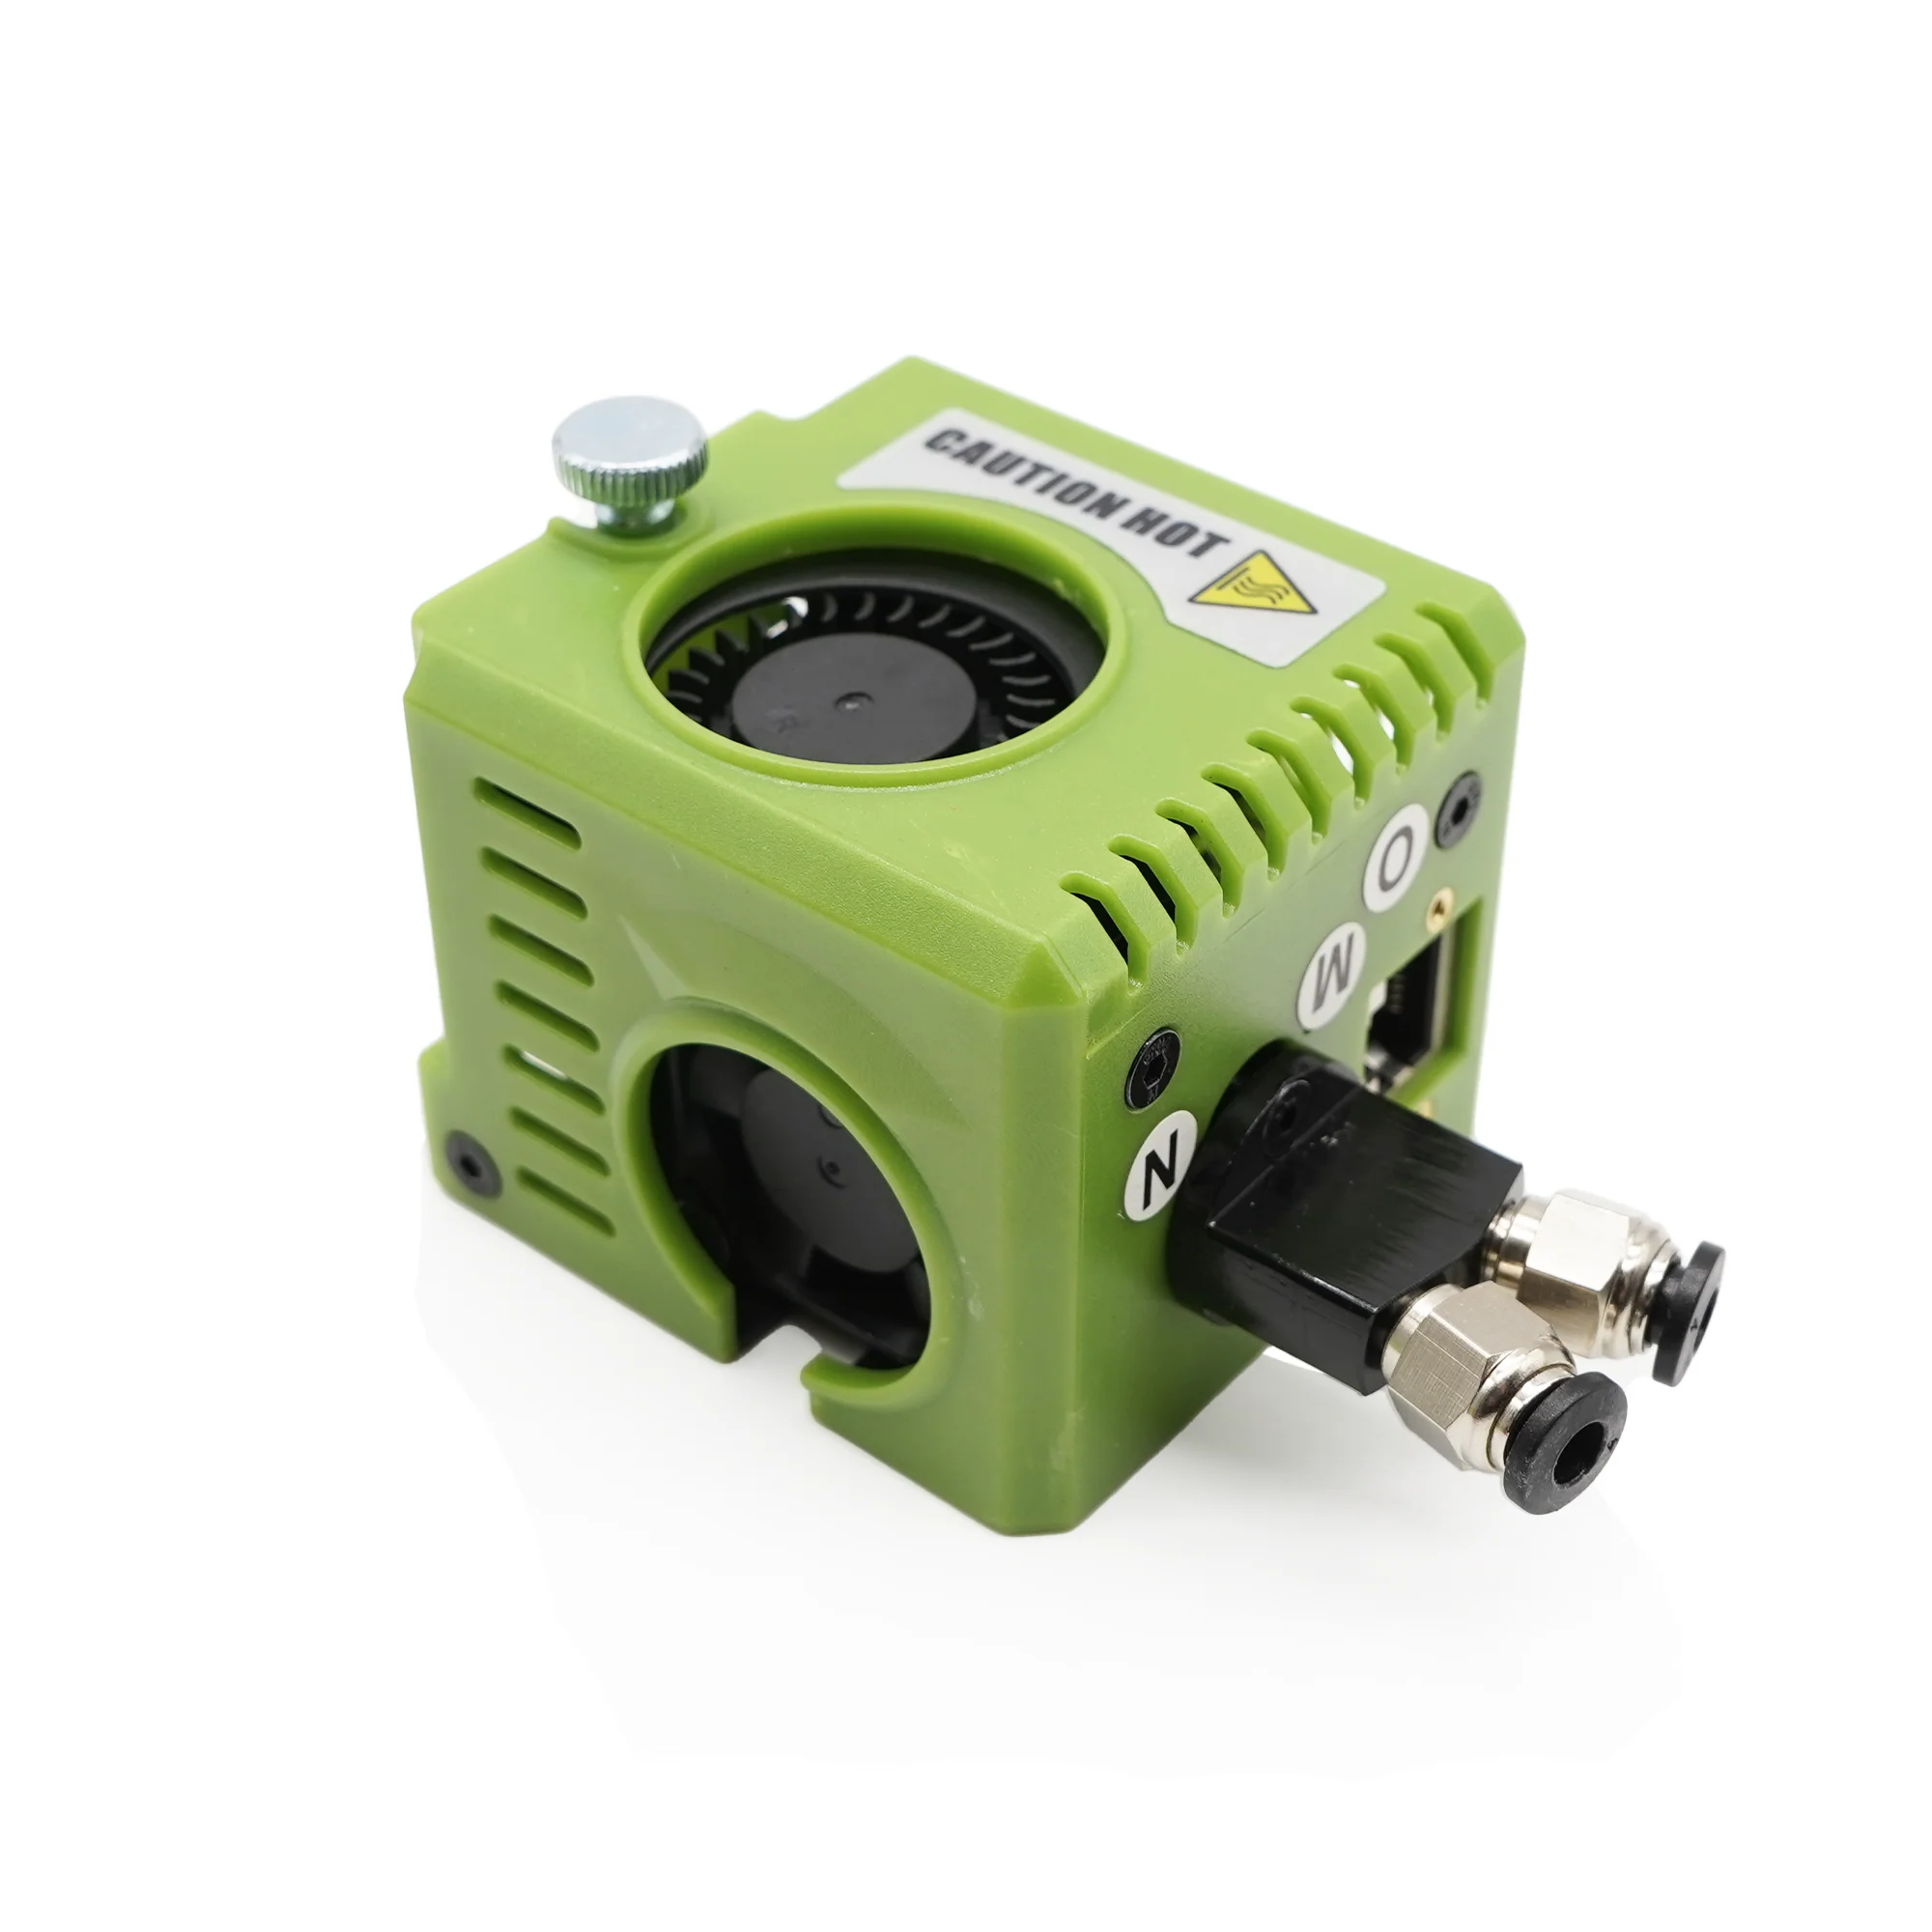
How do I use the D12 230 dual?
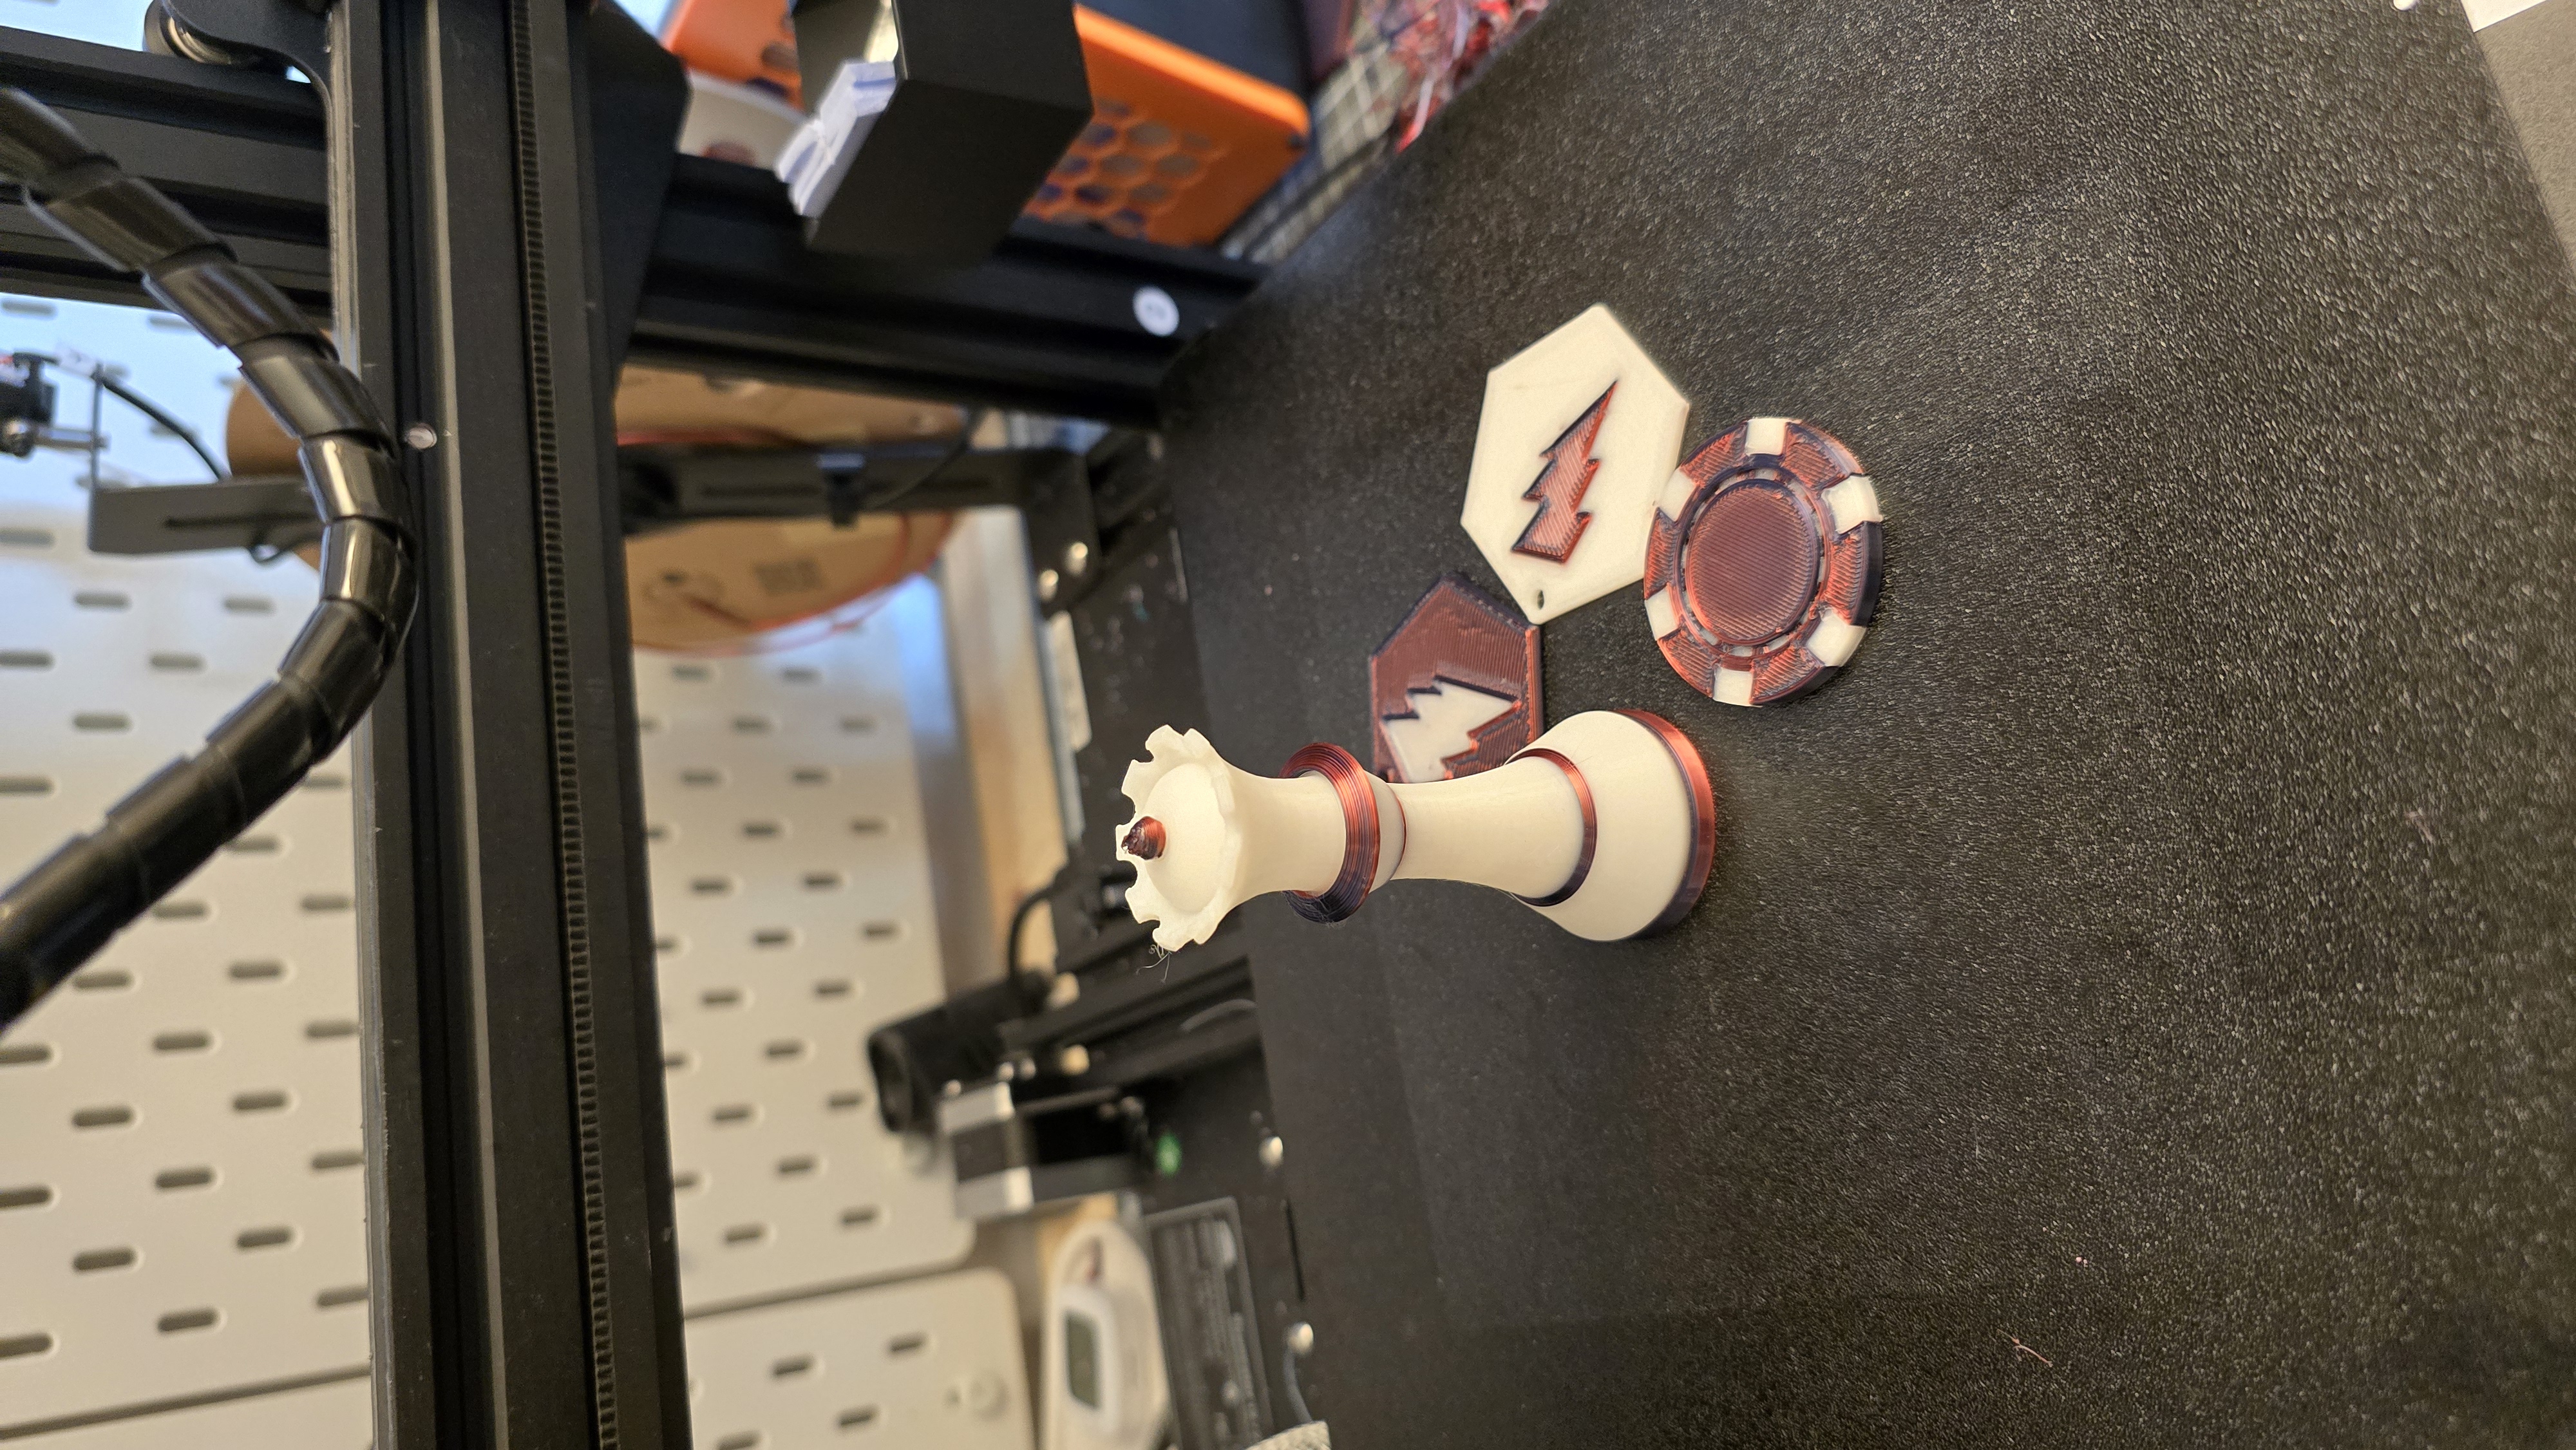
Without purge system
Profile Klipper
Remember to use the latest dual version of the klipper profile. https://github.com/Yumi-Lab/yumi-config
For the moment the following motherboards are configured:
- Nano Robin 3.2
- Nano Robin 3.1
- Nano Robin 1.3
- Nano Robin 1.2
Orcaslicer
Also use orcaslicer profiles for the D12 DUAL.
Import profile
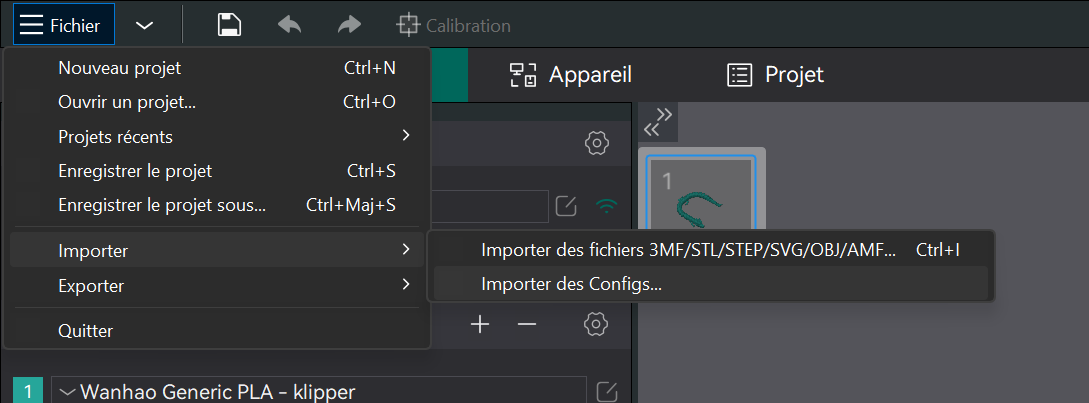
Add the profile for the wanhao d12 300 to the predefined printers. then download the profile for your printer and import it. there's a version with bltouch (bl in name) and one without (no bl in name).
It's an optimized profile. As a reminder, you need to adapt the profile to your 3d models.
Download It: https://github.com/Yumi-Lab/yumi-wiki/raw/main/Profile_Slicer/Orcaslicer/D12-230DUAL.zip
Next Coming soon
With purge system
The advantage of the purge system is that the filament is loaded automatically. If the purge profile is used each time, the filament is loaded and unloaded at the correct level and no preparatory action is required.
Profile Klipper
Remember to use the latest dual version of the klipper profile. https://github.com/Yumi-Lab/yumi-config
For the moment the following motherboards are configured:
- Nano Robin 3.2
- Nano Robin 3.1
- Nano Robin 1.3
- Nano Robin 1.2
Orcaslicer
Also use orcaslicer profiles for the D12 DUAL.
Import profile
Add the profile for the wanhao d12 300 to the predefined printers. then download the profile for your printer and import it. there's a version with bltouch (bl in name) and one without (no bl in name).
It's an optimized profile. As a reminder, you need to adapt the profile to your 3d models.
Download It: https://github.com/Yumi-Lab/yumi-wiki/raw/main/Profile_Slicer/Orcaslicer/Wanhao_D12_Profils_Orcaslicer_DUAL.zip
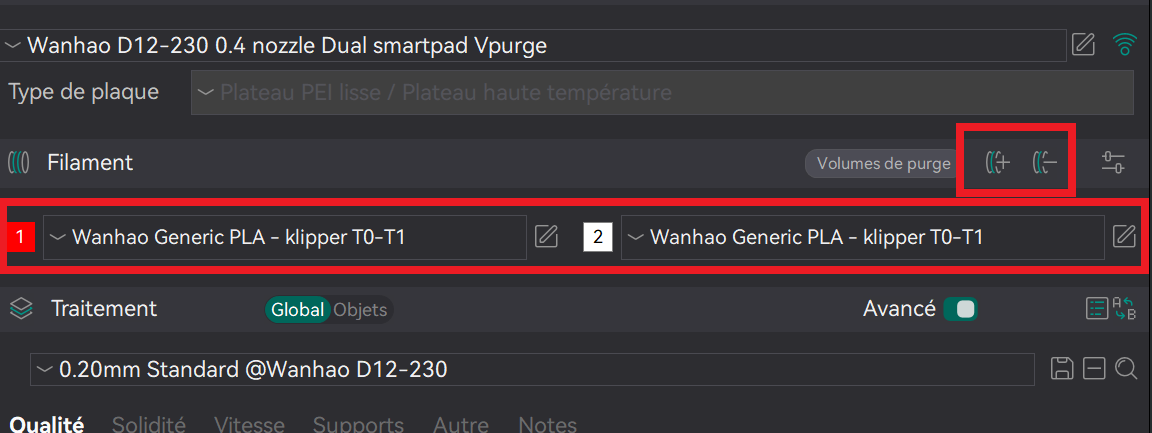
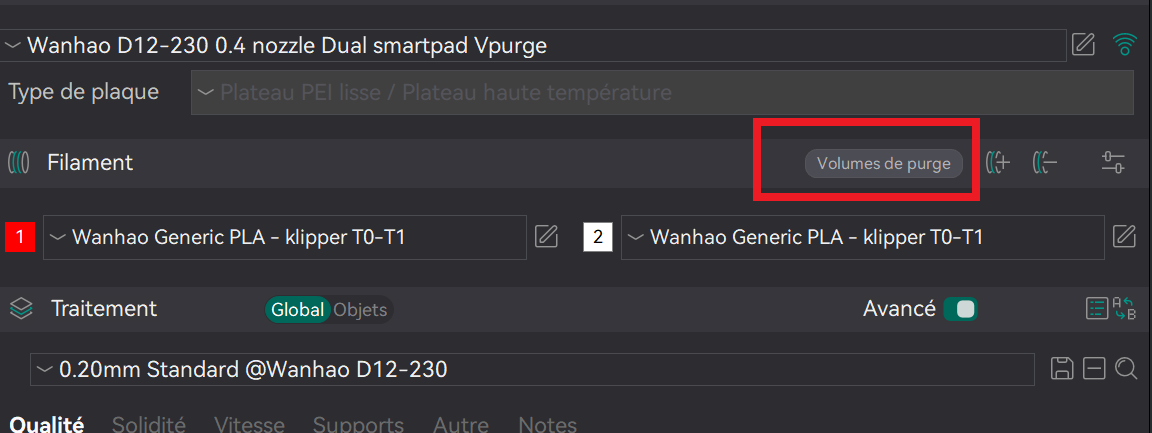
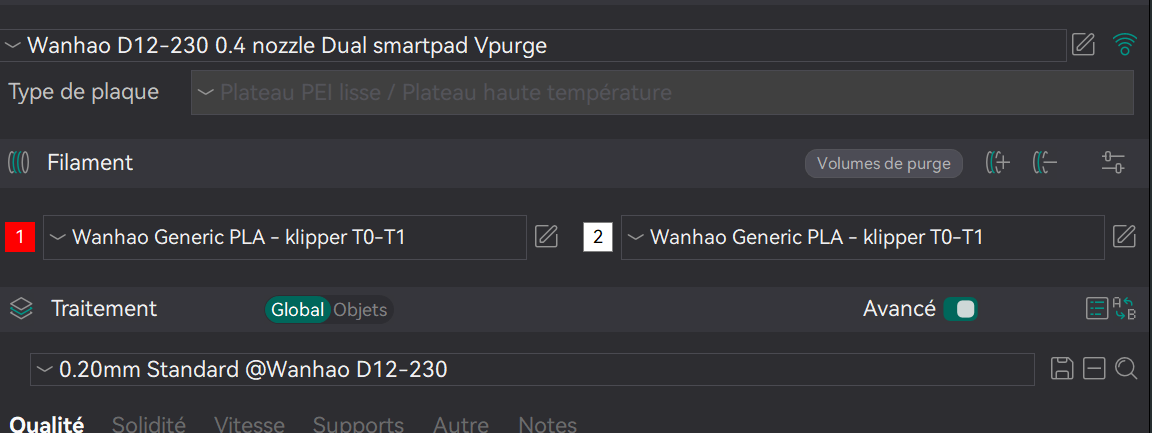 Use Vpurge imrpimante profile, T0-T1 klipper filament and @Wanhao D12-230 standard 0.2 profile.
add 2 filaments to orcaslicer
Purge system
You must have printed the purge system
STL: https://github.com/Yumi-Lab/yumi-wiki/blob/main/stl/D12_purge/PURGE_D12_v2.stl
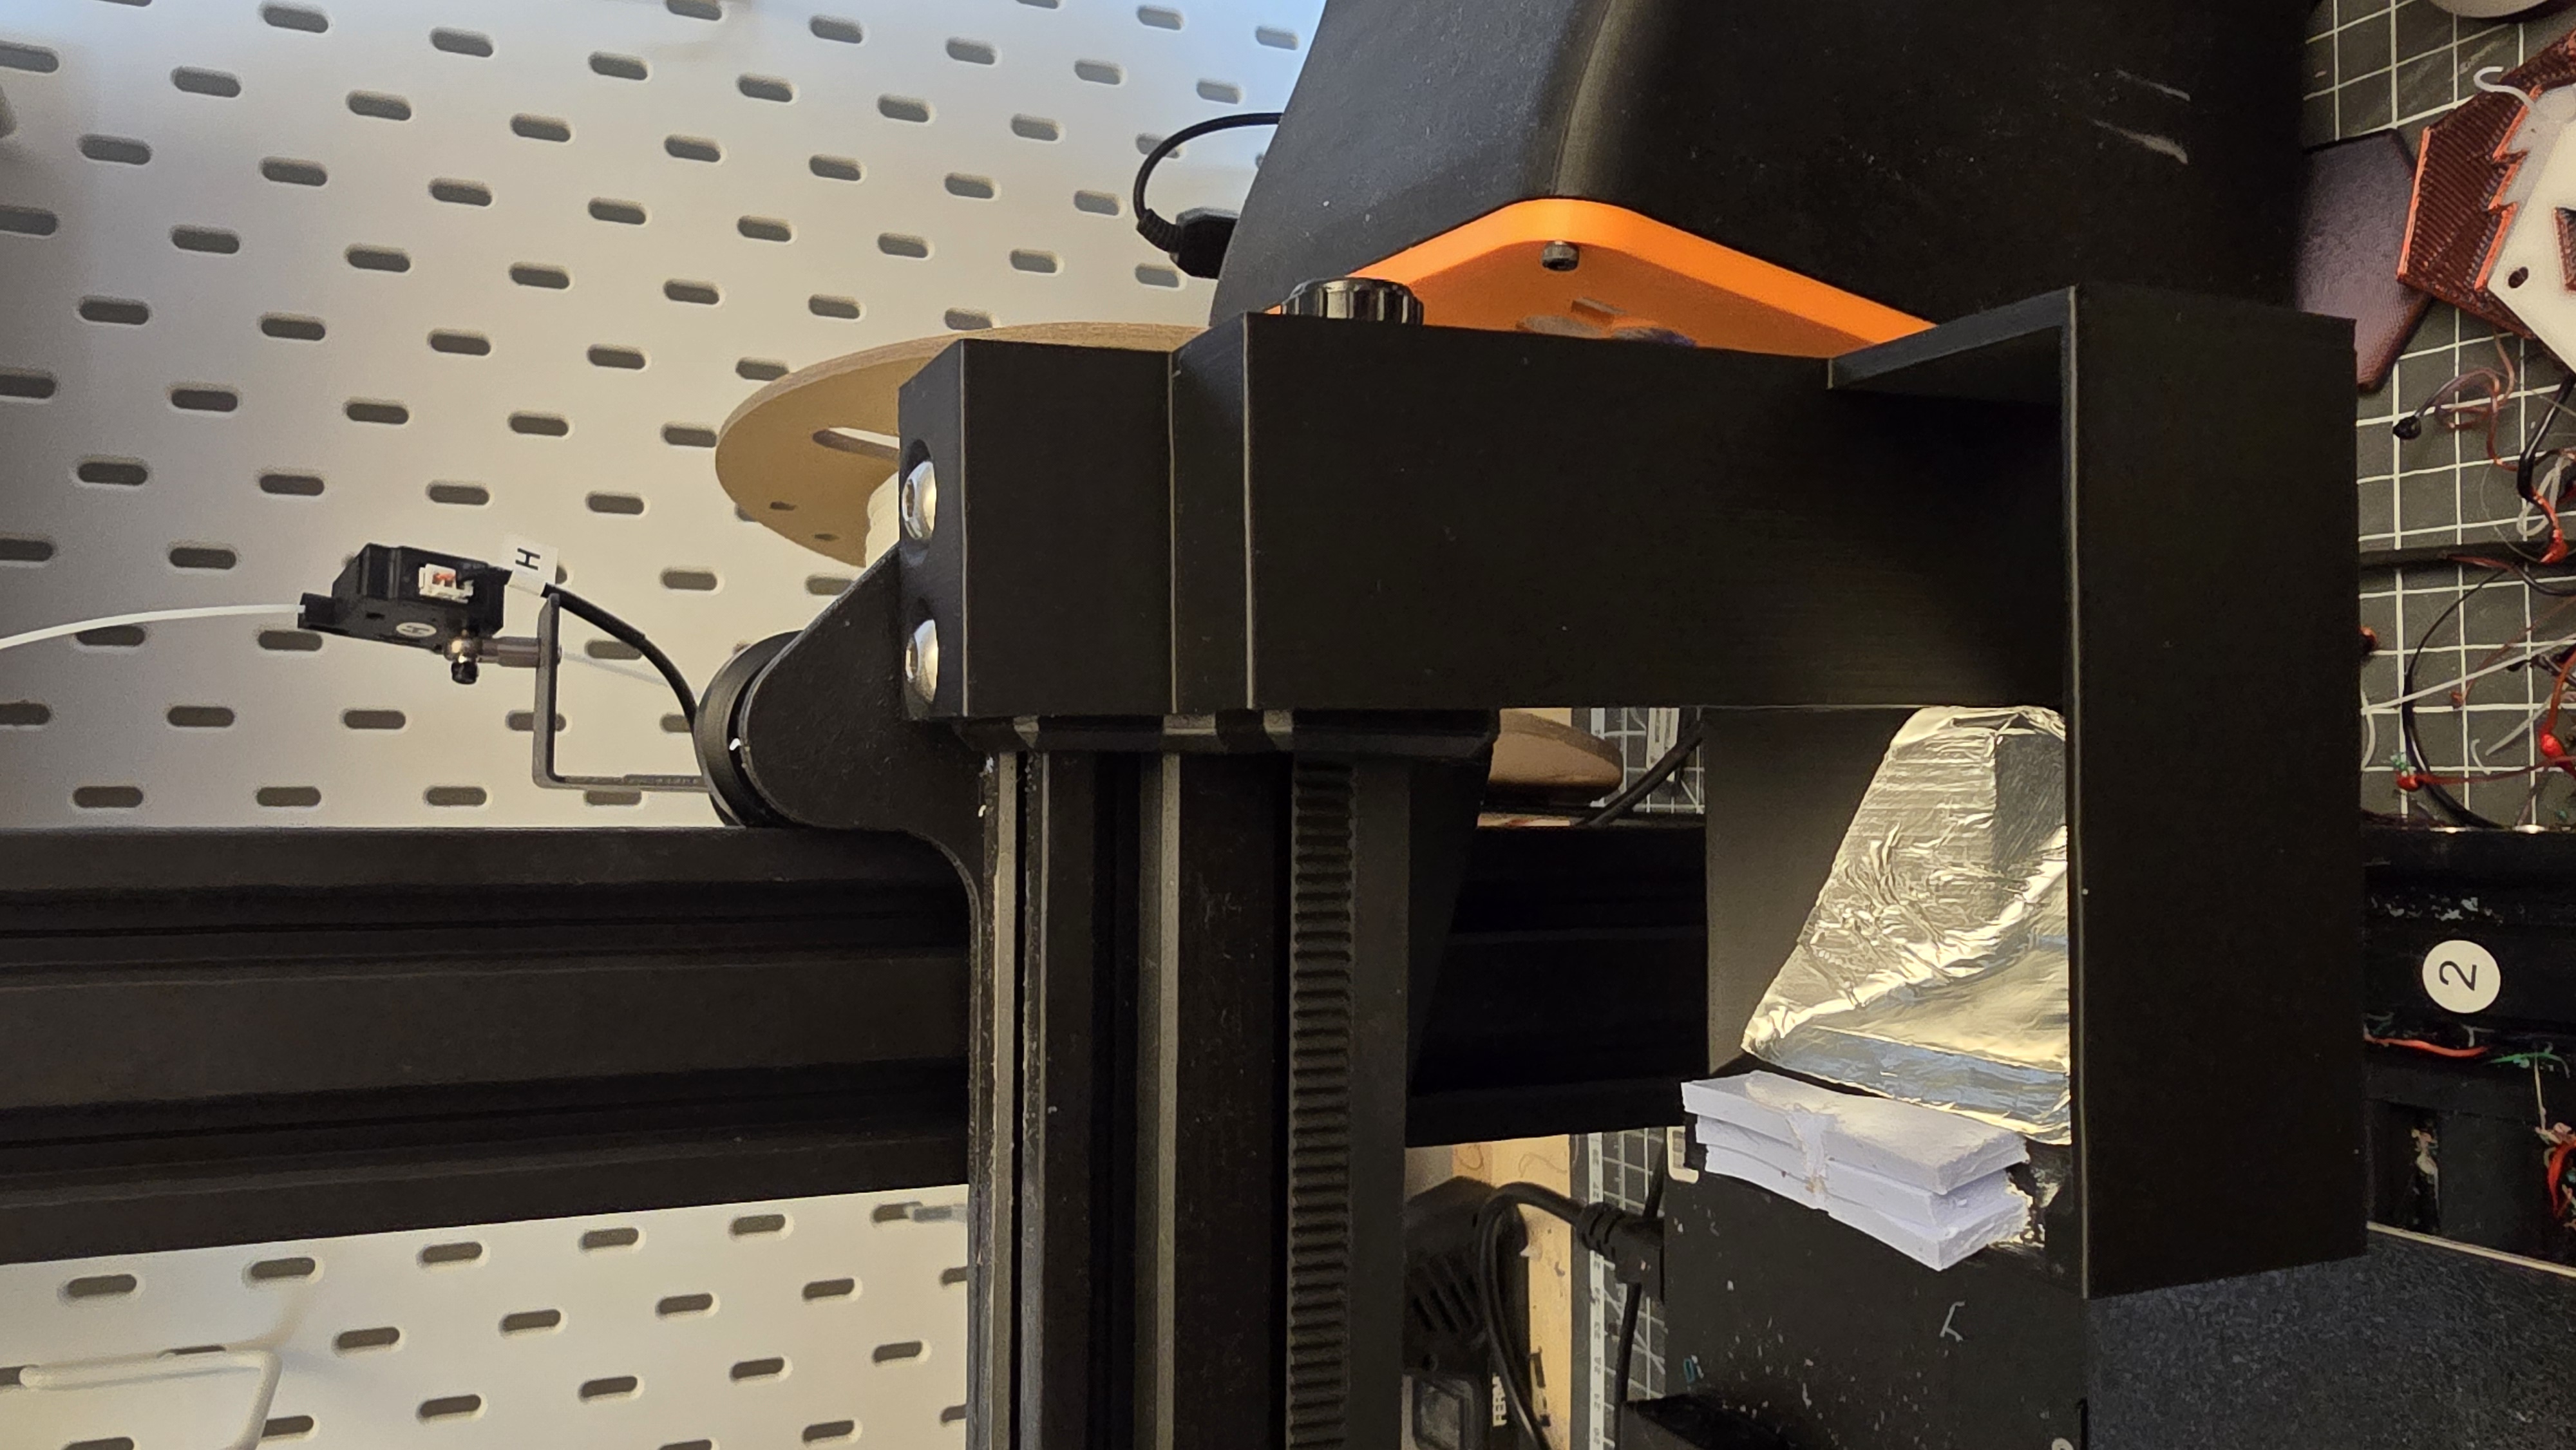
To fit, remove the 2 screws from the X axis on the right, install the bleed system and replace the 2 screws.
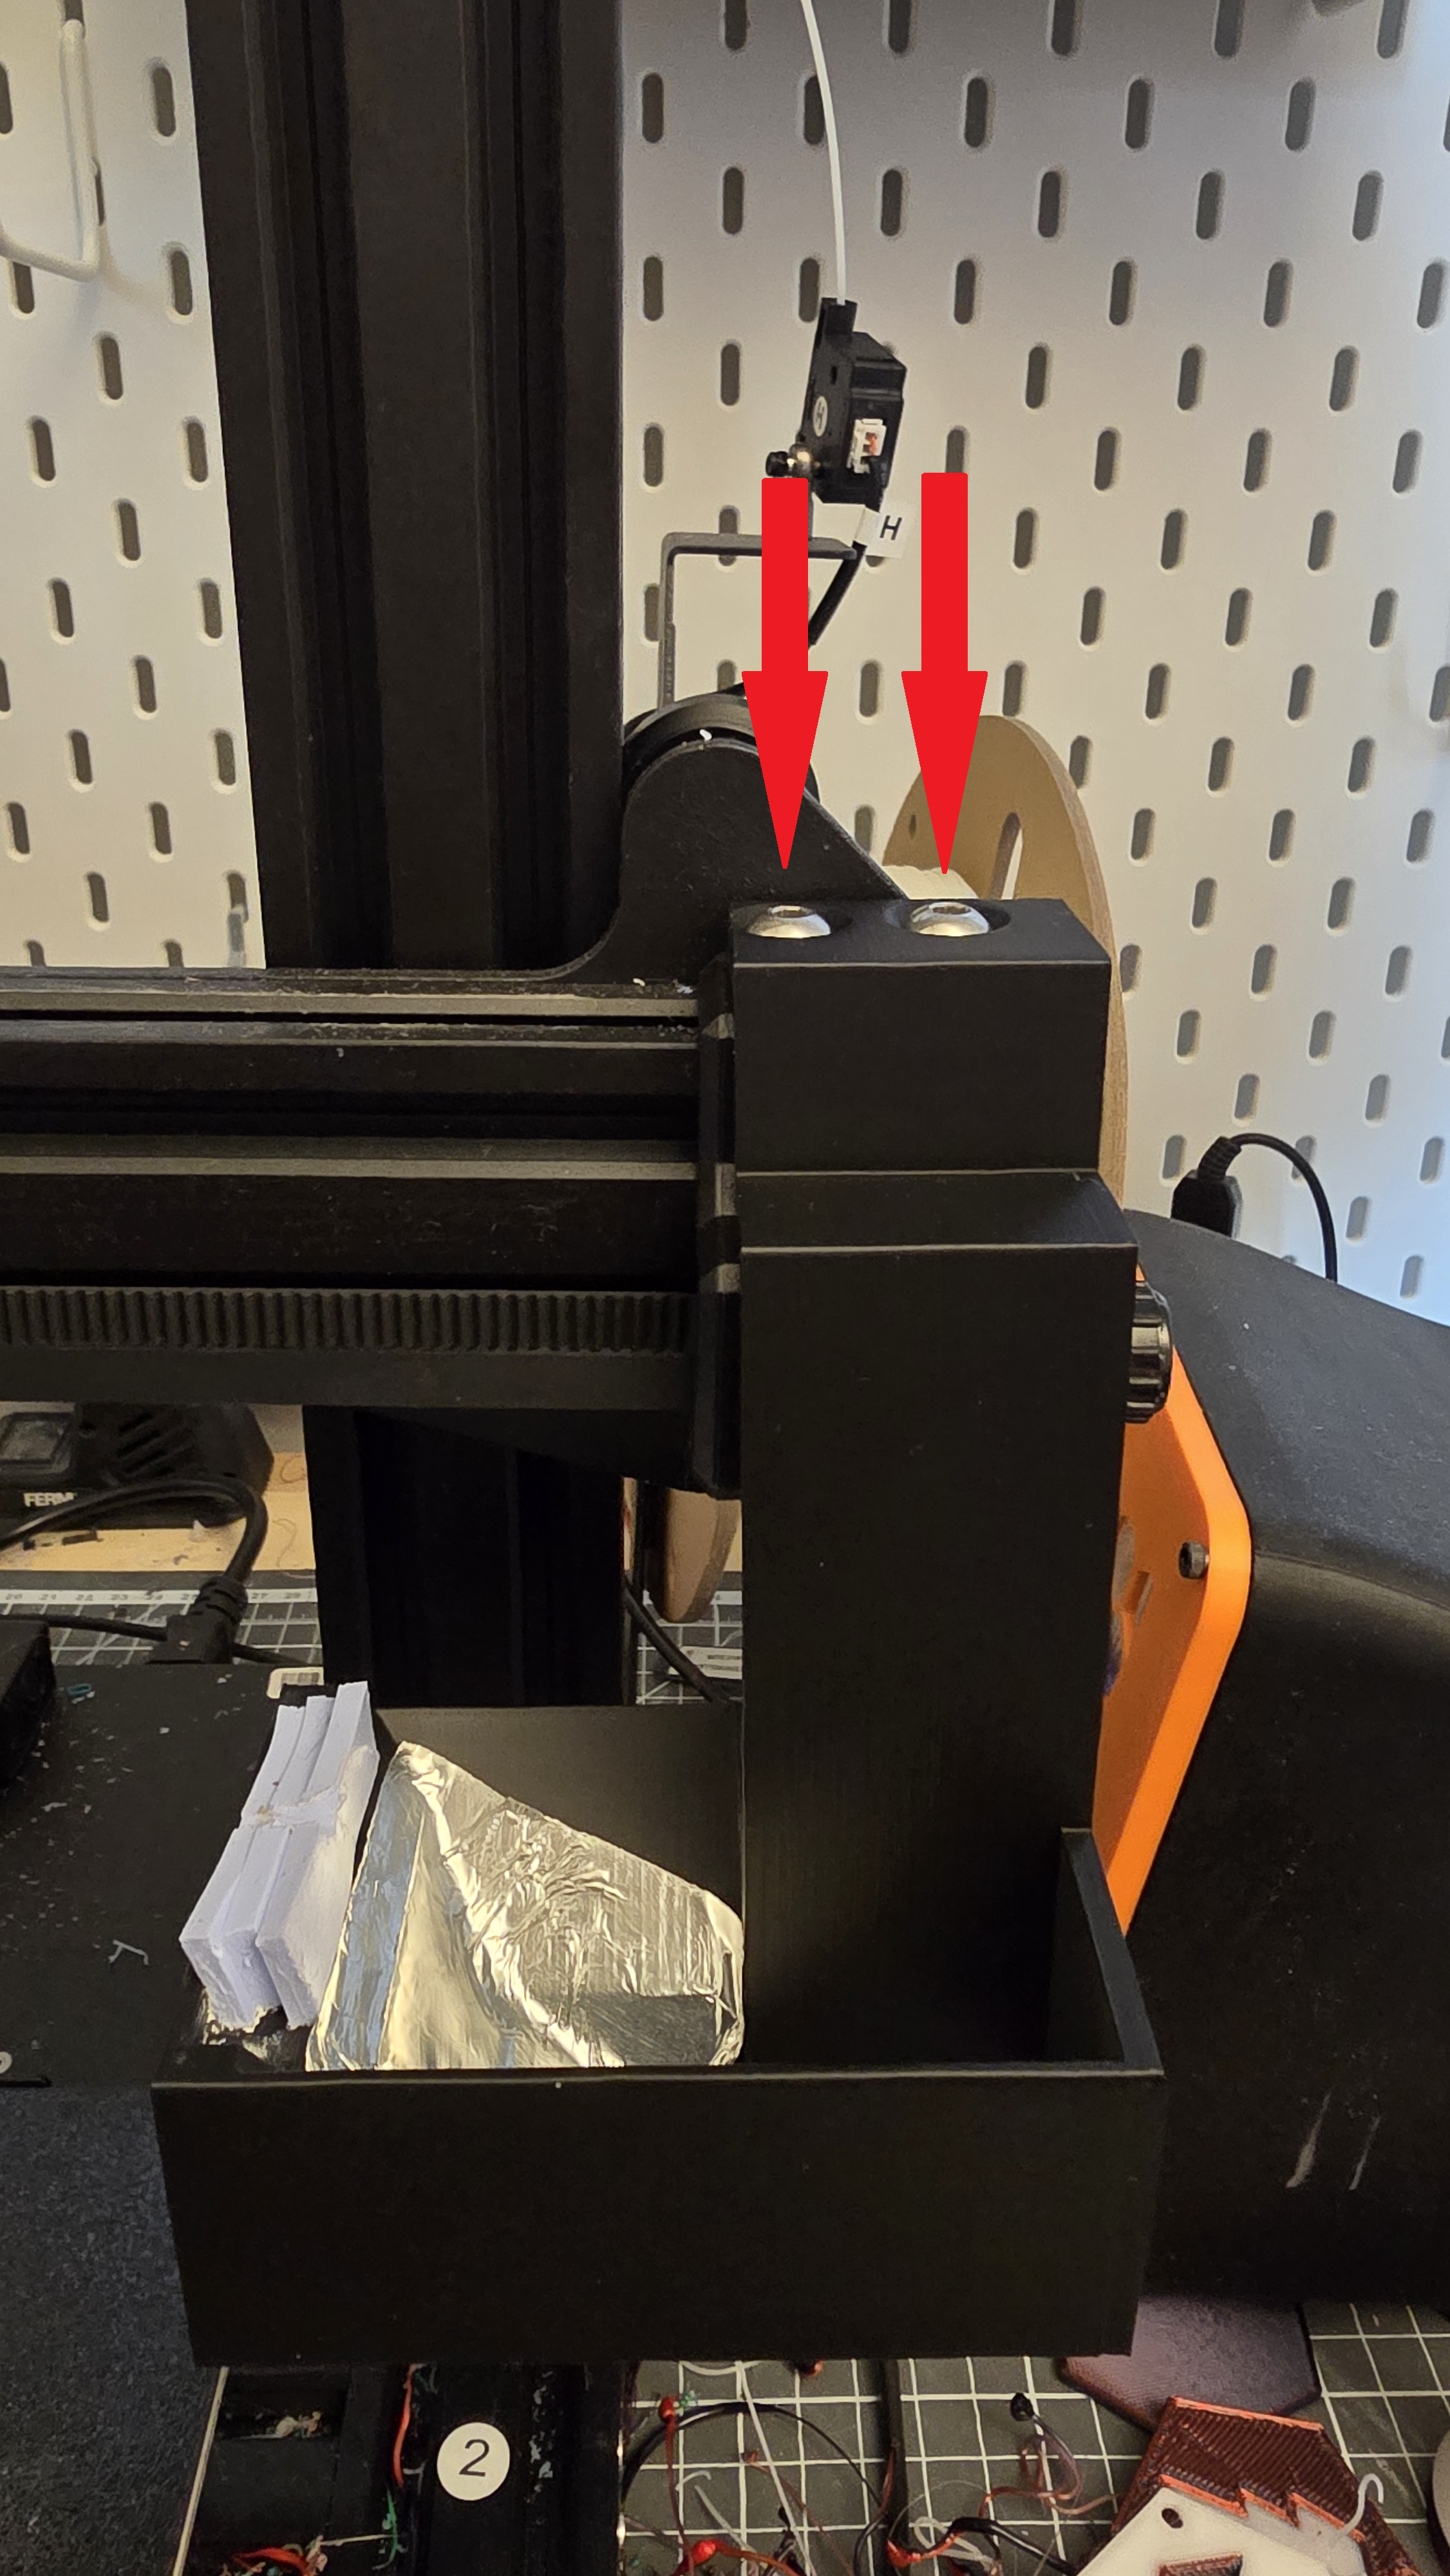
To clean the nozzle, use silicone sheeting(1) which you stick in the space provided and use aluminium tape(2) to help the drain down.
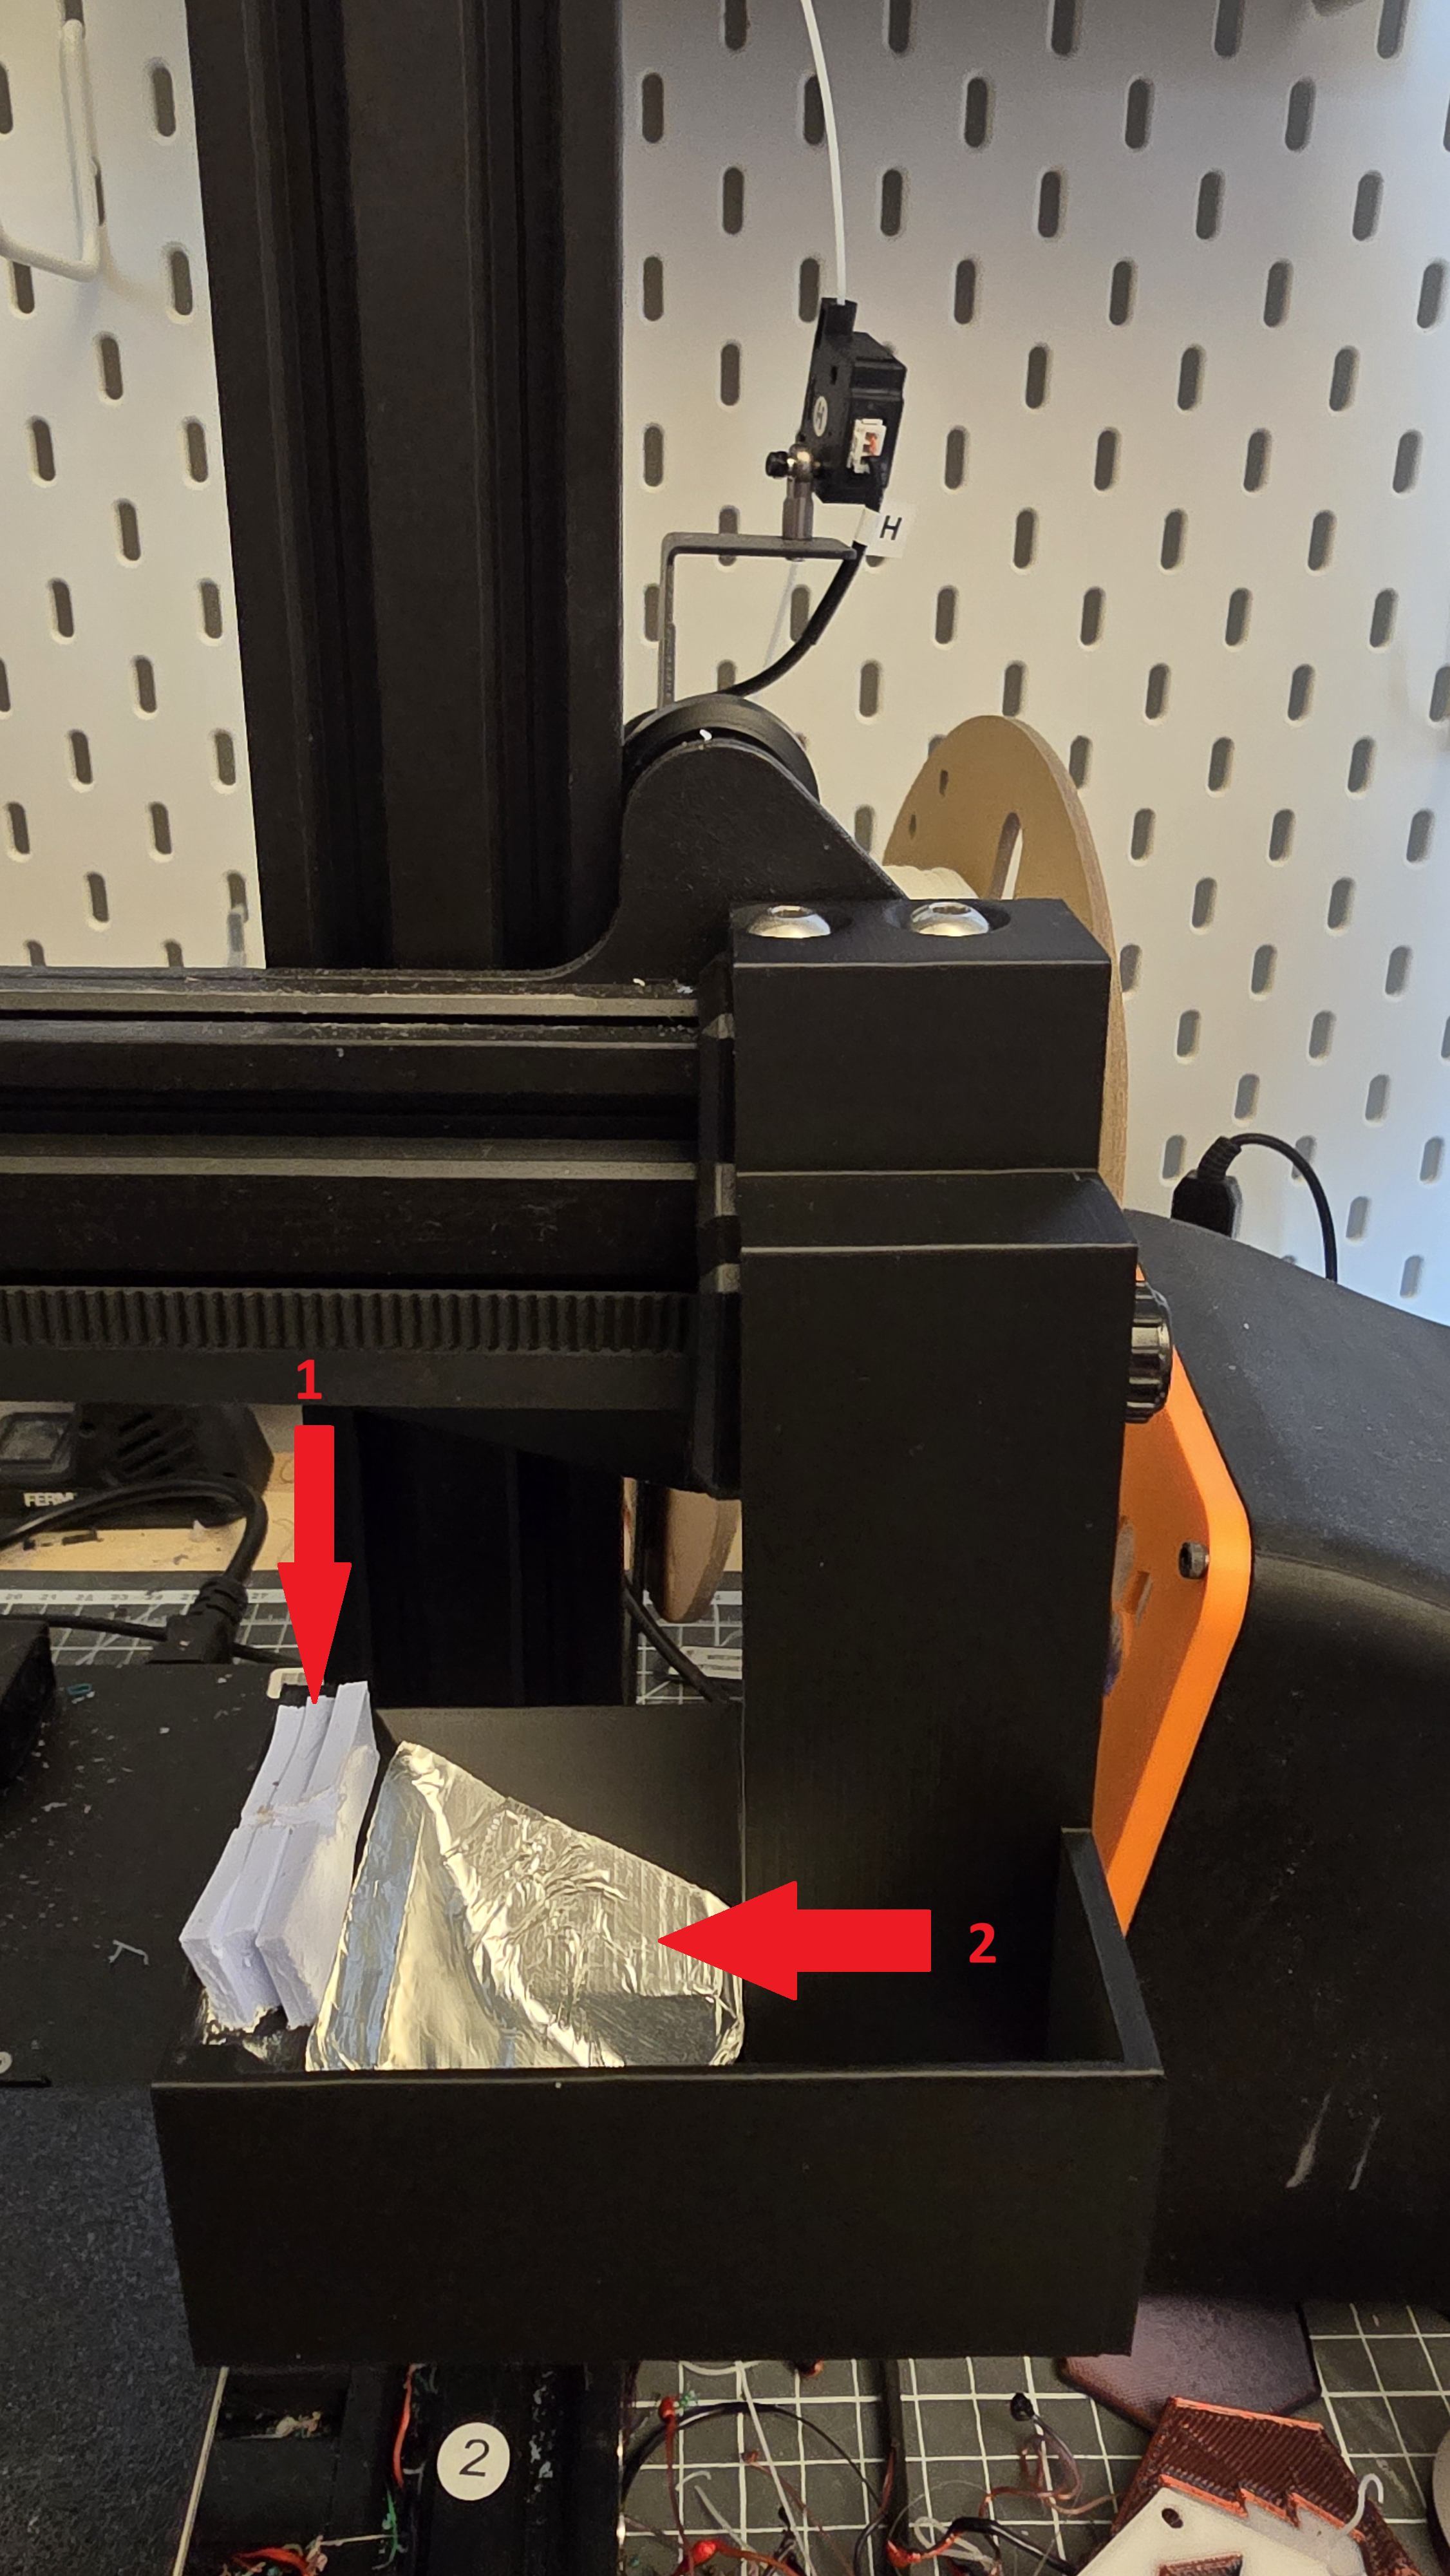
Filament preparation
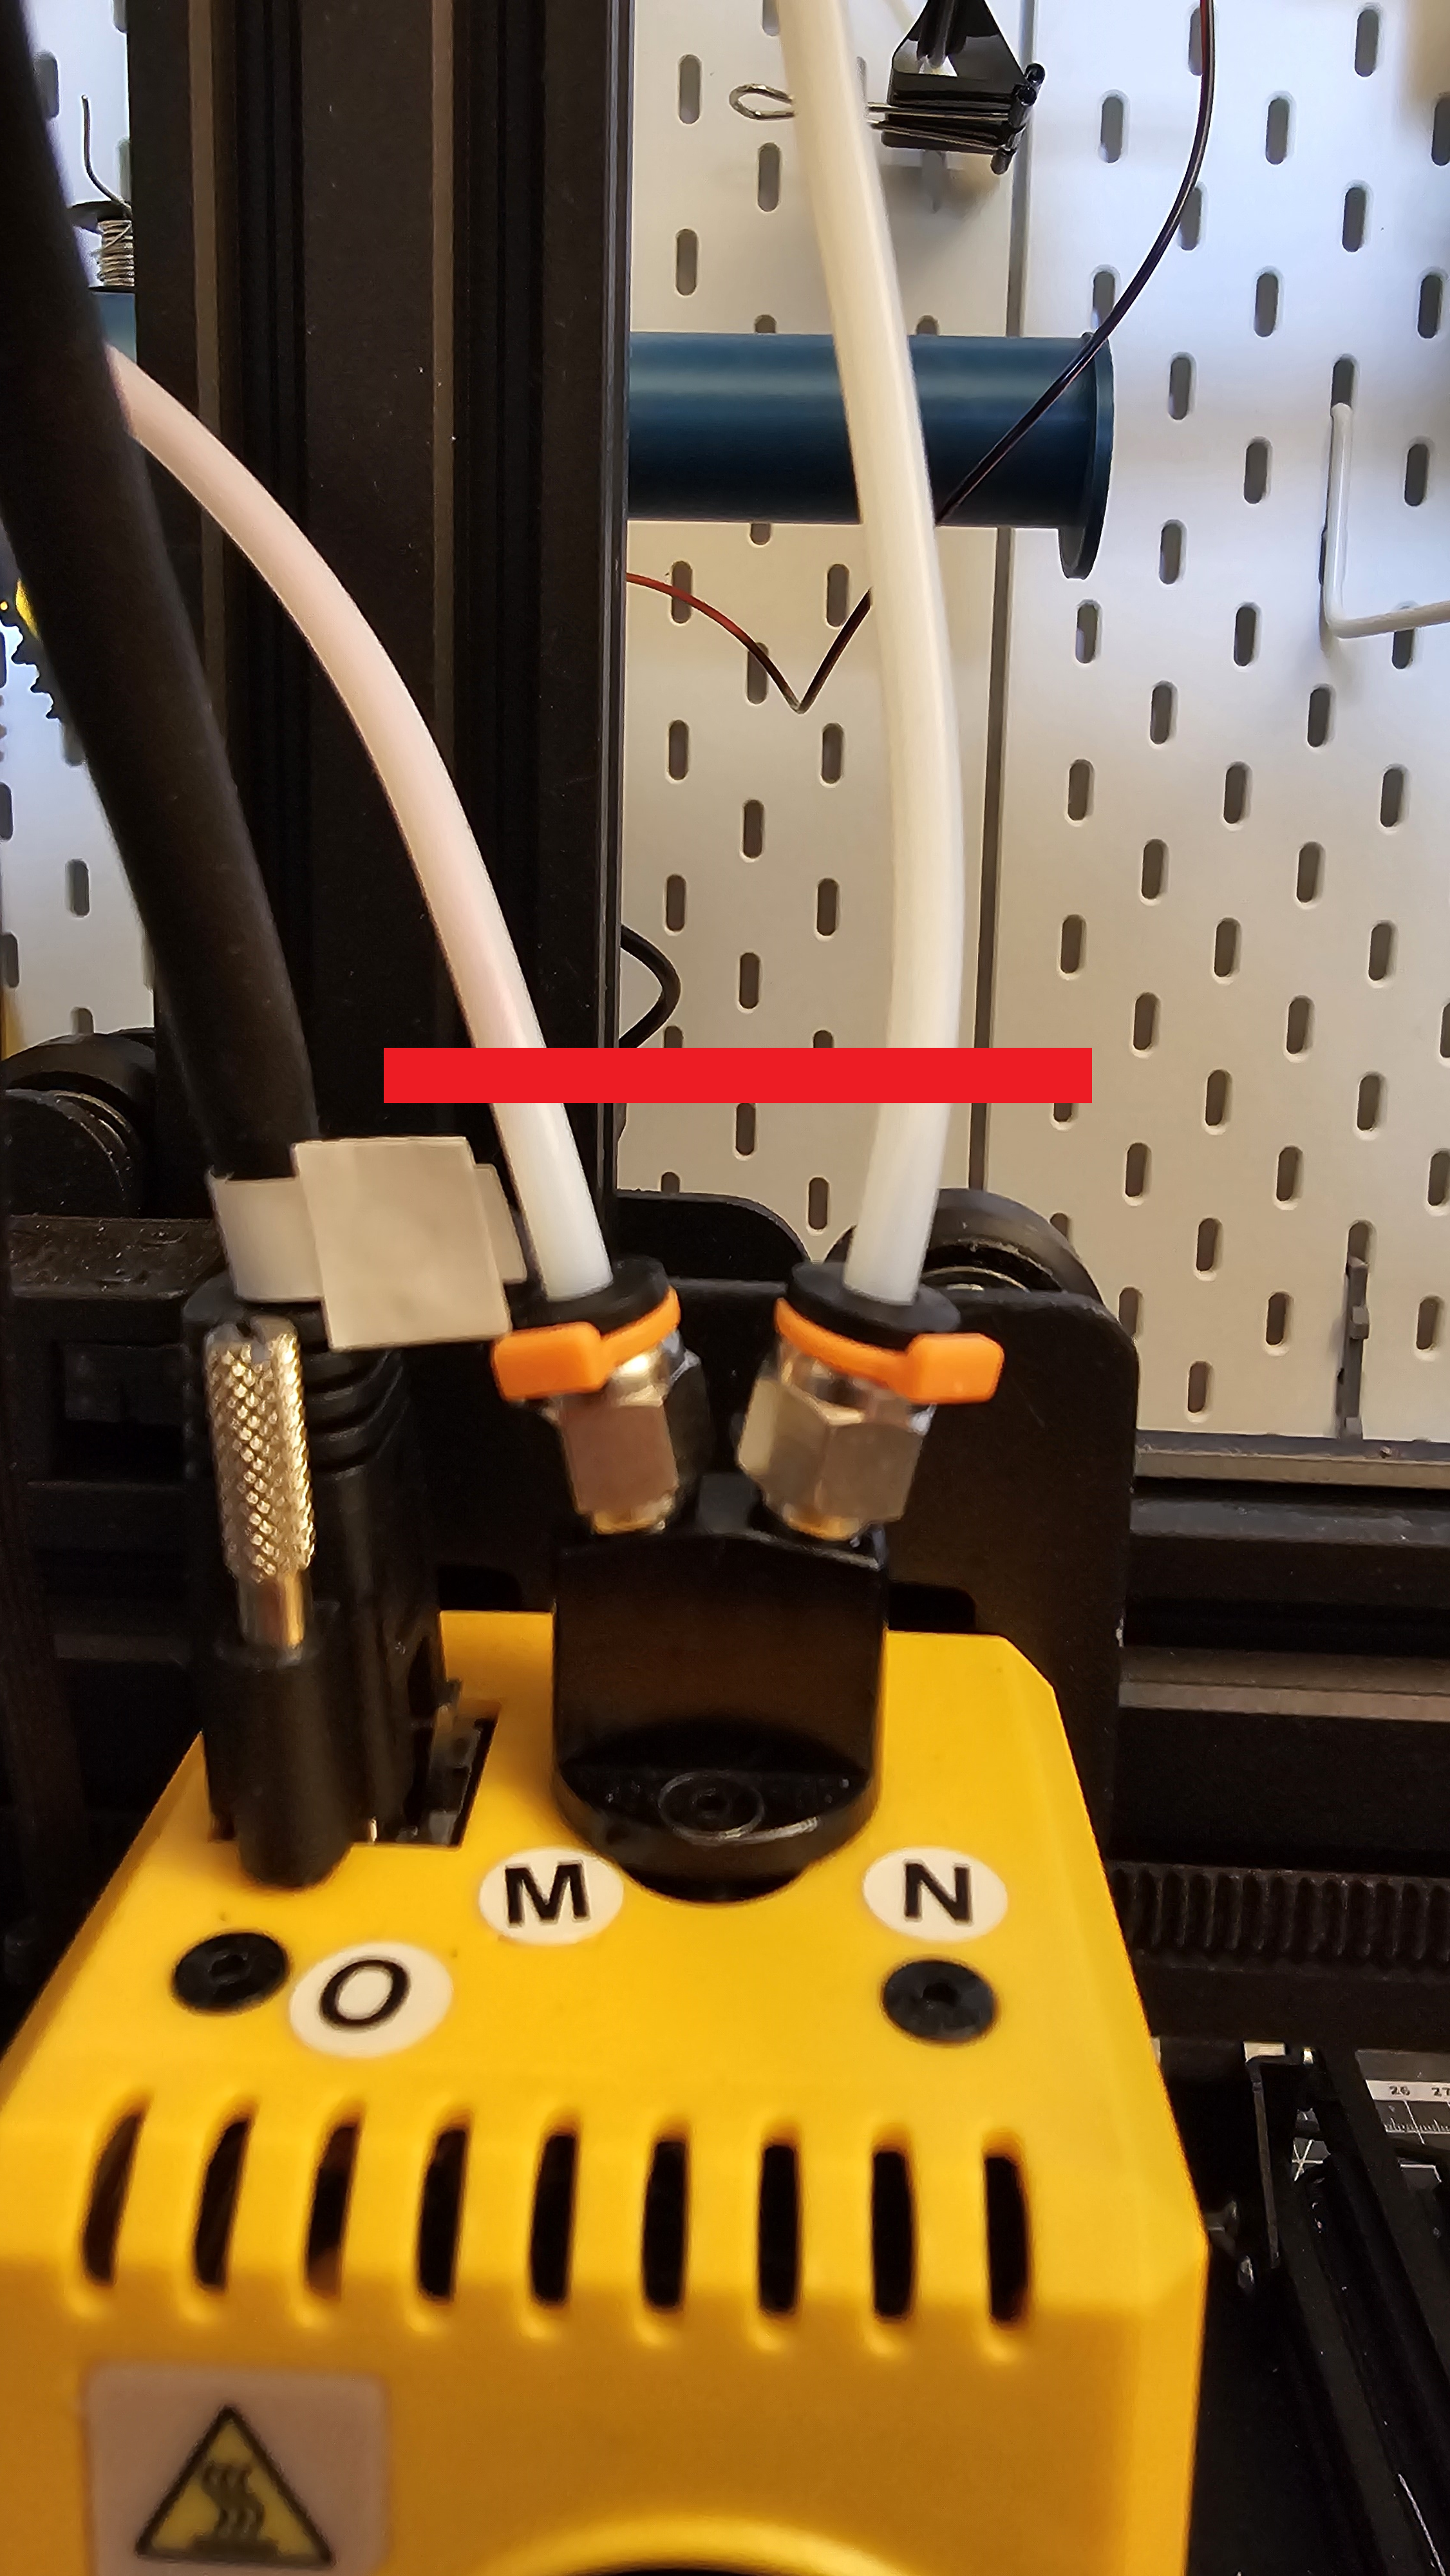
You must insert the 2 filaments at this limit
Slice
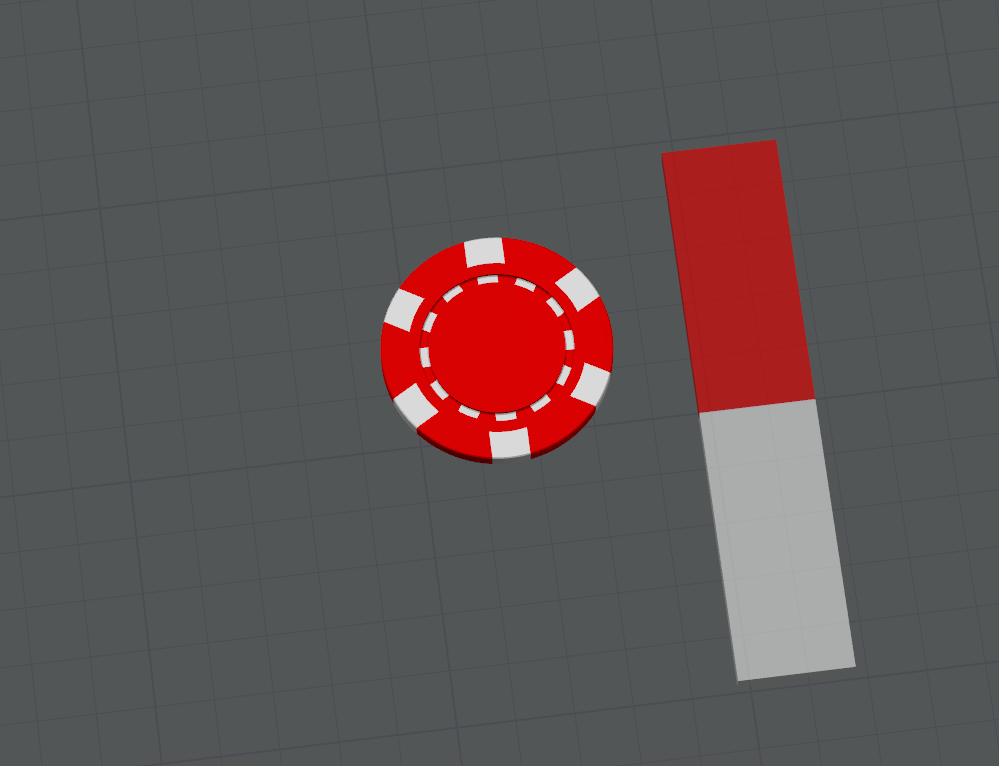
You can now start your first print run. colourise your pieces and objects
Adjust the rinse volume to avoid having too large a purge tower.
For fairly dark colours use between 0.35 and 0.45
For darker colours, use between 0.55 and 0.65
For light colours use between 0.35 and 0.45
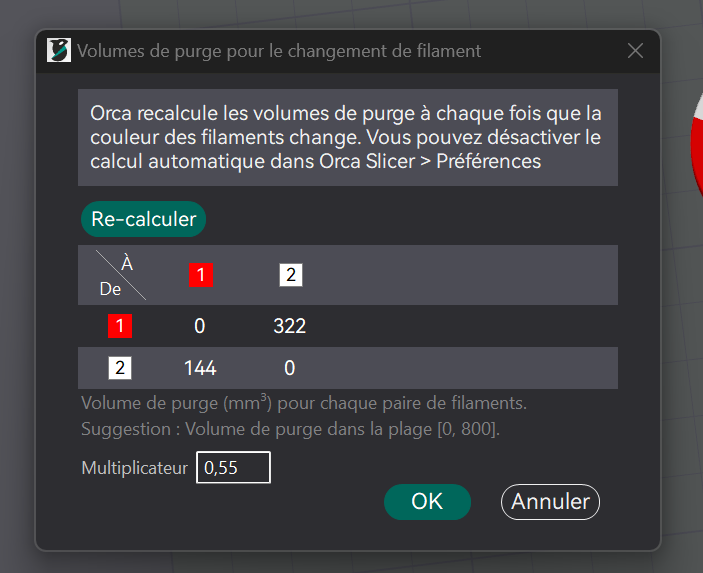
These are only guidelines. You need to find the right purge for your colours.
You can now cut and test Dual Color.
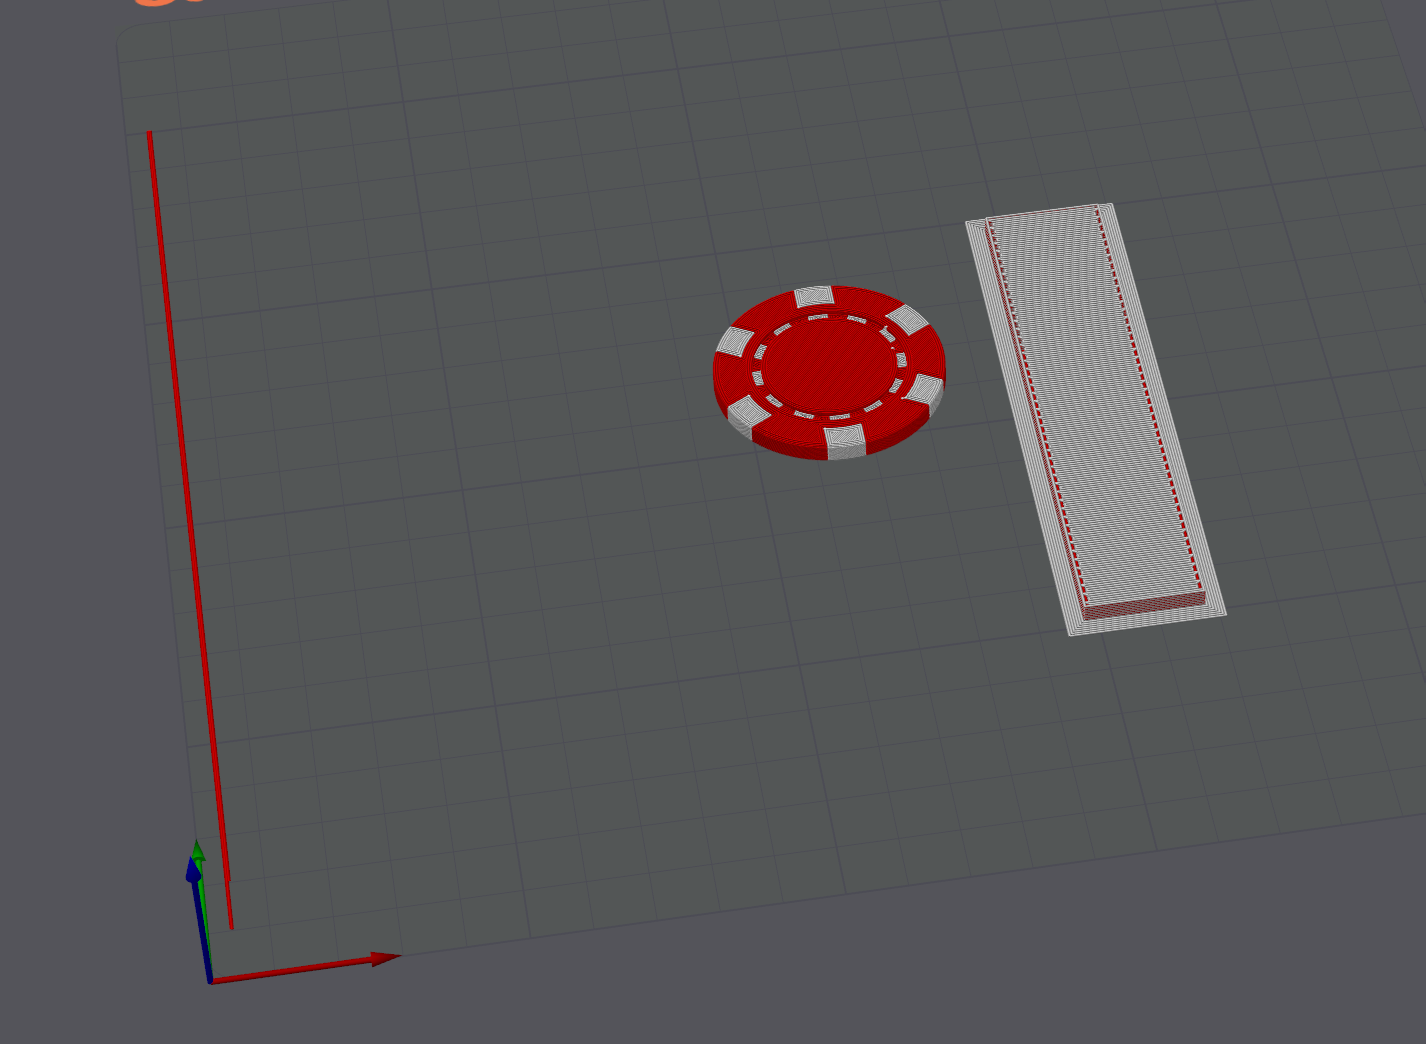
Good Print!!!