2.1 Extruder calibration
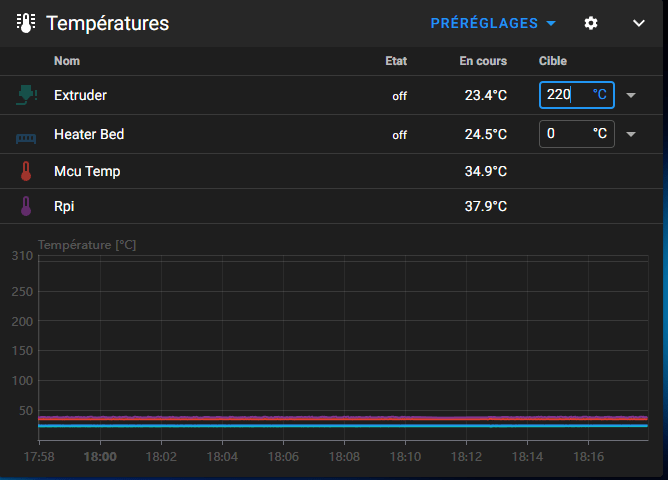
The configuration files I use are configured for my hardware. You settings for your extruder. Start by heating your nozzle to 220°C from the control panel.
If you have 2 extruders, use the macro to select the correct extruder.
T0 for extruder 1 and T1 for extruder 2. Pay attention to the Y of the head at the
filament crossing.
At console level, run the following commands:
M83 to reset the extruder
If this is the case, nothing to do.
Otherwise, you'll need to change a parameter in your configuration file. The
parameter to change is in printer.cfg.
Look in the extruder section and find the value rotation_distance.
For extruder 1, it's in the [extruder] section.
For extruder 2, it's in the [belted_extruder] section.
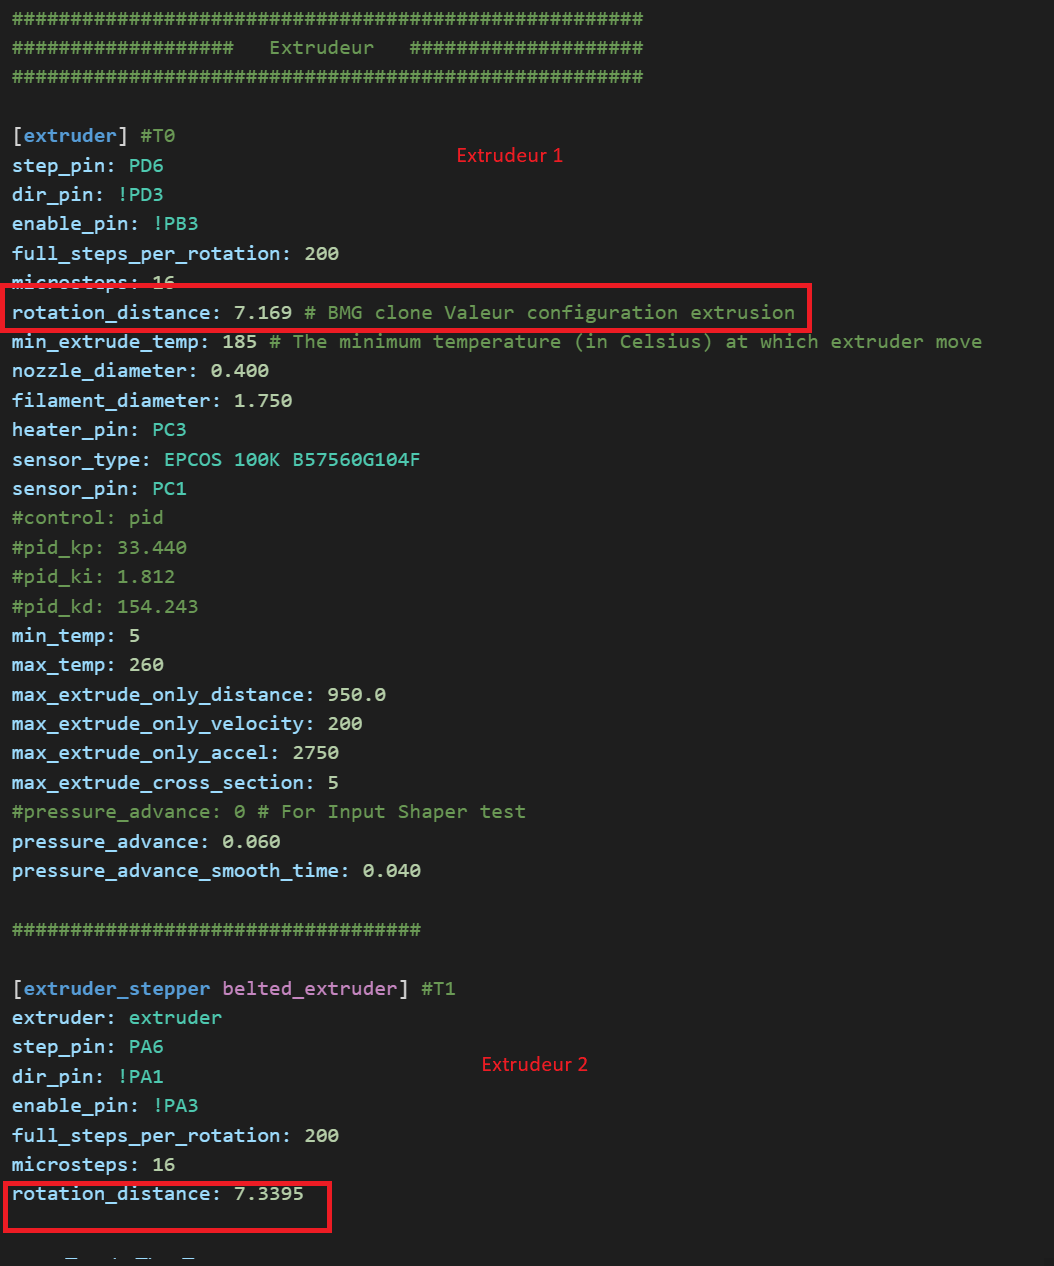
The value entered must be replaced by the correct value.
To find the correct value, use the following formula:
("measured distance in mm" / "requested distance in mm") X "rotation_distance"
Example:
I had 9cm extruded and not 10cm
The current value of rotation_distance is 7.805
The formula will therefore be ("90" / "100") X "7.805" = 7.0245
The new value will be 7.0245
Click on SAVE and RESTART in the top right-hand corner to
to save the file.
Now your SpeederPad/Raspberry and printer are ready to print.
You can slice a 3d model and import it into the G-Code File section.
You can now start printing from the Mainsail interface or from the
touch screen.