2.2 RetroMi (include optimised RetroPie)

Introduction
RetroPie stands out in the retro gaming world for its unparalleled flexibility and customization options, making it a go-to choice for enthusiasts and builders of retro gaming projects. With its broad support for emulators, RetroPie enables users to dive into a vast library of games spanning decades of consoles and computer systems, from classic Atari and NES to more recent platforms like the PlayStation.
Its customizable nature is a significant advantage, offering users the freedom to tweak the user interface, controller configurations, and even add extra scripts and features to meet their specific needs. This adaptability makes RetroPie an ideal solution for those looking to create a personalized retro gaming console.
Moreover, RetroPie benefits from a dedicated and active community, providing extensive guides, tutorials, and support forums. This community is invaluable for both newcomers learning to set up their retro gaming system and experienced users seeking advanced advice or new project ideas.
In summary, RetroPie is a key platform for retro gaming projects, offering powerful flexibility, extensive emulator support, and a vibrant community, enabling users to craft customized and immersive retro gaming experiences.
Auto Installation (Recommended for beginners)
You can use Balena Etcher or Raspberry imager to prepare the SD card with the image below
2024-07-16: Pre-built with web browser http://your_ip:8080 for managing games and auto resize image for all TF cards minimum 16GB recommended. (BETA v0.4 / Remember to unzip the file. SSH user: pi, password: yumi) RetroPie for SMART PI ONE V0.4beta for more details : GITHUB MAXIME3D77 SMARTPI
2024-04-26 : Prebuilt image link for 16GB or more (BETA v0.3 / Remember to unzip the file/ password pi: fun): RetroPie for SMART PI ONE V0.3betaJYxrUDZA1 )
2024-04-01 : Prebuilt image link for 16GB or more (BETA v0.2 / Remember to unzip the file/ password pi: fun): RetroPie for SMART PI ONE V0.2betaVREUvyEth )
2024-03-22 : Prebuilt image link for 16GB or more (BETA v0.1 / Remember to unzip the file/ password pi: fun): RetroPie for SMART PI ONE V0.1beta0bSQSSoCT )
Image for OS any SD card: Available soon
Manual Installation
Prerequisites
-Installing a smartpi, LINUX BOOKWORM SERVER is recommanded. (https://wiki.yumi-lab.com/SmartPI/SmartPi_Linux/)
-During linux server installation please create user: pi
Manual installation can take several hours, so you'll just have to be patient while everything installs properly. You'll just have to do a few things during installation.
Connect to the pad via ssh with mobaxterm or putty, for example.
Retropie installation for YUMI Smart Pi One
Relaunching the Smart Pi One
Start
You should see Emulastation start up.
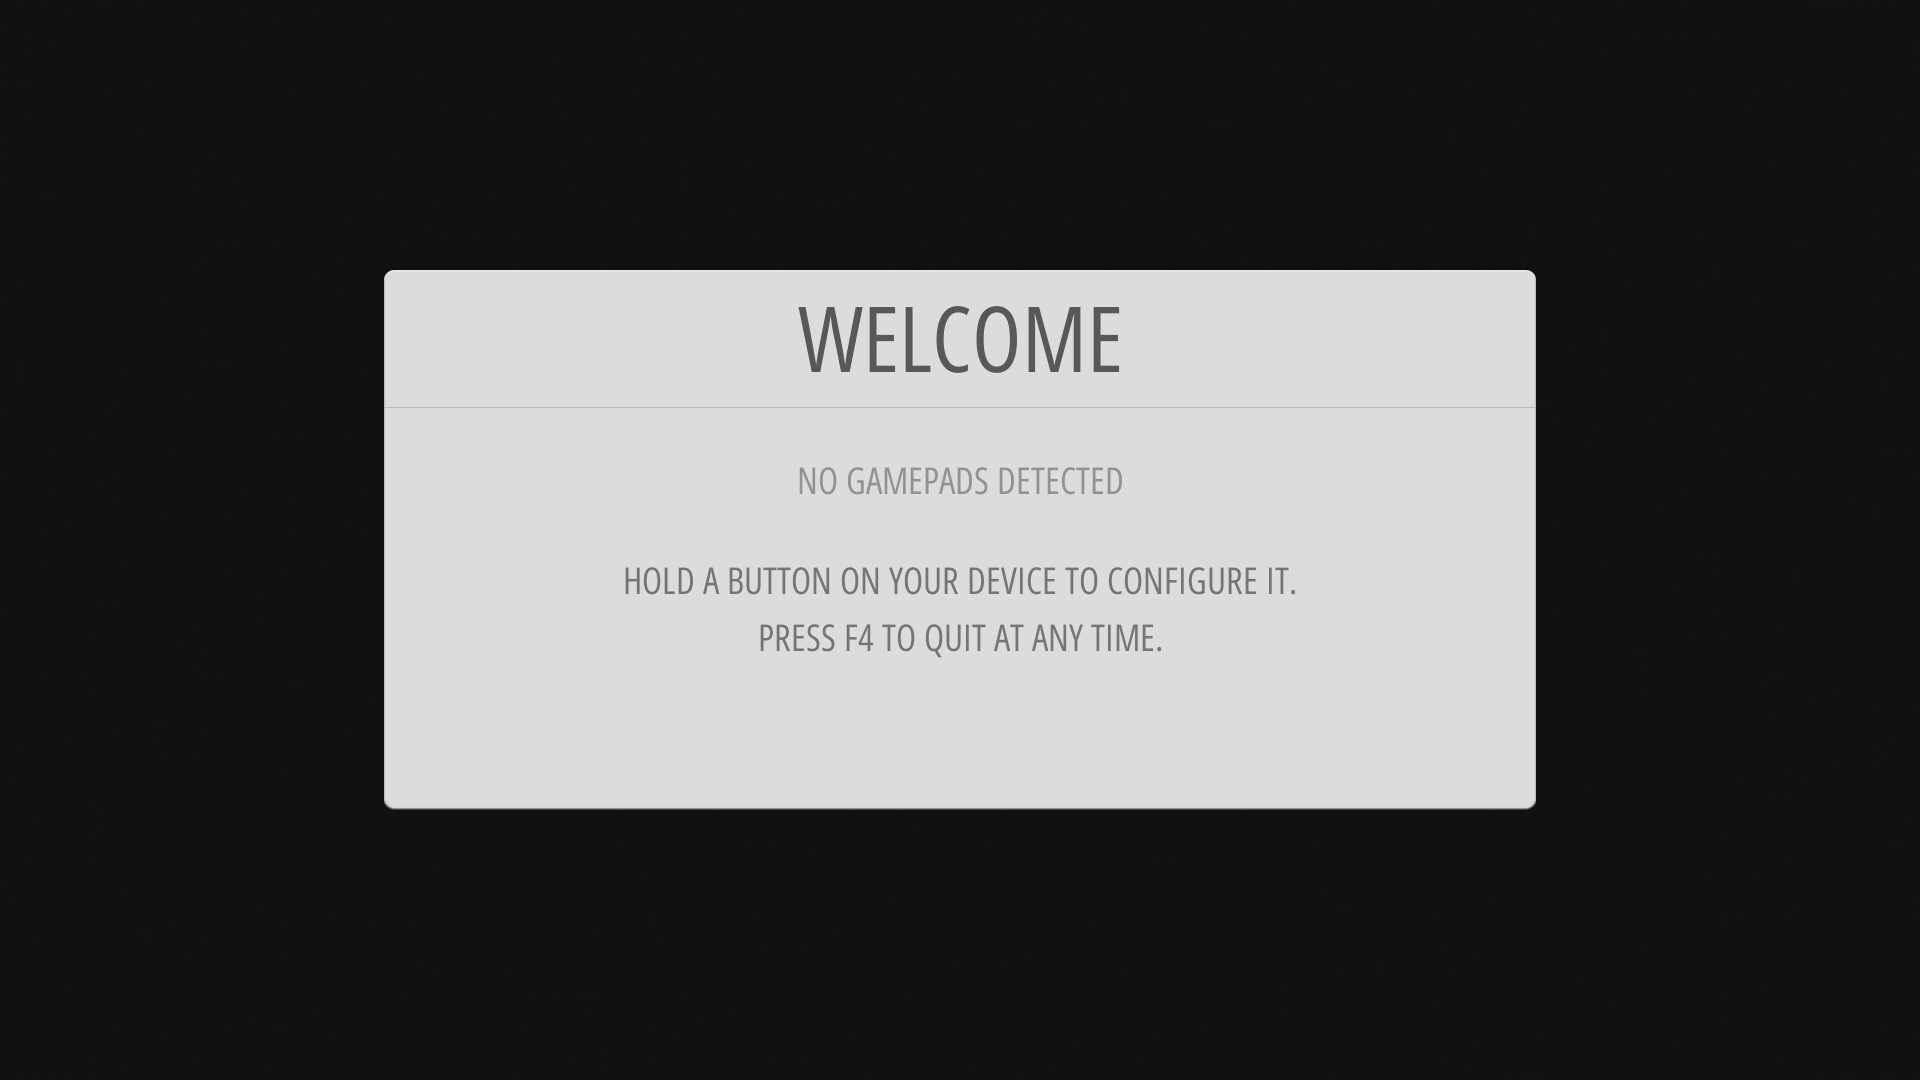
Once started, you need to set up a controller
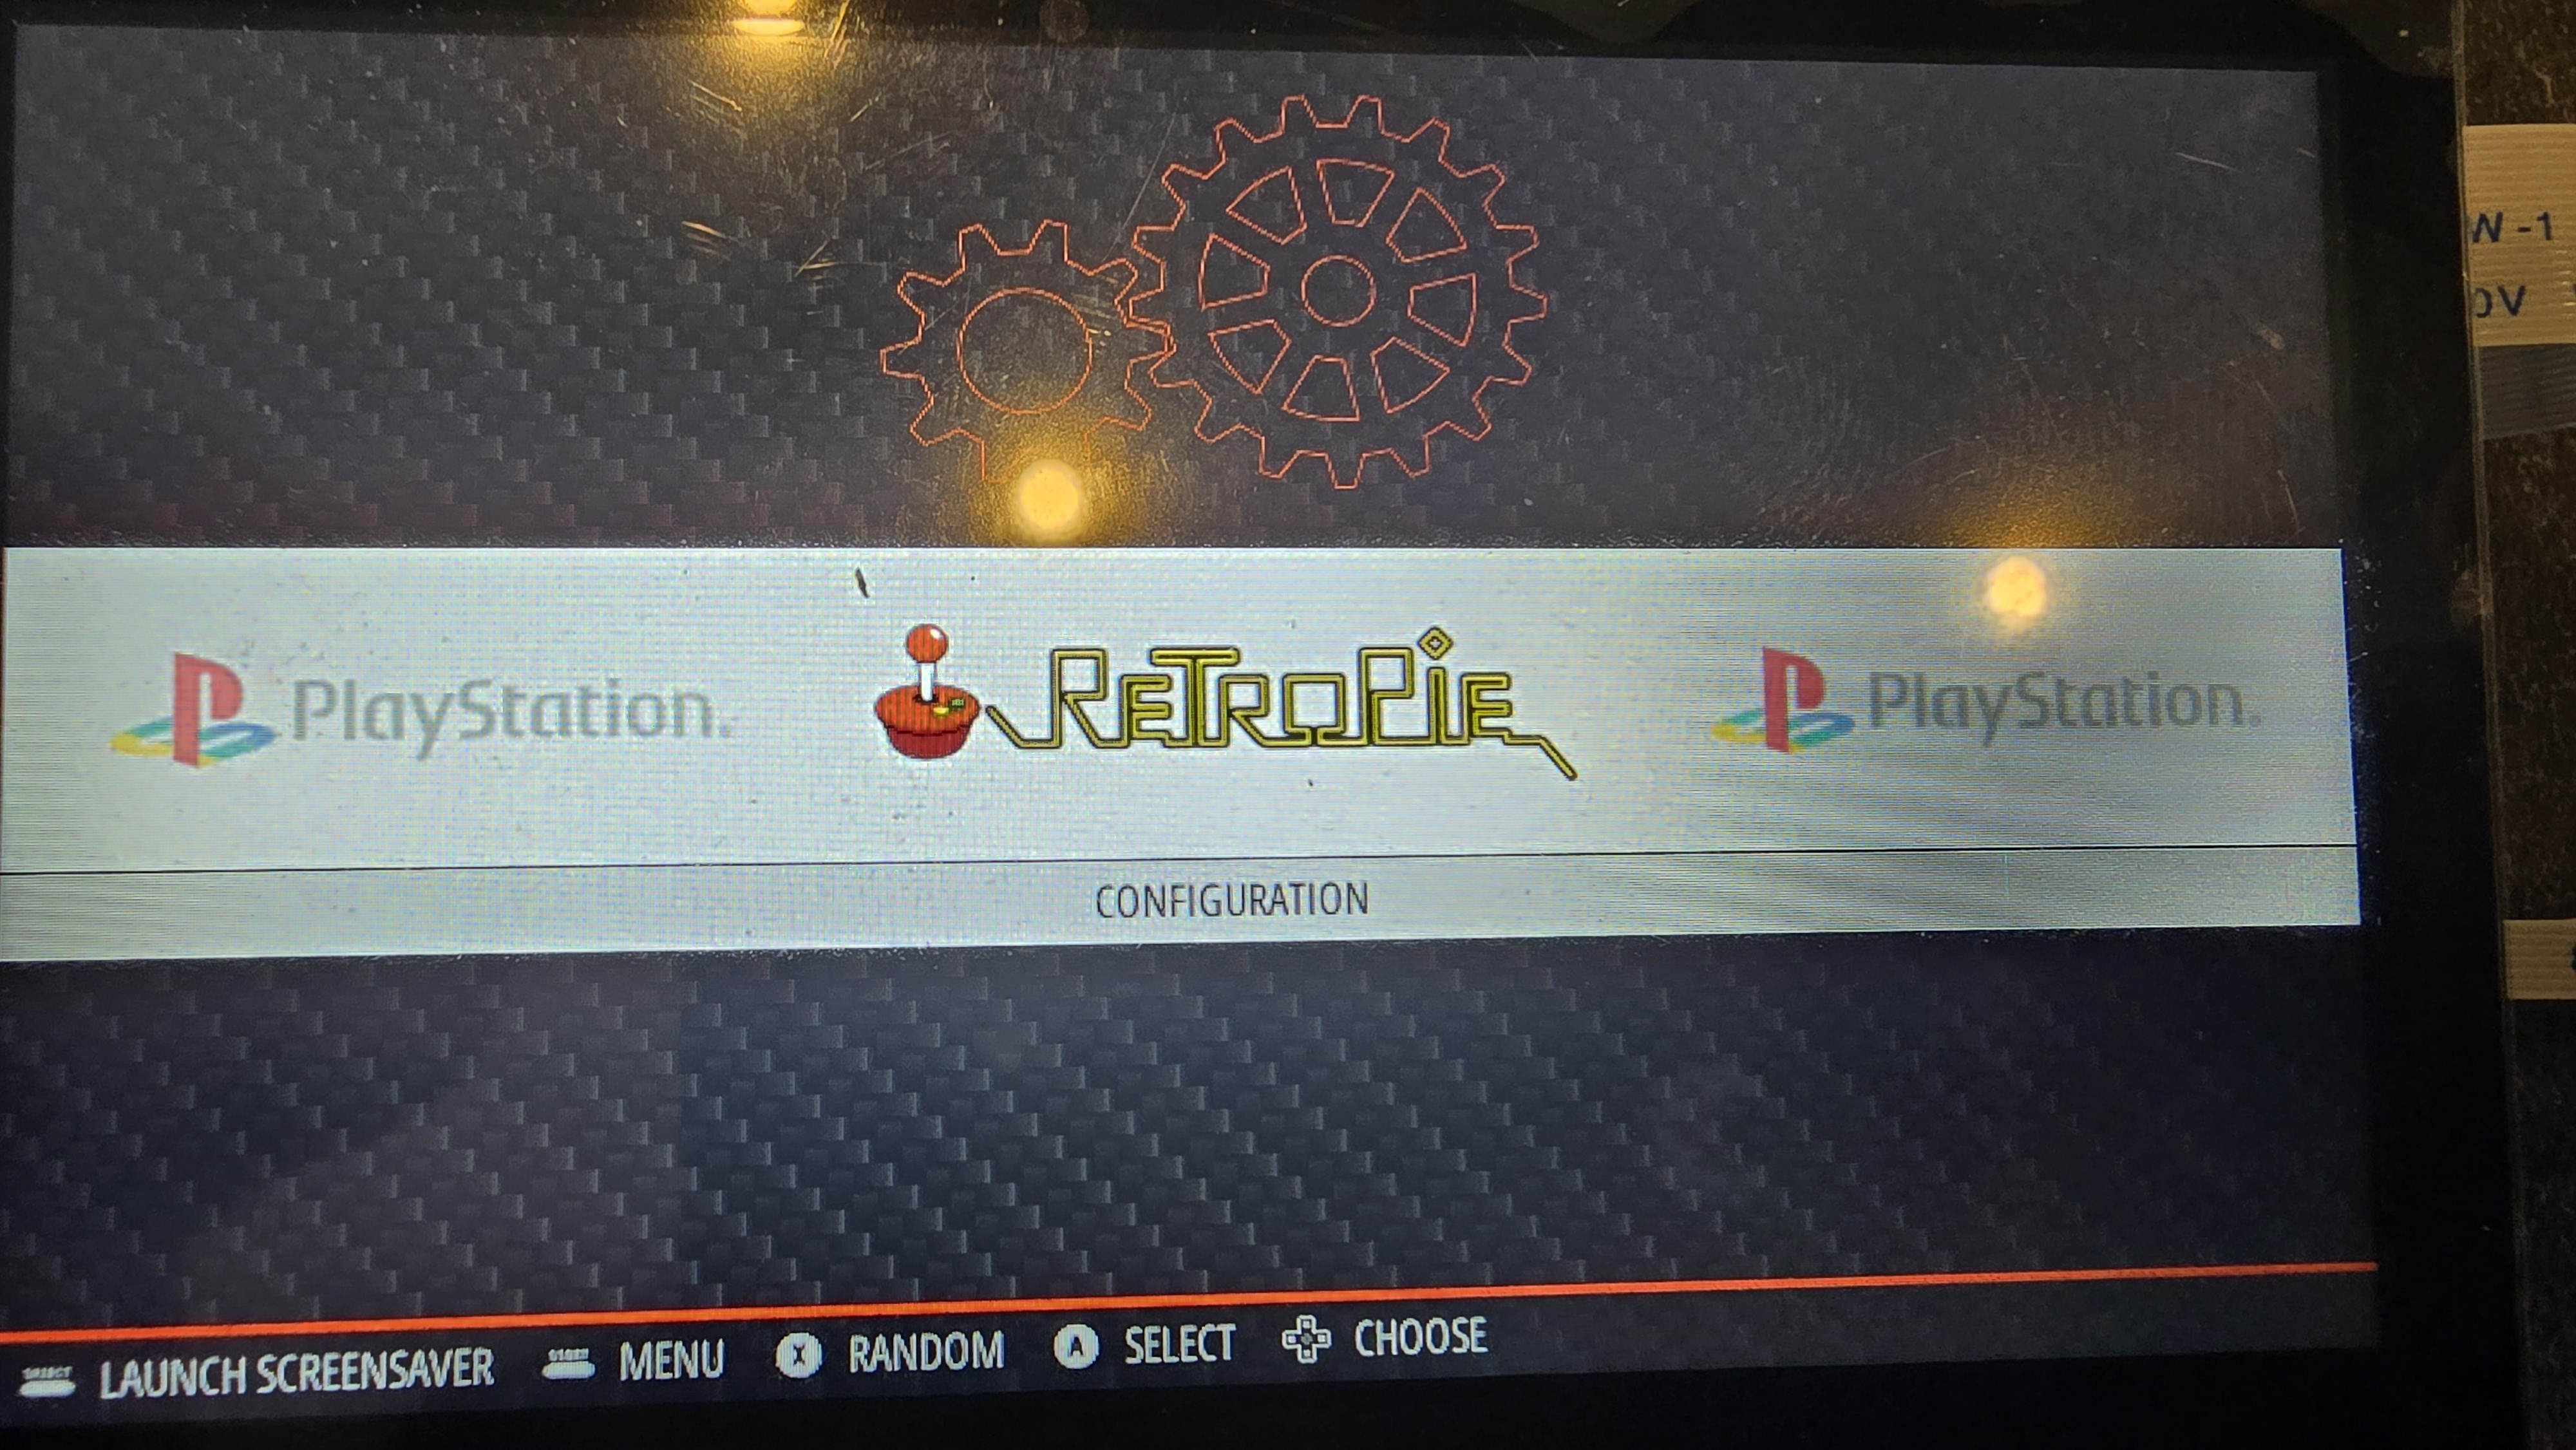
Find IP address from Retropie
To find your IP from Retropie, go to the Retropie menu.
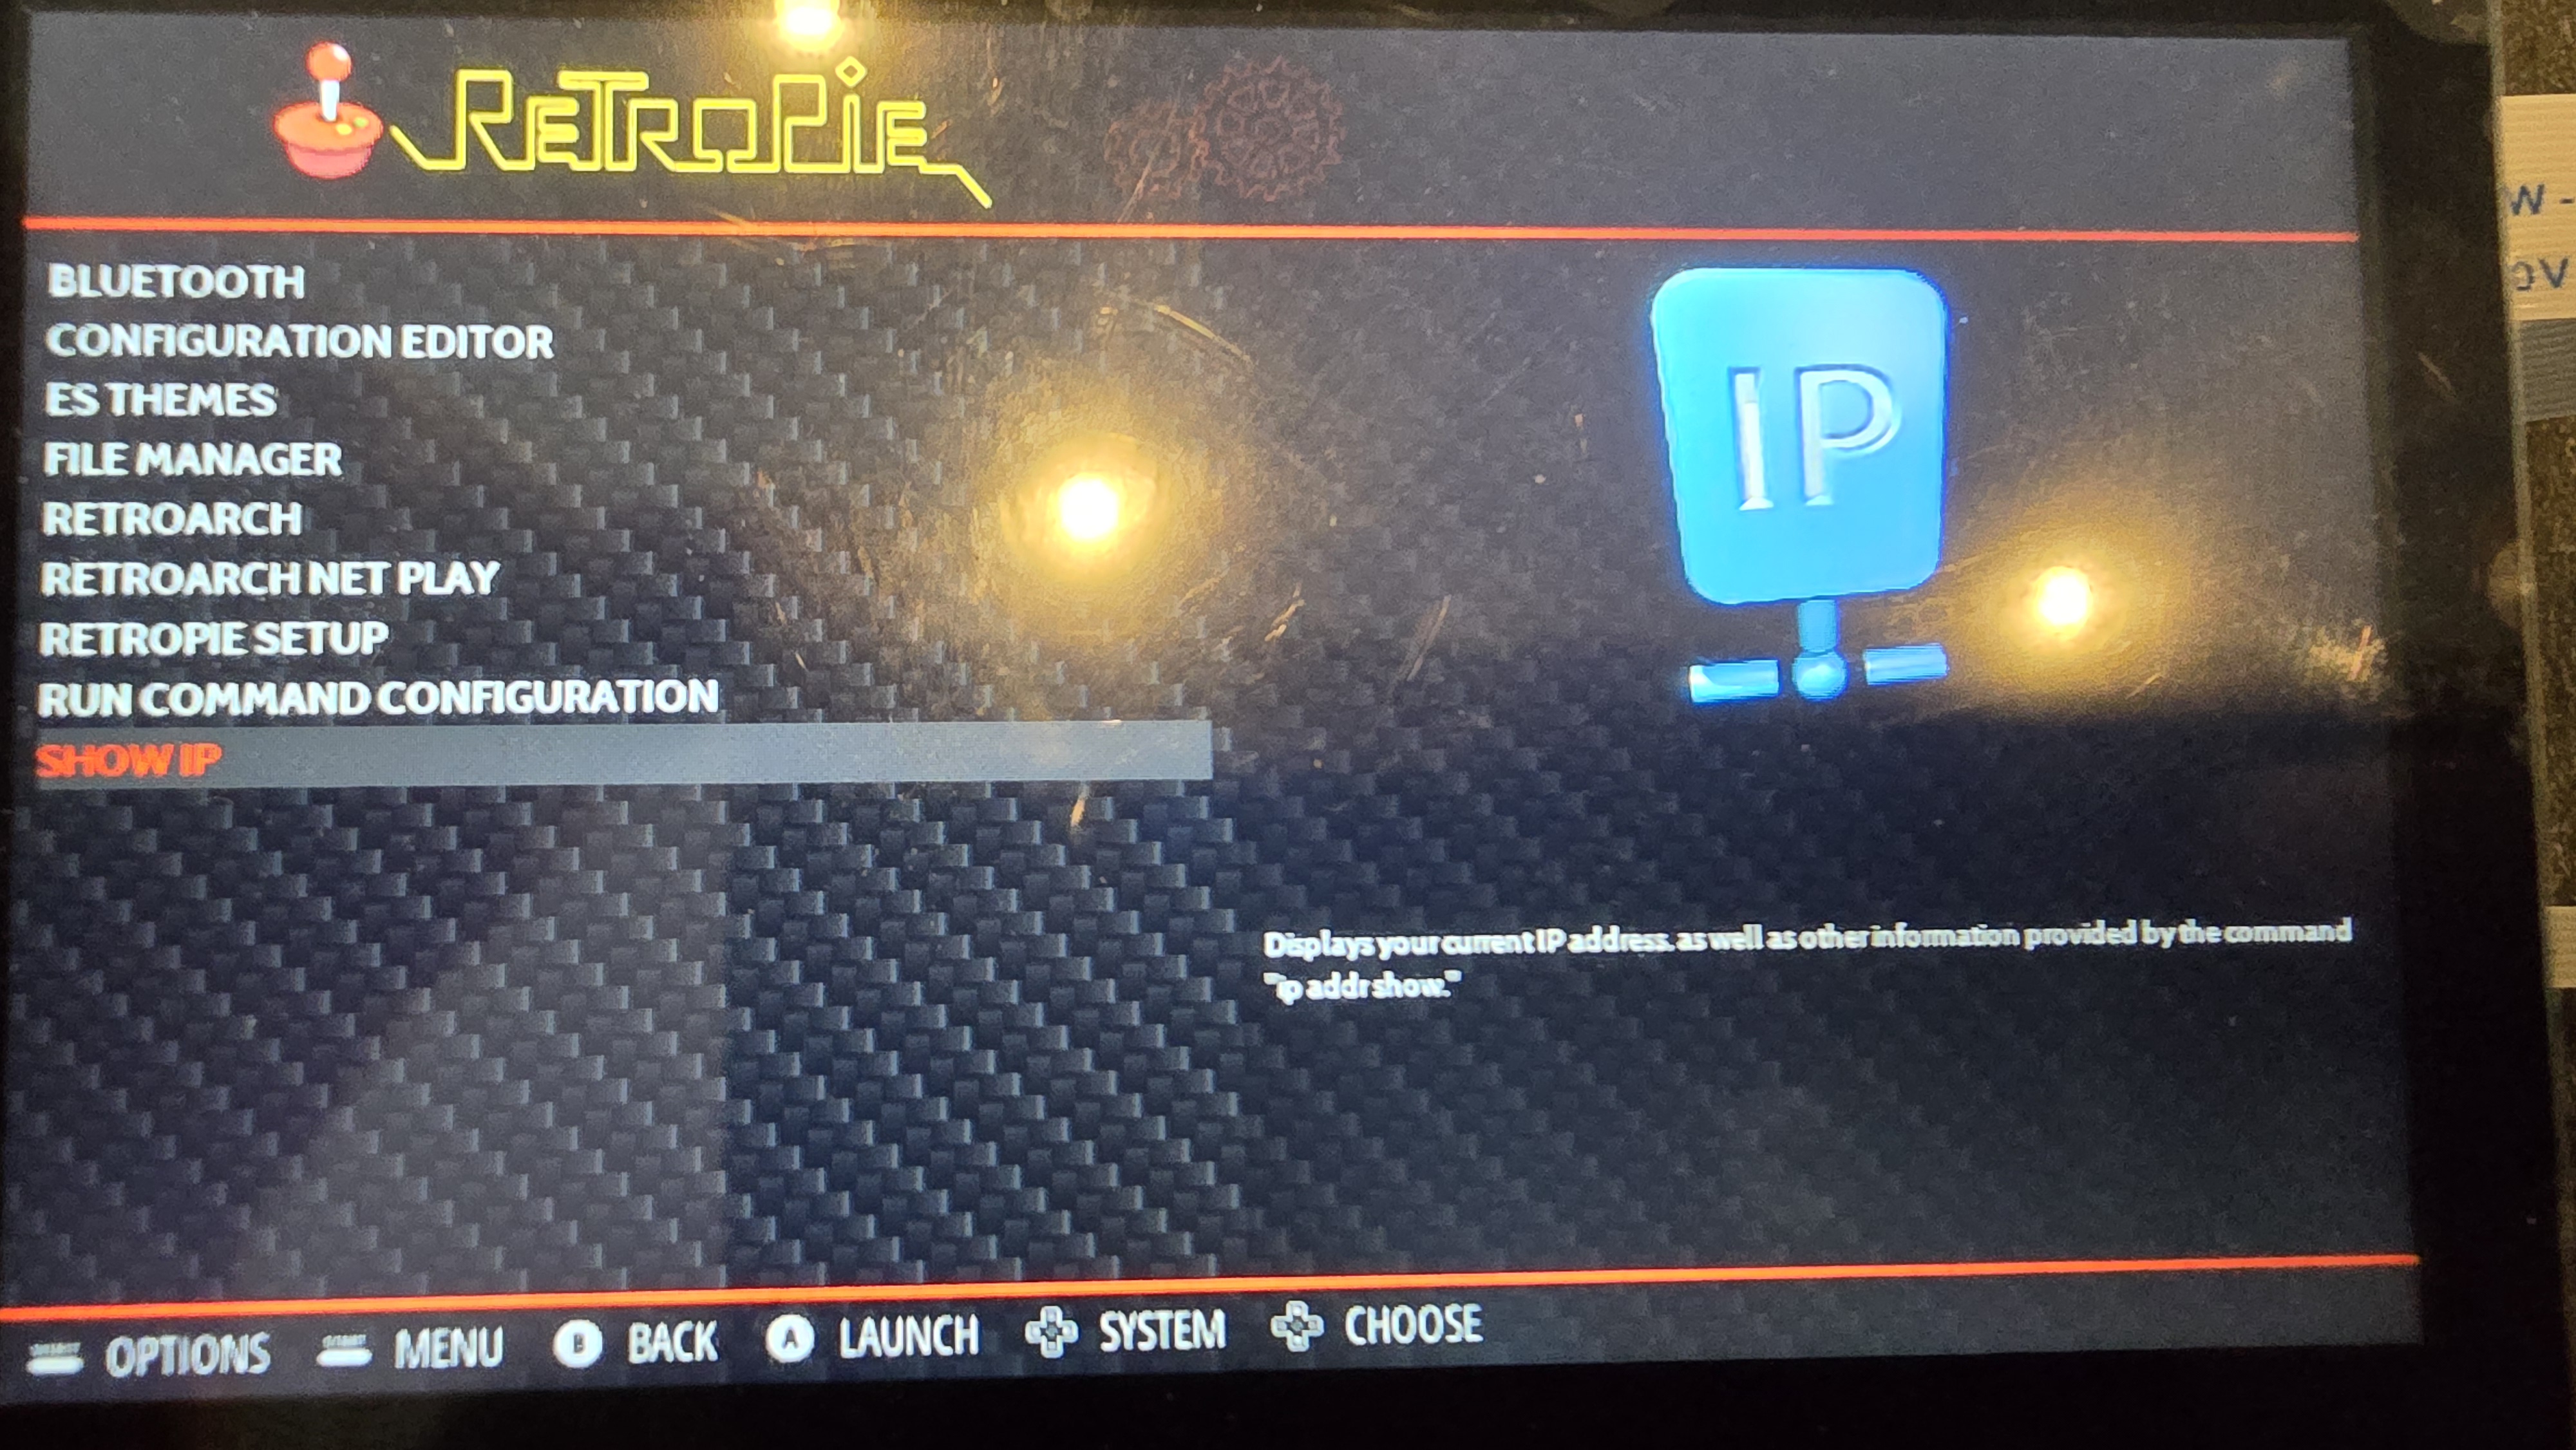
Go to the show IP menu
In this example the IP address is 192.168.1.123.
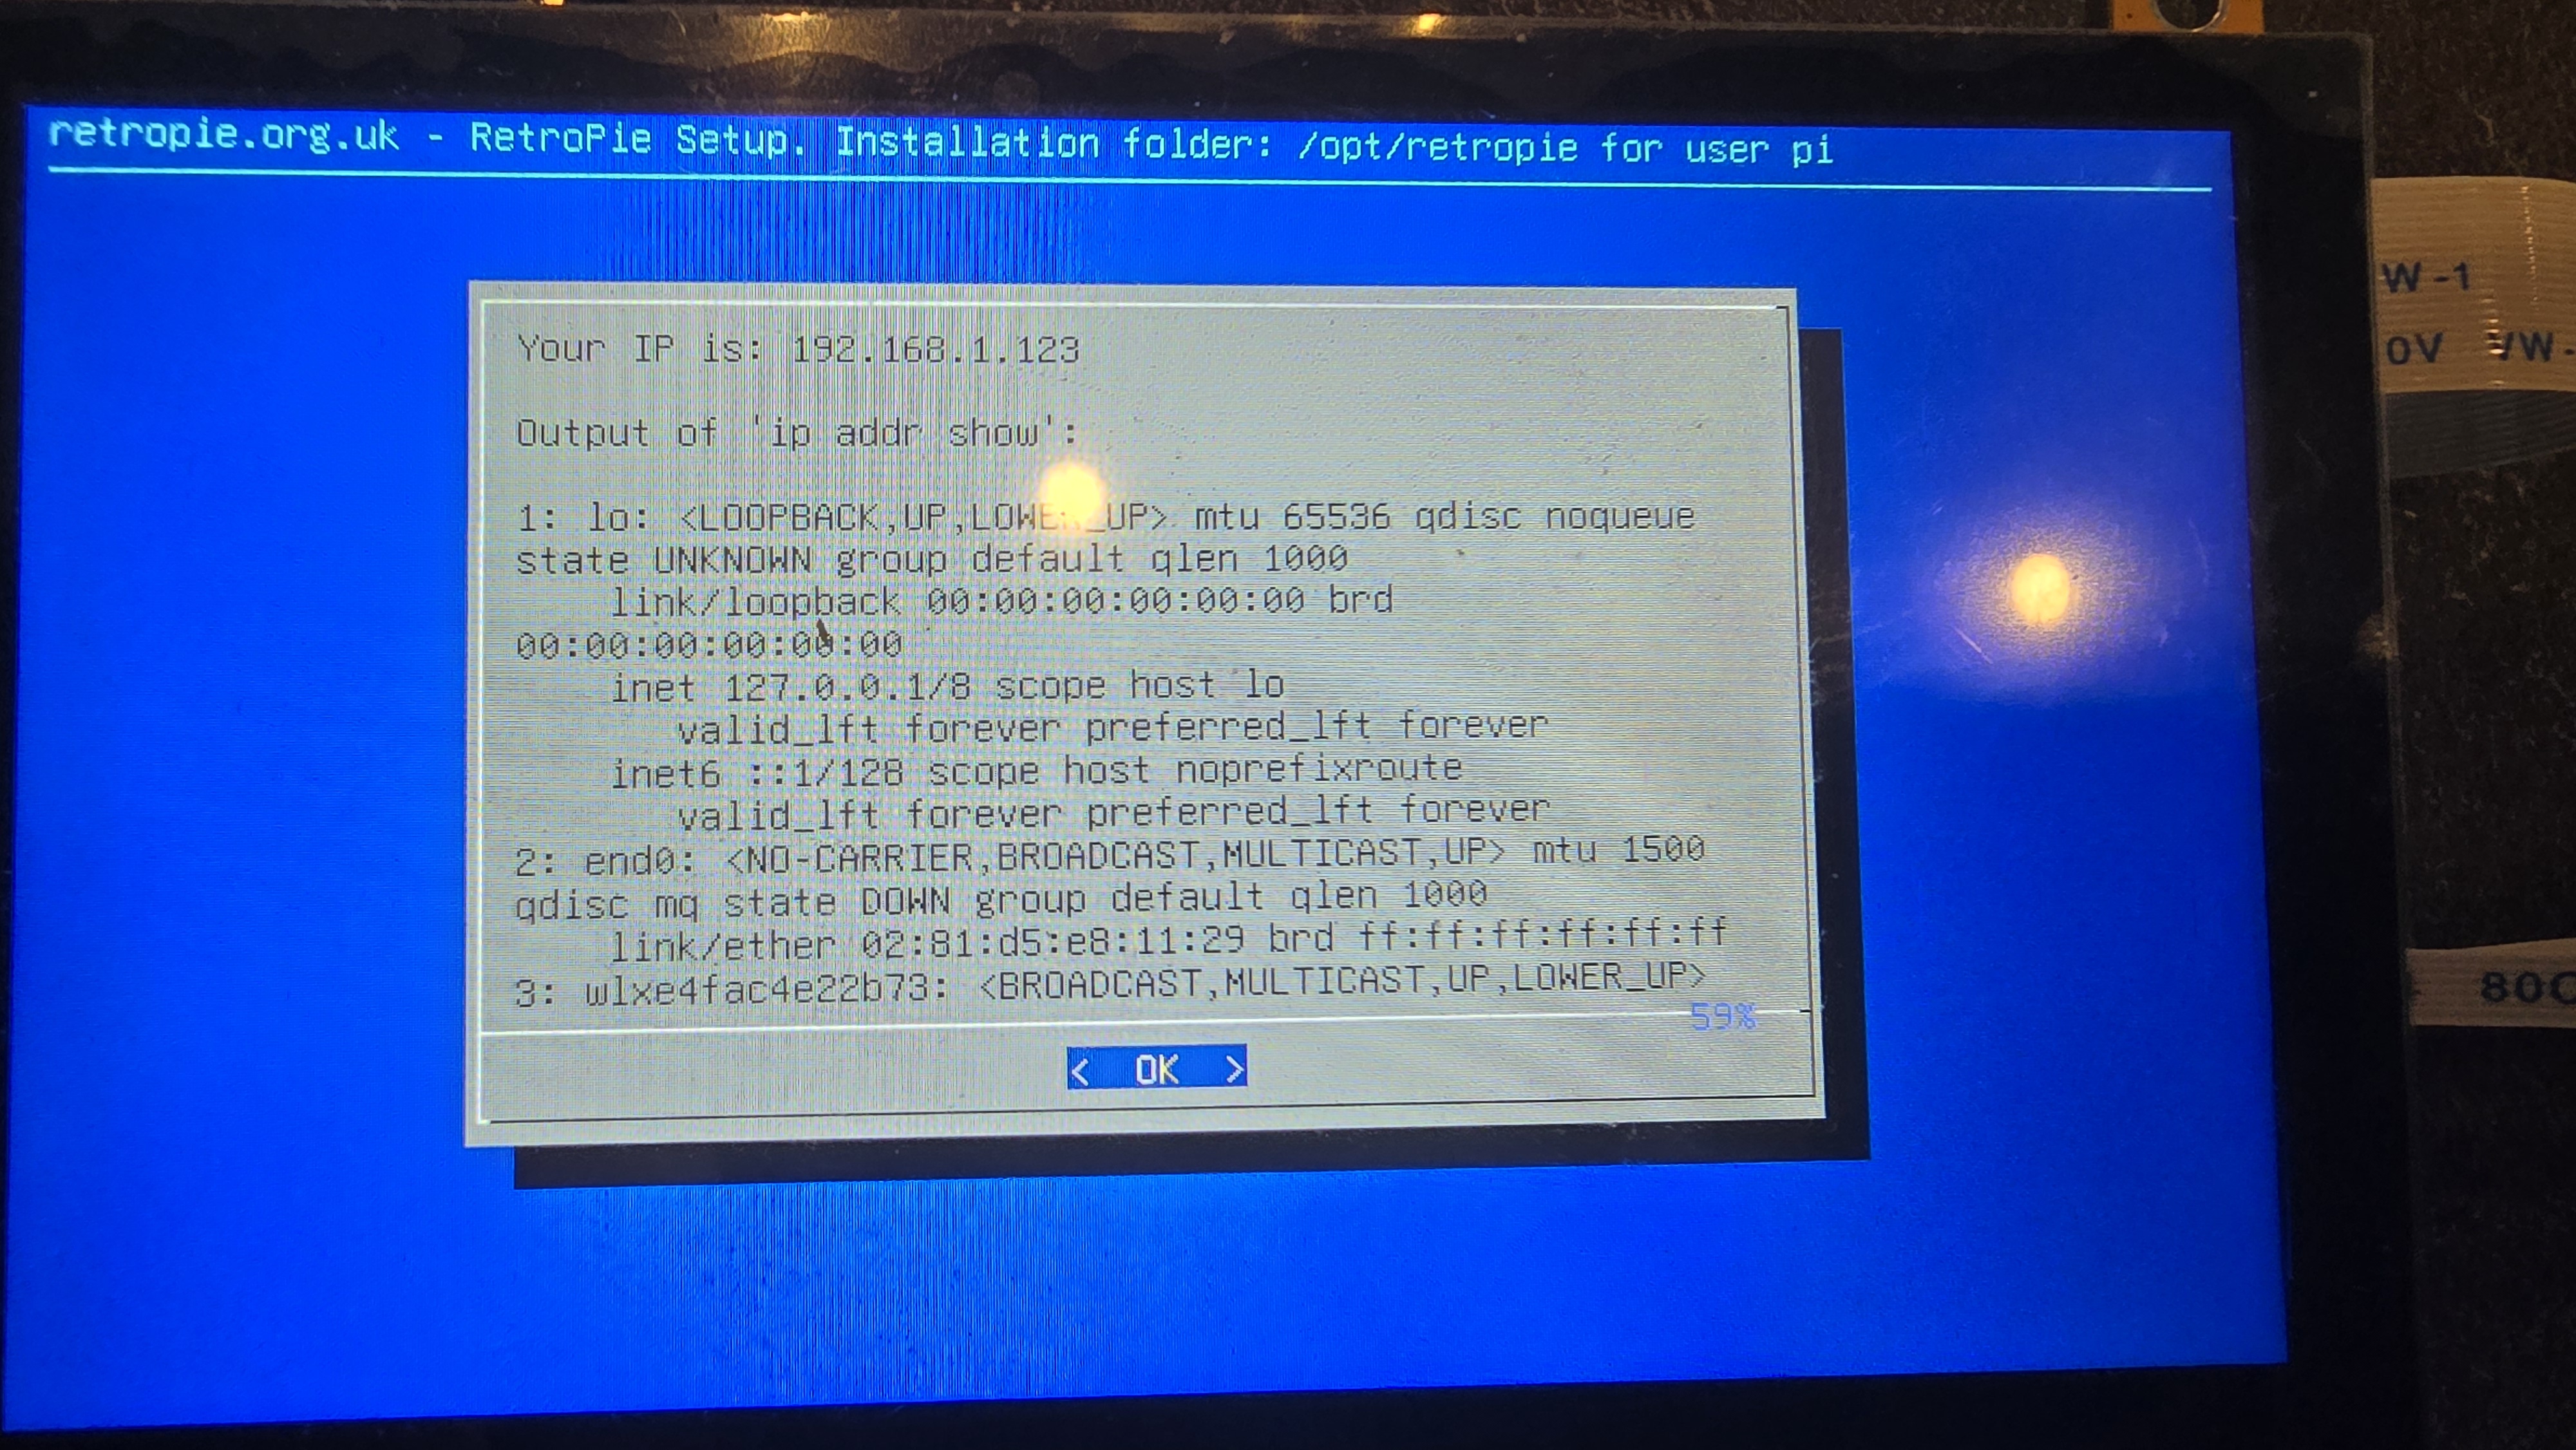
You can now easily send Roms over the network.
add roms or BIOS
you can add roms and bios from your pc by opening an explorer and typing your ip address in the address bar.
For exemple:
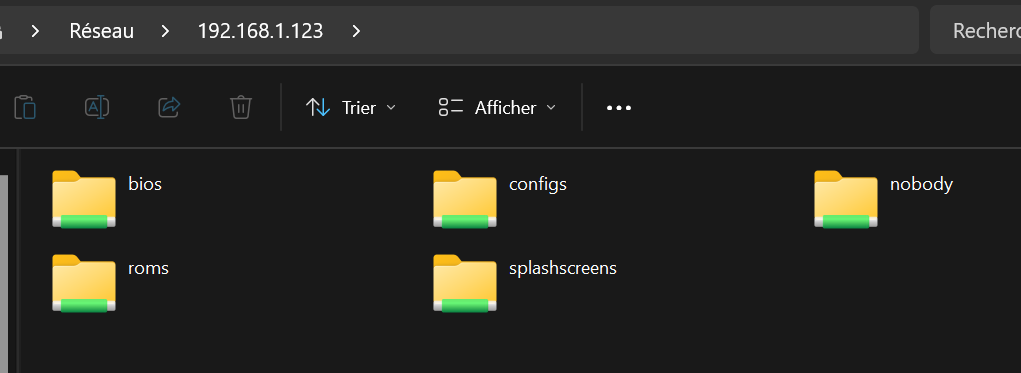
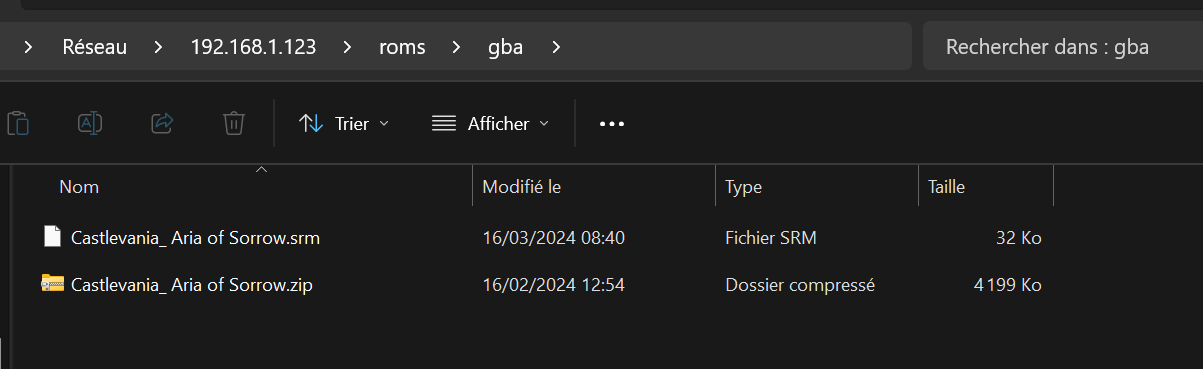
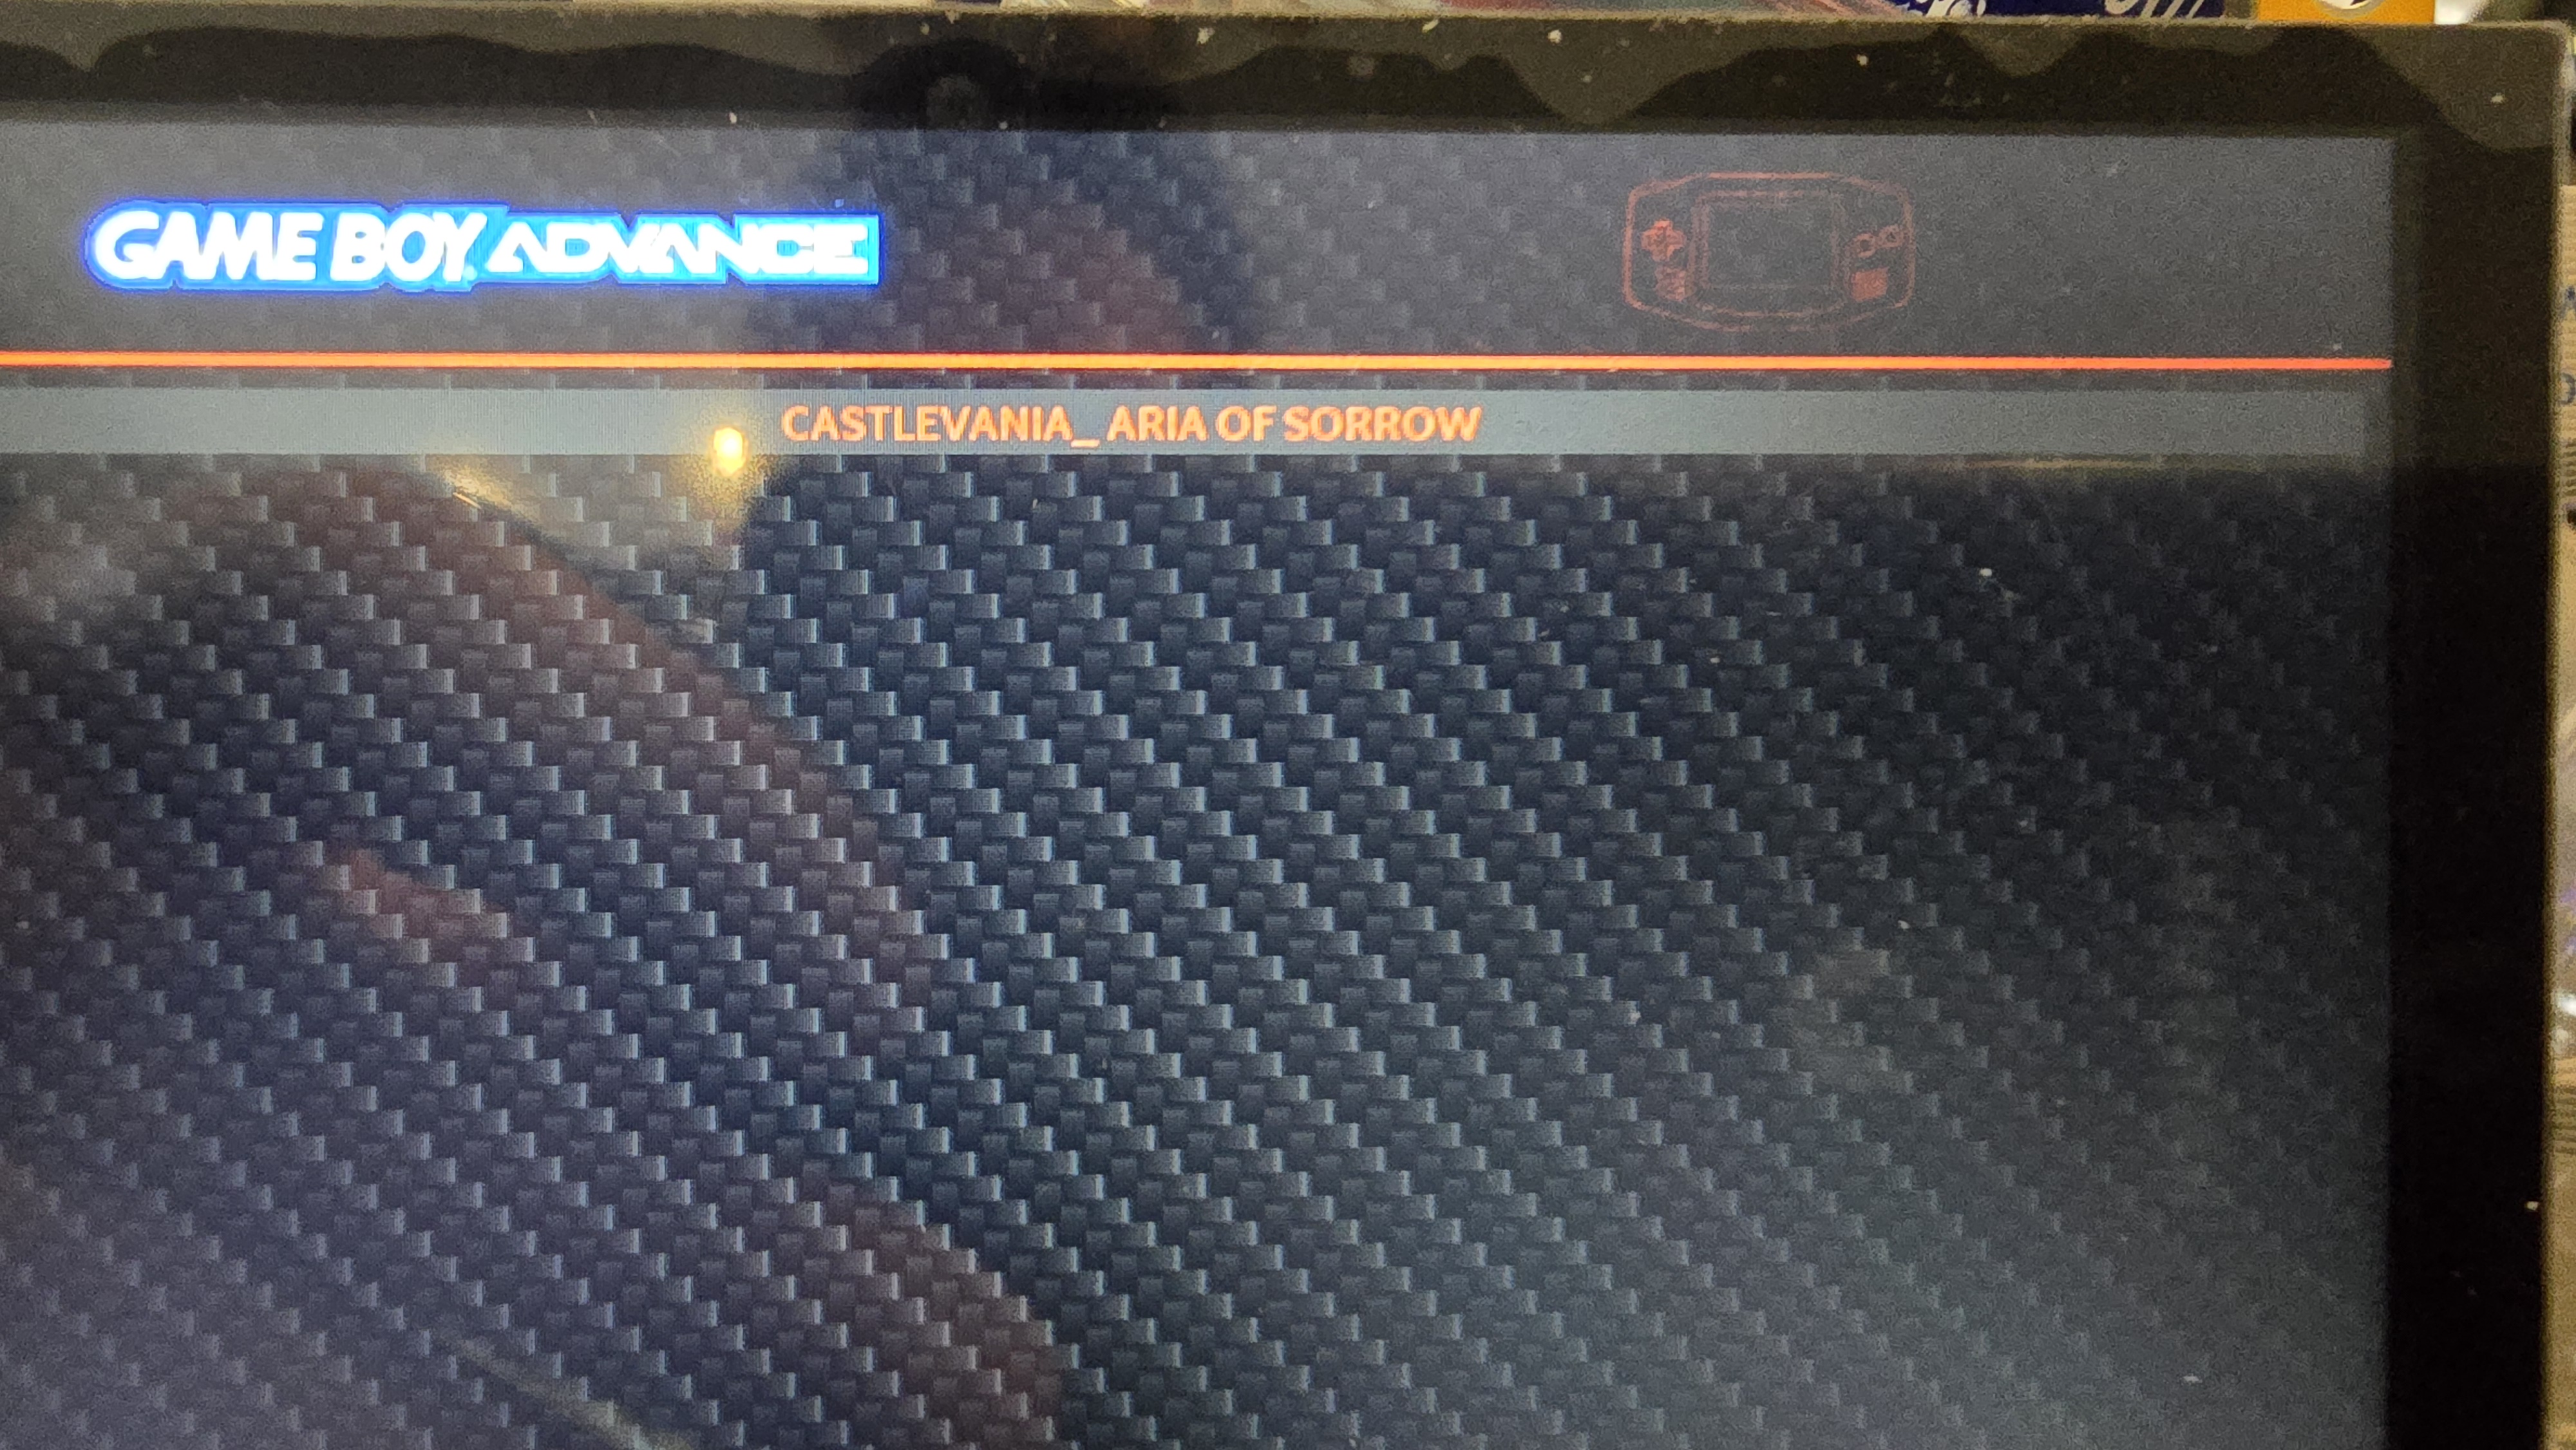
you'll be able to see the bios and roms folder. Simply upload your files here, respecting the format and tree structure. For example, in the roms folder, there's the gba folder for gameboy advance, psx for playstation 1
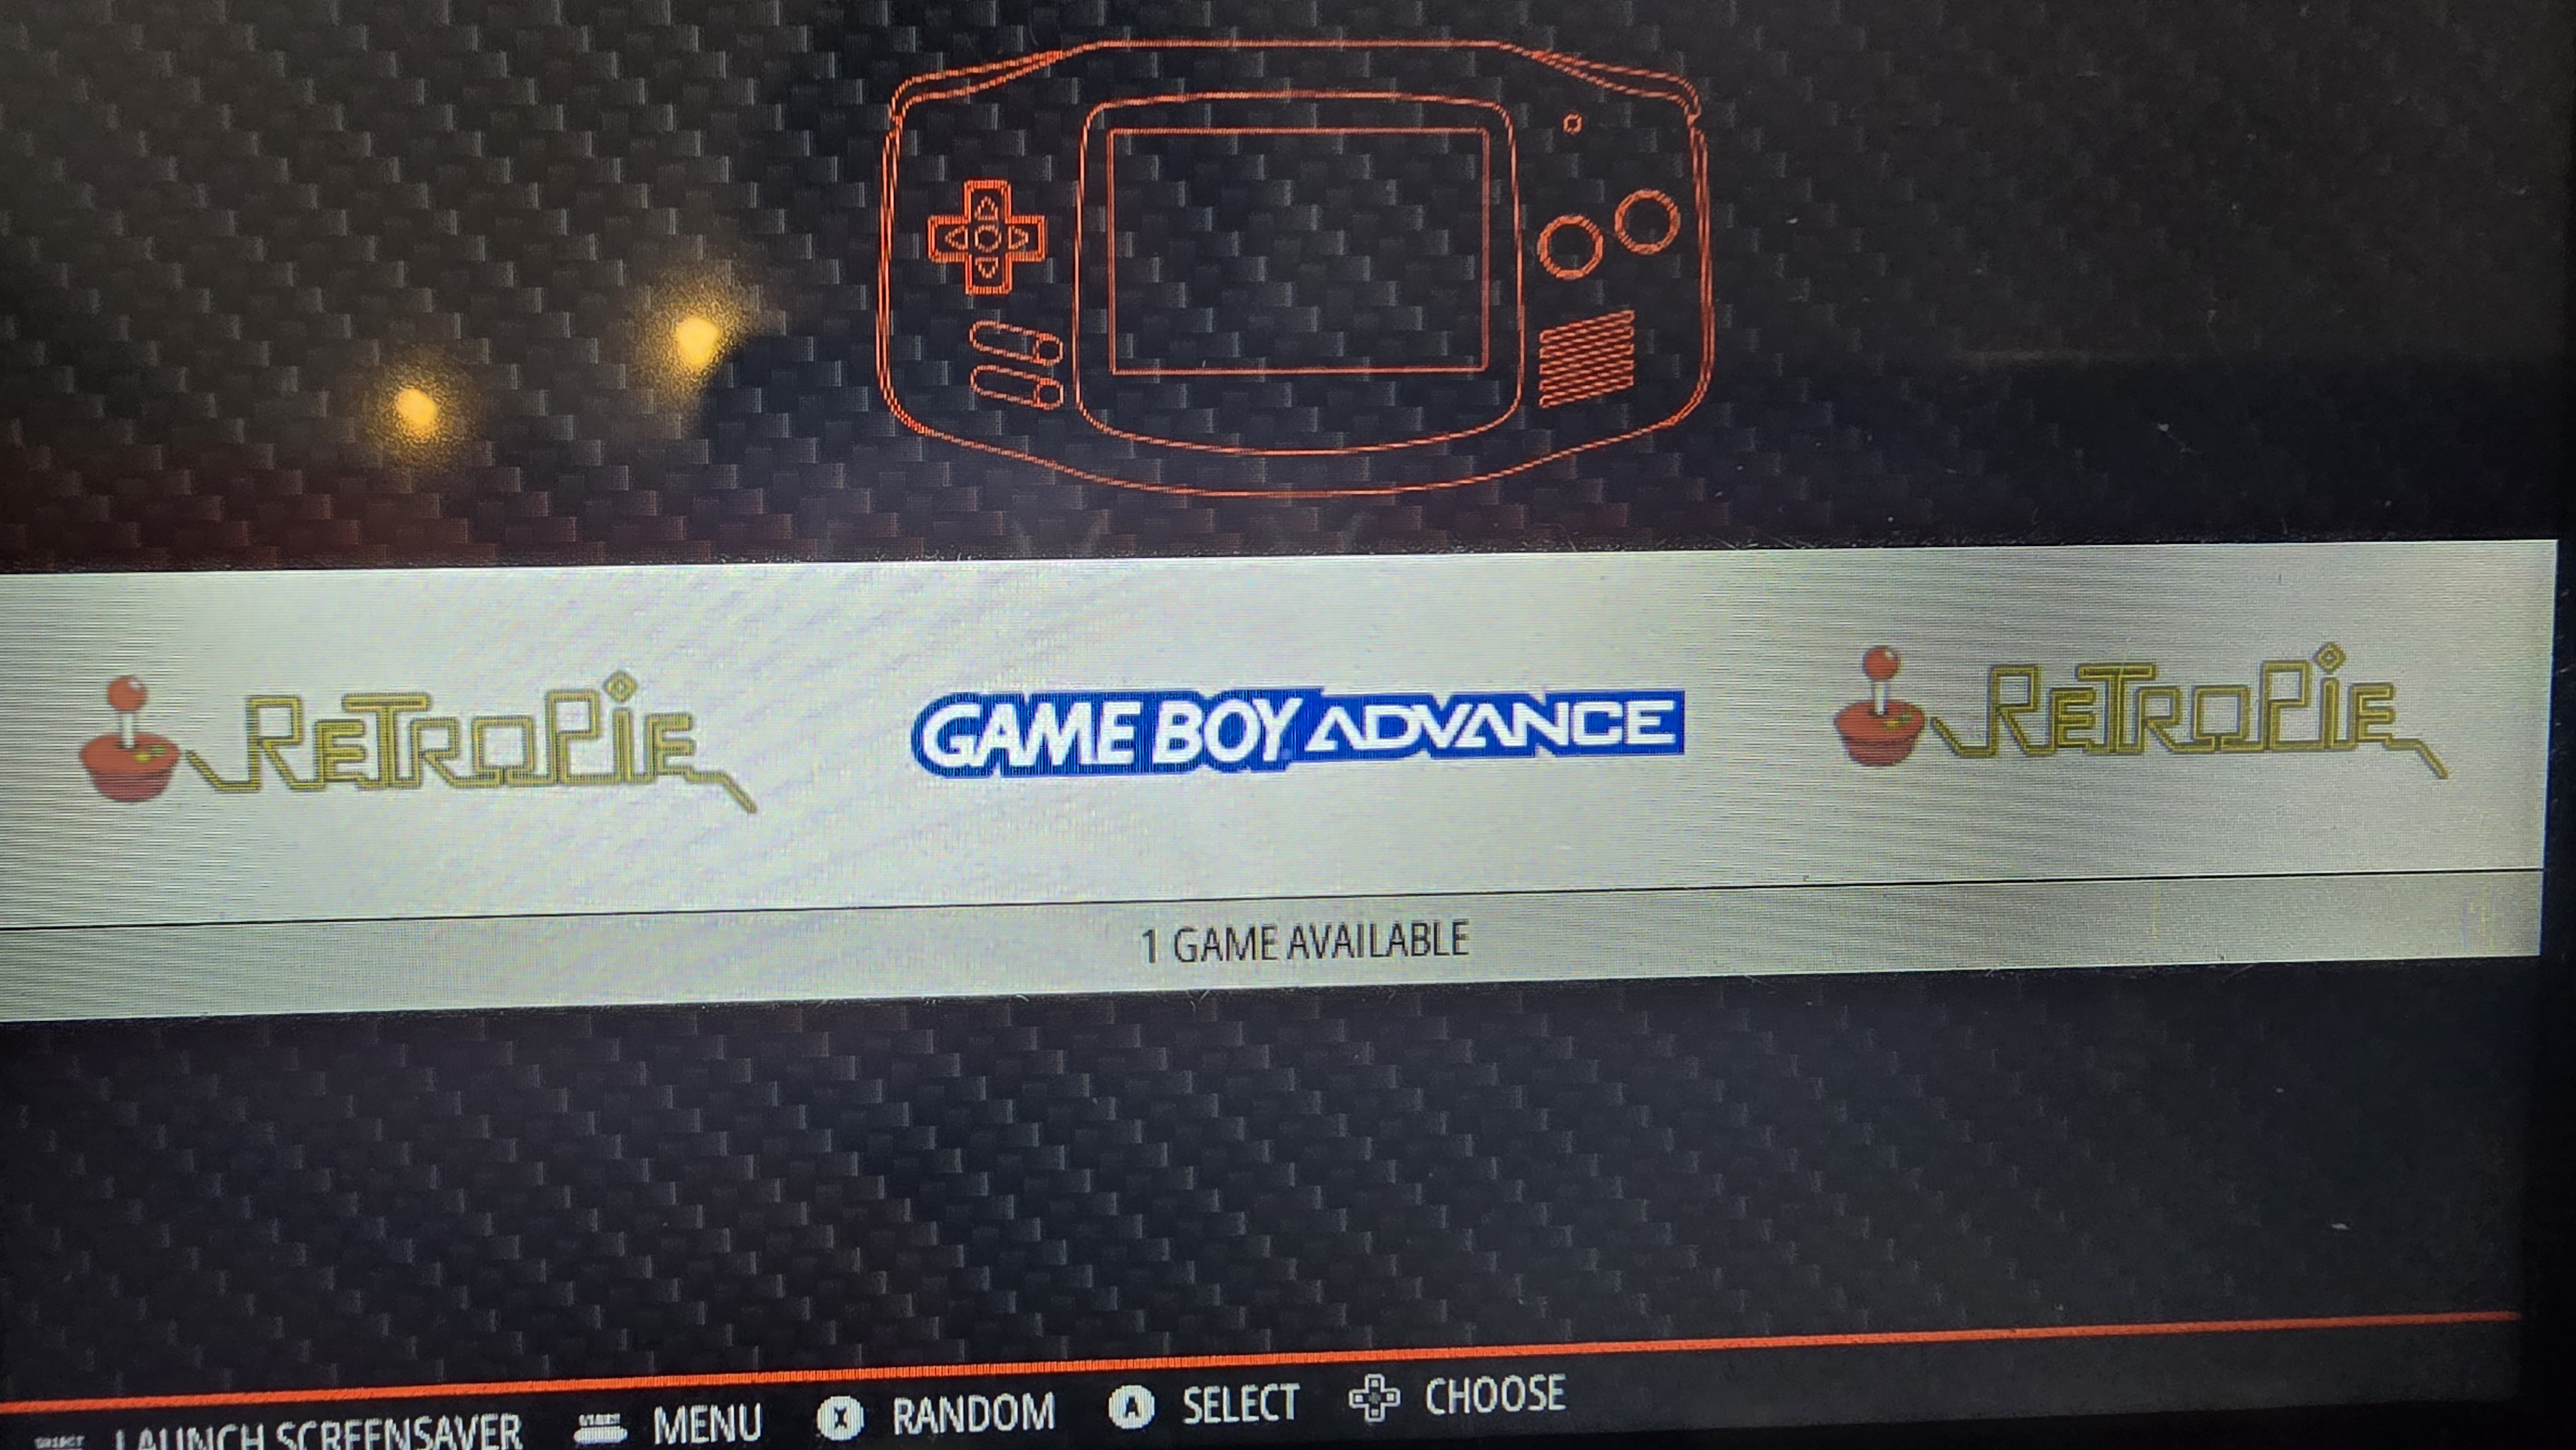
In this example there is a zip rom for a GameBoy Advence game.
Each time you add or remove roms, you need to restart Emulation Station or Smartpi.
For everything else, please refer to the official Retropie documentation.