Testing USB Camera on Smart Pi One
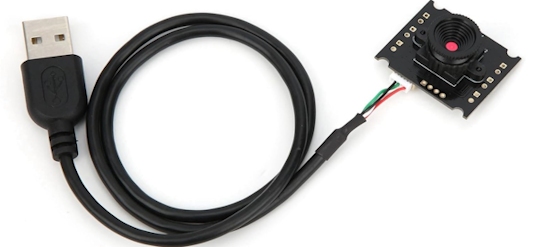
This page provides instructions for testing a USB camera connected to Smart Pi One on an Armbian Debian system. The camera is typically connected to the /dev/video0 source by default, but this may vary depending on your system configuration. Make sure to check the correct video source (e.g., /dev/video1) and adjust the commands accordingly.
1. Linux Commands for Camera Testing
Before running the test programs, ensure that your camera is recognized and accessible by following these steps:
- Verify the connected camera device using
v4l2-ctl:
This will display a list of video devices connected to the system (e.g., /dev/video0, /dev/video1). Identify the correct device and adapt the commands as necessary.
- To test recording video using
ffmpeg, installffmpegfirst:
Then, run the following command, replacing /dev/video0 with your detected video source if needed (e.g., /dev/video1):
This command captures video from the specified camera and saves it to output.mp4.
2. Python Camera Test
Install the Required Packages
Before running the Python script, install the necessary OpenCV package:
Create the Python Test Script
- Use the
nanoeditor to create the Python script:
- Add the following Python code, making sure to adjust the source (
/dev/video0) if necessary. This script captures and displays the video feed usingcv2.imshow().
import cv2

# Open the camera (replace /dev/video0 with the correct source if needed)
cap = cv2.VideoCapture('/dev/video0')

if not cap.isOpened():
    print("Error: Could not open video device")
    exit()

# Set camera parameters (optional)
cap.set(cv2.CAP_PROP_FRAME_WIDTH, 640)
cap.set(cv2.CAP_PROP_FRAME_HEIGHT, 480)

while True:
    # Capture frame-by-frame
    ret, frame = cap.read()

    if not ret:
        print("Error: Could not read frame")
        break

    # Display the resulting frame
    cv2.imshow('USB Camera Feed', frame)

    # Press 'q' to exit the window
    if cv2.waitKey(1) & 0xFF == ord('q'):
        break

# When everything is done, release the capture and close windows
cap.release()
cv2.destroyAllWindows()
- Save and exit by pressing
Ctrl + X, thenY, andEnter.
Run the Python Test Script
Run the script to display the live video feed from the camera:
The video feed will be displayed in a window, and you can press q to exit the window. Remember to adjust the video source (/dev/video0, /dev/video1, etc.) based on the device detected earlier.
3. C Camera Test
Install the Required Packages
For the C test, you will need OpenCV development libraries:
Create the C Test Program
- Use
nanoto create the C program:
- Add the following C code, adjusting the source (
/dev/video0) if necessary. This script captures and displays the video feed usingimshow():
#include <opencv2/opencv.hpp>
#include <iostream>

using namespace cv;
using namespace std;

int main() {
    // Open the camera (replace /dev/video0 with the correct source if needed)
    VideoCapture cap("/dev/video0");

    if (!cap.isOpened()) {
        cout << "Error: Could not open video device" << endl;
        return -1;
    }

    // Set camera parameters (optional)
    cap.set(CAP_PROP_FRAME_WIDTH, 640);
    cap.set(CAP_PROP_FRAME_HEIGHT, 480);

    Mat frame;
    while (true) {
        // Capture frame-by-frame
        bool ret = cap.read(frame);

        if (!ret) {
            cout << "Error: Could not read frame" << endl;
            break;
        }

        // Display the resulting frame
        imshow("USB Camera Feed", frame);

        // Press 'q' to exit the window
        if (waitKey(1) == 'q') {
            break;
        }
    }

    // Release the camera
    cap.release();
    destroyAllWindows();

    return 0;
}
- Save and exit by pressing
Ctrl + X, thenY, andEnter.
Compile the C Program
Compile the program using the following command:
Run the C Program
Run the program to display the live video feed from the camera:
The video feed will be displayed in a window, and you can press q to exit the window. Make sure to adjust the video source (/dev/video0, /dev/video1, etc.) based on your setup.