1.4 Linux flash Micro SD CARD
In this guide, I'll walk you through the steps to install operating system (server or desktop) on your Smart Pi One.
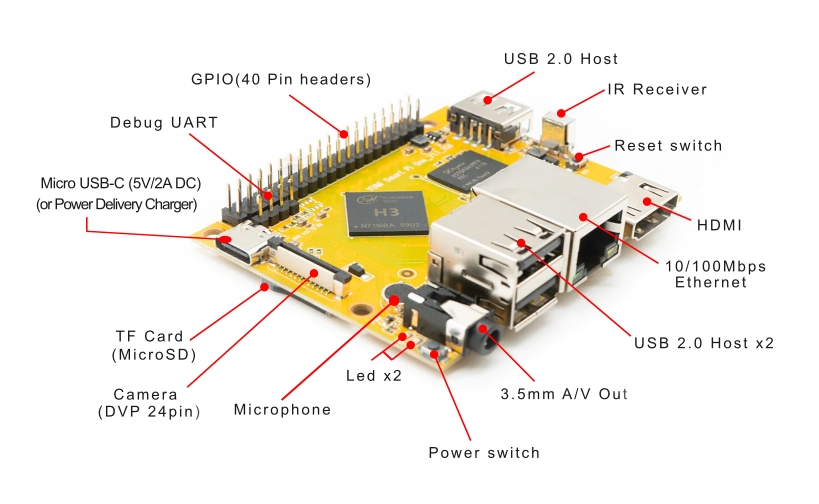
1.4.1 Hardware
- Smart Pi One
- Micro SD Card (4GB minimum, 32GB max)
- USB keyboard and mouse
- Computer display (HDMI)
- Micro-USB C power supply (5V - 2A or Power delivery)
1.4.2 Download
Go to Official images. Choose the Armbian version you'd like to install.
Latest release: v1.6.0 (March 1, 2026) — All releases on GitHub
1.4.3 Use Etcher to write the Smart Pi One SD Card Image to your microSD card
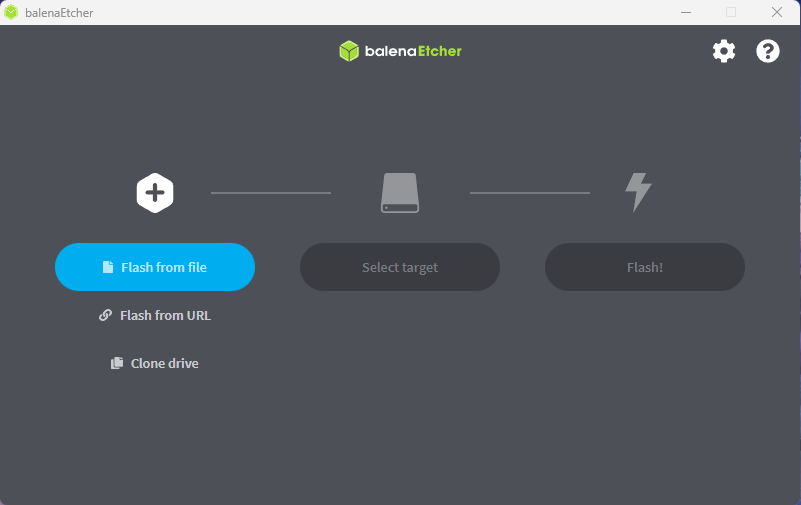
Download, install, and launch Etcher.
- Open Etcher and click "Select image".
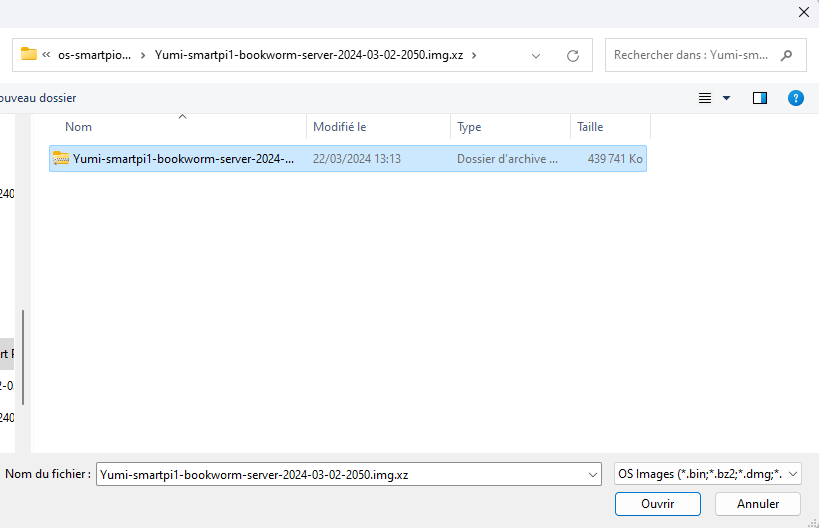
- Choose the operating system image you downloaded.
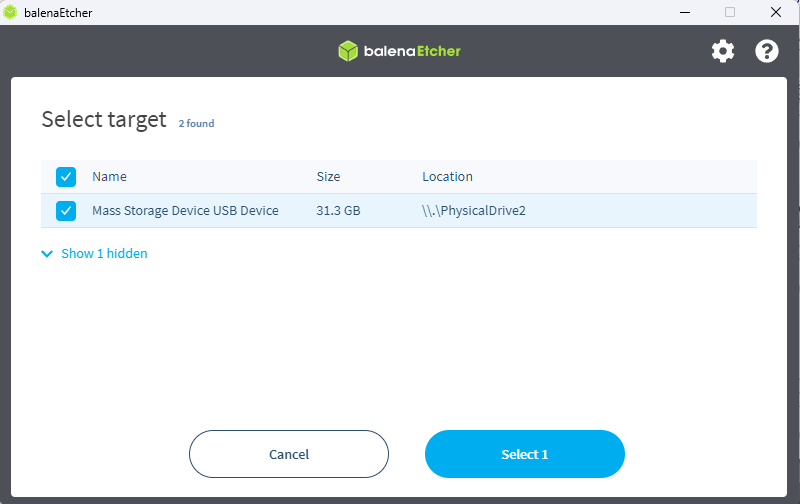
- Click "Select target".
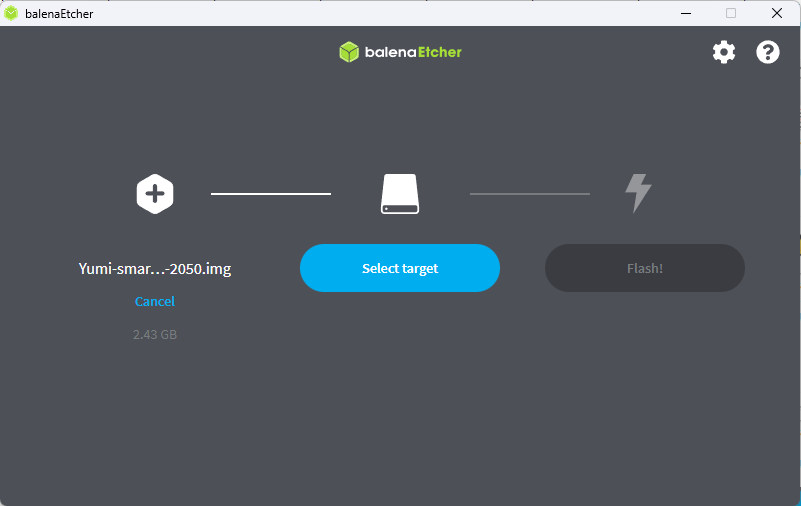
- Choose the micro sd and click "Select 1".
- Click “Flash!” and wait for the process to complete.
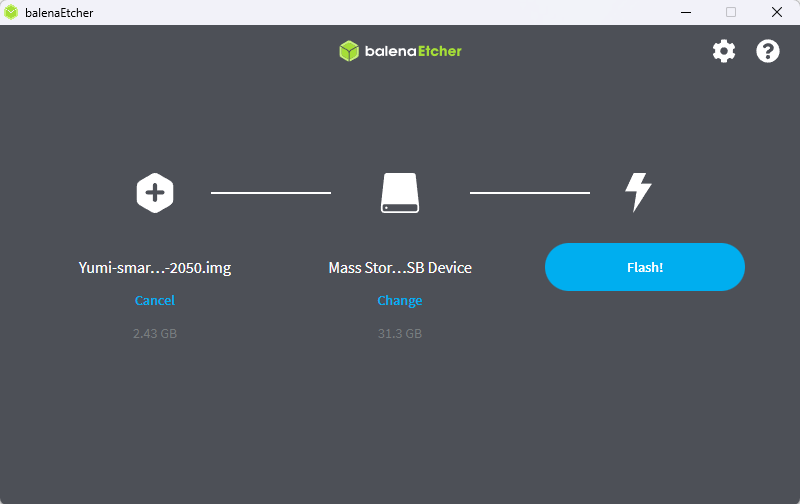
It will take Etcher about 10 minutes to write and validate the image if your microSD card.
1.4.4 Booting from MicroSD (First Boot)
Insert the microSD card into your Smart Pi One.
Connect your Smart Pi One to a display, keyboard, and mouse (if necessary).
Power on your Smart Pi One.
1.4.5 Initial Setup
Operating system will guide you through the initial setup. Follow the on-screen instructions, including setting a root password and creating a user.
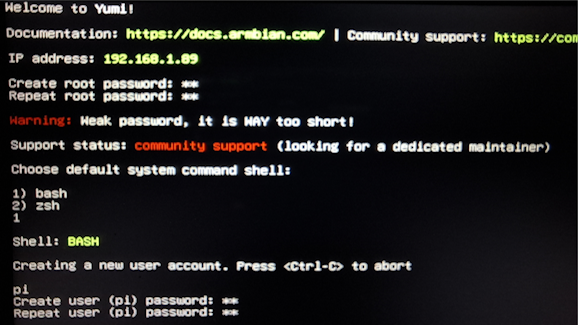
Note: If the initial setup for configuring the root and user accounts doesn't appear, you may have missed the first boot and initialization phase. In this case, reflash the SD card, and ensure that the screen and HDMI cable are properly connected before powering on the board to avoid missing the first boot process.
1.4.6 Software Updates
After booting, open a terminal. Run the following commands to update your system:
Debian 12 or Ubuntu will download and install the latest updates and patches.
1.4.7 Additional Software
Install additional software or packages you need by running:
Let's go! Operating system is now up and running on your Smart Pi One. You can explore a variety of applications, use it as a server, or engage in some exciting DIY projects.