2.1 Button with Smart Pi One
In this guide, we will demonstrate how to display a message when a button connected to the Smart Pi One is pressed, using the SmartPi-GPIO library and a pull-down resistor connected to the 3.3V pin.

Required Materials
- Smart Pi One
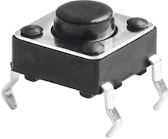
- button (with resistor 10kΩ if necessary)
- Connecting wires
- Breadboard (optional for easier connections)
Wiring Diagram
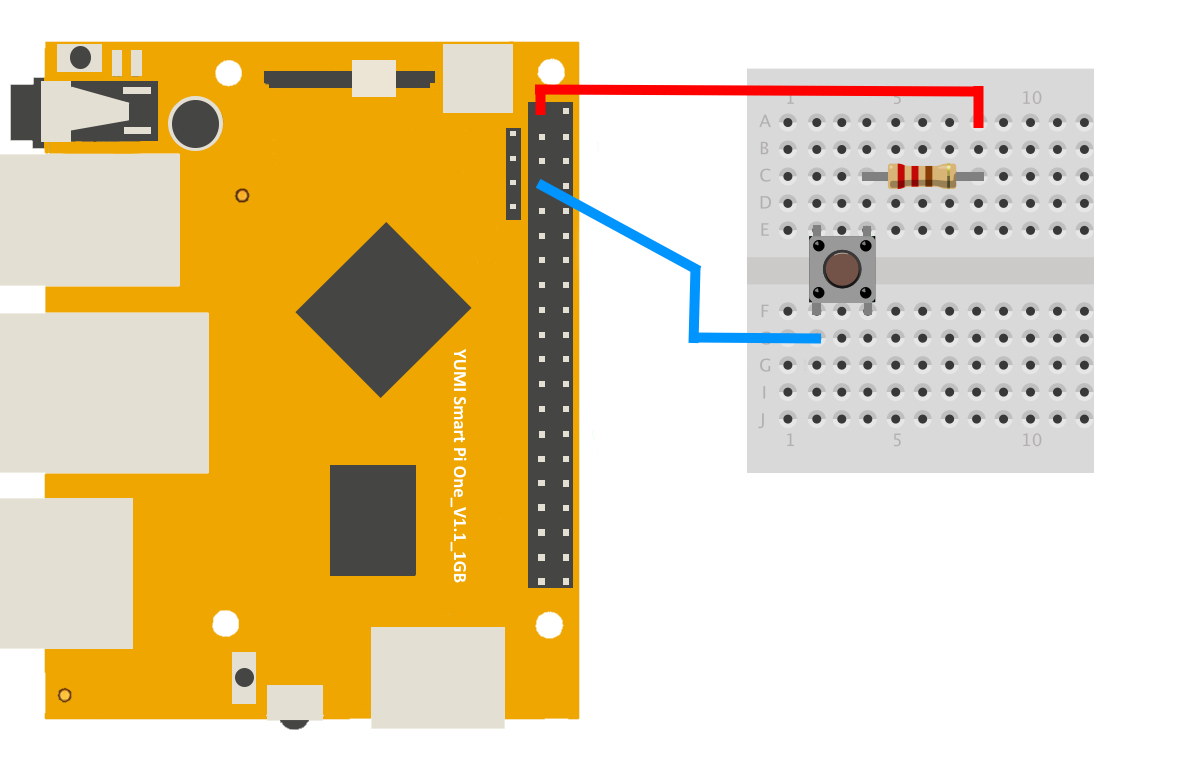
The button is connected to GPIOG11 (Pin 7) as the input pin for detecting the button press. A 10kΩ pull-down resistor is placed between GPIOG11 and Ground. This setup ensures the pin reads LOW when the button is not pressed and HIGH when the button is pressed due to the connection to 3.3V (Pin 1).

| Pin Number | Pin Name | Function |
|---|---|---|
| 1 | 3.3V | Power Supply |
| 7 | GPIOG11 | Button Input |
| 6 | GND | GROUND |
Prerequisites: Configuration of smartpi-gpio
To install SmartPi-GPIO on your Smart Pi One, follow these steps:
- Update system:
sudo apt update
sudo apt-get install -y python3-dev python3-pip libjpeg-dev zlib1g-dev libtiff-dev
sudo mv /usr/lib/python3.11/EXTERNALLY-MANAGED /usr/lib/python3.11/EXTERNALLY-MANAGED.old
- Clone the repository:
- Install the library:
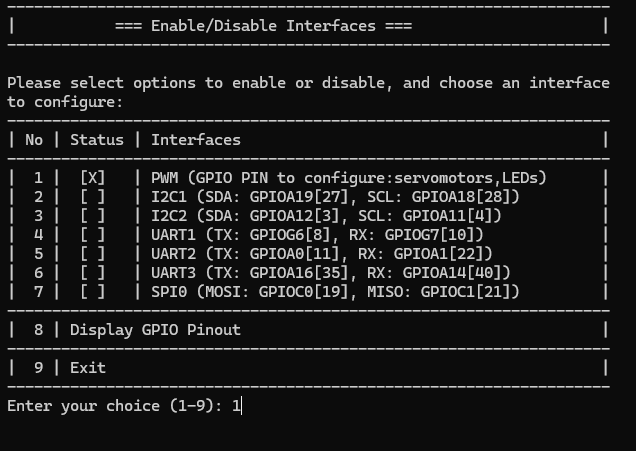
- Activate GPIO interfaces:

Displaying a Message via CLI
You can detect button presses using CLI and print a message accordingly.
Steps:
- Configure the button pin as input:

- Read the button state:

This will print "Pin 7: 1" when the button is pressed.
Using Python
Displaying a Message with Python
With SmartPi-GPIO and Python, you can write a simple script to detect the button press and display a message.
Steps:
- Create a Python file:
- Write the following code:
from smartpi_gpio.gpio import GPIO
import time

# Initialize GPIO instance
gpio = GPIO()

# GPIO pin number for the button (GPIOG11)
button_pin = 7

# Configure the button pin as input with pull-down resistor
gpio.set_direction(button_pin, "in", "pull-down")

print("Press the button to display a message...")

while True:
    # Read the button state
    button_state = gpio.read(button_pin)

    if button_state == '1':  # If button is pressed
        print("Button Pressed!")
        break

    time.sleep(0.1)
-
Save and exit (
CTRL+X,Y, andEnter). -
Run the Python script:

When the button is pressed, the message "Button Pressed!" will be displayed.